Introduction to Sedum Pruning
When it comes to ensuring the vitality and stunning visual appeal of sedum plants, pruning stands out as a pivotal gardening practice. It’s like giving your beloved plant a makeover that not only refreshes its look but also promotes a healthier lifestyle. Just like us, even plants benefit from a good trim now and then! Sedum, with its extensive family ranging from ground-hugging stonecrops to stately upright varieties, certainly appreciates this attention.
Let me give you an example — imagine sedum as a character in nature’s grand play, taking center stage in your garden’s floral display. Think of pruning as the crucial dress rehearsal, tidying up and setting the scene for a stellar performance filled with vigorous growth and abundant blossoms.
Understanding the distinct needs of different sedum types is key to nailing their care routine. Just like actors preparing for varied roles, each sedum variety may require a unique approach to pruning. Whether you’re dealing with a spilling spectacle of ground cover or the vertical drama of an upright sedum, knowing when and how to prune can make all the difference.
For a more visual demonstration on how to keep your sedum looking its best, check out this informative tutorial:
To delve deeper into the wonders of sedum maintenance, consider the engaging journey of Sedum Palmeri Splendor. This bright star among succulents reflects the sheer resilience and adaptability of the sedum family, shedding light on their relatively straightforward upkeep, which is further simplified with strategic pruning. By snipping away selectively, we’re not just crafting an attractive plant; we’re fortifying its very essence for seasons to come.
Remember, the pruning process is more than just a cosmetic fix; it’s about fostering a setup where your sedum can truly flourish, both in health and beauty. And isn’t that what every gardener strives for in the end?
Is Fall the Right Time for Cutting Back Sedum?
As gardeners wrap up their outdoor activities with the arrival of autumn, the question of whether to prune sedum plants often arises. Well, the fall season can indeed be a suitable time for trimming these robust perennials. But hold onto your pruners just a moment; before making that cut, let’s delve into the ins and outs of fall pruning.
Imagine a sedum that’s been the star of your summer garden, its lush foliage waving in the warm breeze. Now, as the leaves turn and the air grows crisp, it’s time to decide: do you refresh your sedum for a potential encore performance next year, or let it stand as is? Pruning in autumn could tidy up your garden, making room for that last-minute splash of chrysanthemum color or the eager bulbs of next spring poking through. On the flip side, leaving your sedum be could provide charming frost-kissed visuals and shelter for local wildlife.

Sedum plants, notorious for their easy-going nature, handle pruning with grace. Cutting them back in the fall encourages healthy growth and rejuvenation. However, taking shears to them too late in the season could mean you’re snipping away next year’s potential blooms. It’s a timing act fit for a green-fingered juggler: prune too early, and you might rob your sedum of its final flourish; too late, and you could compromise its spring comeback.
For those sedum varieties that burst into color during fall, such as Sedum ‘Autumn Joy’, deferring pruning until the blossoms have waved farewell ensures a full season of enjoyment. There’s no denying the allure of sedum’s star-shaped blooms, which paint the landscape in hues from dusty pinks to radiant coppers as the world around them turns golden and russet.
While the decision might seem as fickle as fall weather, expert gardeners agree on one thing: don’t rush it. If you do choose to cut back, do so thoughtfully, keeping the health of your plant at the forefront. Pruning sedum isn’t merely a matter of aesthetics; it’s an investment in next year’s garden tapestry — a promise of renewal and regrowth as the seasons turn.
Step-by-Step Guide to Safely Prune Sedum
Wondering if snipping at your sedum as the leaves start to fall is the right move? Let’s get our hands dirty together and find out how to give your sedum a haircut without causing a split-end disaster! Pruning is essential for encouraging healthy growth, and fall can be the perfect time to do so. A well-timed trim promotes not only better blooms but also helps in disease prevention by getting rid of any unwanted dead or diseased foliage.
Step 1: Choose Your Tools Wisely
First up, gear selection! Sedum stems are pretty tough, like the garden’s own nature-made straws. So, you need a pair of sharp, clean shears that can cut through them without turning a quick snip into a laborious sawing session. One bad cut can lead to unnecessary plant stress – think of it like giving a cactus a hug, neither of you is going to enjoy it!
Step 2: Get Clean, Stay Clean
Maintaining hygiene can’t be stressed enough. Cleaning your tools before and after use isn’t just about being neat; it’s a critical move to avoid spreading diseases. Dip those shears in some rubbing alcohol, and you’re not only pruning sedums but also giving pests and diseases the cold shoulder.
Step 3: Time to Make The Cut
Now, here’s where you want to pay attention. It’s about as detailed as coloring inside the lines. Cut the stems about an inch or two above the plant’s base or above a new budding leaf. Accurate cuts encourage sedum not to waste energy healing but instead, to keep growing vigorously, kind of like a well-invested savings account.
Step 4: Handling the Aftermath
Great – you’ve made the cuts. But don’t just leave those pruned bits lying around like a scene from a plant horror movie. Clean up! Removing the cuttings from around the base prevents them from becoming a cozy winter hotel for insects and fungi. It’s like taking out the trash; you don’t want it piling up.
Step 5: Monitor Closely
Post-trim, keep a close eye on your sedum. If you notice any signs of struggle, it’s like the plant’s way of sending an SOS. Make sure it gets enough water (but not too much!) and that it’s living its best life with plenty of sunlight. Adjust care as needed to avoid the sedum version of a cold.

And there you have it! The secret to keeping your sedum smiling through the seasons is just a snip away. If you’re looking for more green-thumb goodness, check out our guide on nurturing your crassula to discover a treasure trove of thriving plant tips. It’s like having a master gardener in your back pocket. Happy pruning!
Common Mistakes to Avoid When Pruning Sedum
Pruning your sedum may seem straightforward, but it’s easy to stumble into common pitfalls. To keep these hardy plants at their best, sidestepping these blunders is crucial. Let’s troubleshoot together and make sure your sedums are set for success.
Snipping Too Soon or Too Late
Timing is key! Pruning sedum prematurely could mean sacrificing those radiant autumn blooms, and waiting too long might hamper spring growth. Aim to prune once the flower show subsides, but before new shoots emerge. It’s like catching the perfect wave of growth – miss it and you might be left with a subpar display next season.
The Overzealous Chop
Enthusiasm in the garden is great, but when it comes to sedum, less is often more. Excessive pruning can weaken your plants. Try to model your approach after a sculptor, carefully shaping without taking away too much. Remember, you’re aiming for a healthy plant, not a Bonsai masterpiece!
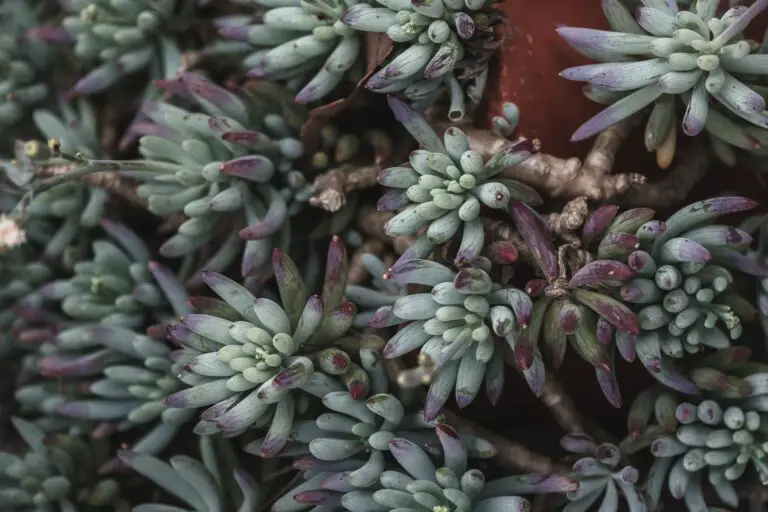
Ignoring Plant Structure
Consider the individual needs of your sedum species. Some may respond well to pinching back, encouraging a bushier growth, while others prefer minimal interference. It’s like a tailored suit – the right fit depends on the one wearing it. For a deep dive into sedum species and their unique care requirements, explore the secrets of sedum cultivation and landscape gems.
Pruning in Wet Conditions
Wielding your shears after rainfall? Hold up! Dampness can spread diseases between plants. It’s preferable to prune on dry days to prevent any unwanted microbial hitchhikers from creating a garden epidemic.
Neglecting Tool Hygiene
Speaking of spreading diseases, let’s not forget about your tools. Just like you wouldn’t want a surgeon using dirty instruments, your sedums expect sterilized pruners for their trim. A quick wipe with alcohol can keep infections at bay and send a clear message: you care about their well-being.
Forgetting the Base
Finally, don’t overlook the base of your sedum. Removing dead or excess growth from the bottom encourages air circulation and deters pests, setting the stage for a vibrant, healthy plant. It’s the groundwork for glorious growth, and who doesn’t want that?
By steering clear of these common pruning missteps, your sedums will reward you with vigorous growth and blooms that become the talk of the neighborhood. Remember, when in doubt, less is often more. Happy pruning!
The Benefits of Pruning Sedum in Fall
When the autumn leaves start to flutter down, it’s not just a signal for us to don our coziest sweaters—it’s also a cue from nature that it’s time to give our garden sedum a little trim. Pruning sedum in the fall isn’t just a routine task; it’s a strategic move to set up your plants for vivacious growth once the winter thaws into spring. Let’s dive into the wonders that a simple snip can do for your sedum.
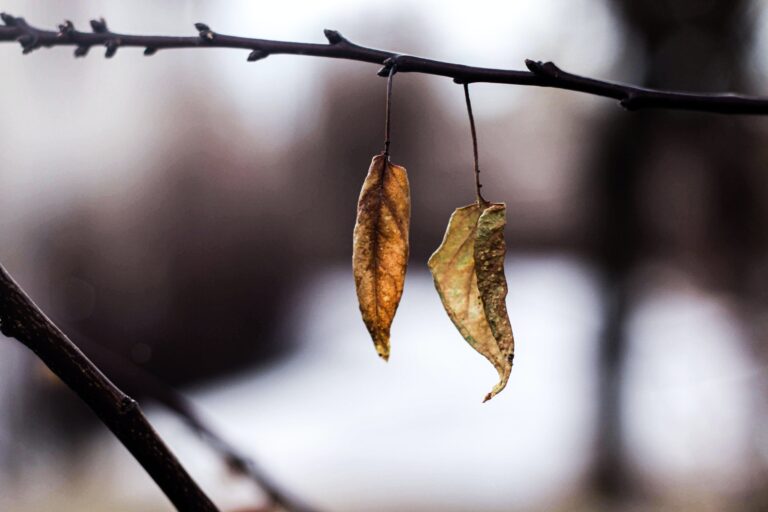
Deter Pests and Diseases: It’s not a myth that a cleaner garden is a healthier one. By cutting back your sedum in fall, you’re essentially removing any old or dead foliage that could harbor pests or disease over the cooler months. This proactive step means you are less likely to encounter an unwelcome infestation or fungal foe when the sedum reawakens. Imagine sipping your early-spring coffee in the garden, enjoying the pests-free tranquility, thanks to your autumn efforts!
Encourage Robust Spring Growth: There’s something magical about the first signs of green after winter. When sedum is pruned in the fall, it’s more likely to produce that lush, vigorous new growth we all long for. Like a good haircut setting the stage for even stronger hair, a good fall trim for sedum sets the scene for a glorious garden performance in the spring.
Improve Overall Plant Vigor: Consistency is key in any good garden regime, and sedum appreciates this as much as any other plant. A thoughtful prune in the fall can result in a more compact and sturdier sedum come springtime. Each snip is like an encouraging nod to your sedum, telling it to grow up strong and confident in its place within your garden tapestry.
So, as the days grow shorter and the nights cooler, remember that your sedum is counting on you for its fall freshen-up. Doing so means you’ll witness a verdant resurrection that is both rewarding and a testament to the nurturing hand of a gardener who thinks ahead. Embrace the shear pleasure of fall pruning, and watch your sedum thrive.
How Fall Pruning Influences Sedum Bloom
If you’re reading this, you’re likely pondering whether to give your sedum a little haircut this fall. You’re not alone in this garden dilemma! Let’s dig into how fall pruning can have a significant impact on your sedum’s performance, particularly when it comes to those much-anticipated blooms.
Consider sedum like an artist, and fall is their studio. By cutting back sedum in the fall, you’re setting the stage for next year’s masterpiece. It’s all about timing; prune too early, and you might remove the flower buds that have been quietly developing, ready to burst into color when spring arrives. That’s right, those heavy heads of sedum flowers take their cue from the care you provide as the leaves begin to turn.
But what exactly happens when you wield your pruning shears after the summer bloom? Some sedum varieties will thank you for a trim by pushing out fresh, healthy growth. If you’ve ever witnessed a sedum plant in a cozy cottage garden standing proud and full of blooms, it probably experienced some savvy fall pruning. On the other hand, without a gentle cutback, some plants can get leggy and less vigorous, leading to a sparse display of flowers and a less-than-lush garden presence.
Here’s where it gets real: imagine two gardens, side by side. In one, the sedum is pruned in fall; in the other, it’s left untouched. Come spring, the pruned sedum springs to life with a dense habit and robust blooms, while its untrimmed neighbor struggles to match up. It’s a true testament to how a little snip can make a big difference in the life cycle of these hardy perennials.
Now that we’ve talked theory, let’s see fall pruning in action. This video demonstrates the best practices for ensuring your sedum is poised for an enviable bloom.
To sum it up, treating your sedum to fall pruning isn’t just about keeping your garden neat; it’s a strategic move to influence next year’s growth and flowering cycle. Whether you’re aiming for bursts of autumn color or setting the scene for spring, your approach to fall pruning can make all the difference. So go ahead, grab those shears, and let’s get to pruning!
Preparing Your Sedum for Winter After Pruning
As the golden hues of autumn begin to fade, it’s that time again to give your sedum plants some TLC. Picture this: it’s a crisp fall day, the leaves are turning, and you’re out in the garden with pruners in hand, ready to prep your sedums for their winter slumber. Let’s get those succulent beauties snuggled in and set for a season of rest.
Once you’ve trimmed back your plants, there’s more to winter prep than just putting the kettle on and watching the leaves fall. Firstly, consider this—the right post-pruning care is like a warm blanket for your sedums. Make sure any fallen debris is cleared away, because rot is not a friend to these sturdy perennials, and wet, decaying leaves are perfect rot starters. Imagine tucking your greens in a bed clean of muck—that’s the goal!
Mulching comes next. It’s like a winter coat for the roots—thick enough to protect, but breathable to prevent moisture build-up. A layer of organic mulch, perhaps finely chopped leaves or straw, can buffer the soil temperature. Just imagine you’re giving your sedums a cozy scarf to ward off the chills. Remember though, don’t suffocate them; a light cover will do just fine.
Let’s chat hydration. While it’s true that sedums are drought-tolerant, going into winter in a drought state can be a tad stressful for them. It’s like running a marathon and not drinking water at the finish line—whew, no thanks! Give them one good drink after pruning, and they’ll thank you with robust growth once winter thaws.
And for the potted sedums among us? The approach is similar but with a twist. Ensure they’re in well-draining pots and consider moving them to a sheltered spot, like under a patio cover or into an unheated garage. It’s just like moving your tropical fish tank away from the drafty window—comfort is key.
Keep an eye out for early frost warnings too. If Jack Frost is nipping earlier than usual, get out there with a breathable cover to protect those fresh cuts from bitey cold snaps. Think of it as a quick draw with the umbrella when an unexpected rain shower hits. Fast action makes all the difference.
With sedums snug in their beds, you can look forward to a spring unfurling of vibrant, hearty growth. So, as you’re sipping hot cocoa and pondering the winter sky, rest assured that your sedum are dreaming of warmer days, all thanks to your diligent care. Let’s give a toast to your green-thumb wizardry and to sedums that rise with the snowmelt, ready to dazzle once again!
Alternatives to Fall Pruning: Spring Care for Sedum
When fall’s crisp air rolls in, many gardeners reach for their pruning shears, eager to tidy up their Sedum before winter. Yet, have you ever wondered if pausing the snips might actually bring unforeseen benefits to your garden? Spring might just be the opportune time for sedum care, nurturing not only the plants themselves but the ecosystem they support through the frosty months.
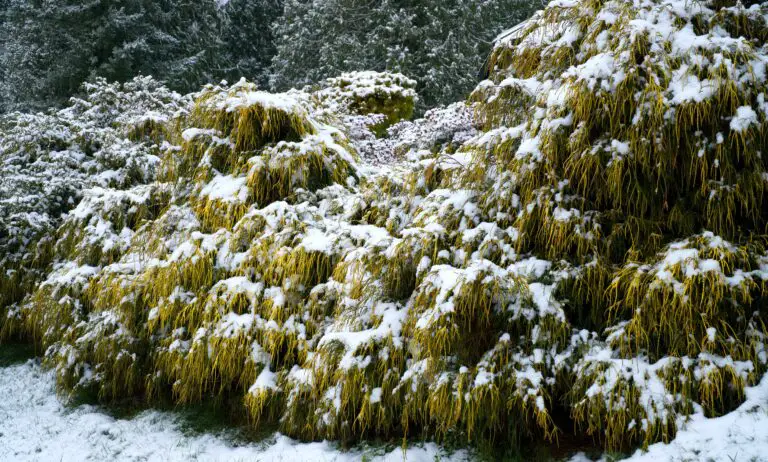
For those with an appreciation for nature’s artistry, a snow-capped Sedum offers a visually captivating scene. Imagine the sight: a garden quilted in white, where each frozen stem of Sedum stands like a natural sculpture, catching the sparkle of winter sunlight or cradling a delicate dusting of snow. It’s not just about aesthetics, though—these steadfast perennials serve as an invaluable winter haven for local wildlife. Seed heads left untouched provide nourishment for birds, while the dense foliage becomes a sheltering retreat for beneficial insects braving the cold.
In a rhythm with nature, spring pruning aligns with the Sedum’s awakening growth cycle. As the soil warms, so does the gardener’s cue to clear away the old, allowing new shoots to flourish with zeal. This delayed snipping can actually result in stronger, more rejuvenated plants. Keen observers often report that spring-pruned Sedums burst forth with a vigor that might just outshine their fall-pruned counterparts, suggesting that patience can indeed be a gardener’s virtue.

So, while the shears might beckon as the leaves begin to drop, consider this: letting your Sedum stand tall through the frost might pave the way for a more robust spring. It’s a cycle seen in the undisturbed wild, where plants left untouched manifest resilience year after year. Offering both a winter spectacle and a springtime surge, Sedum care through the seasons is a testament to the gentle strength inherent in nature’s course.
Sedum Propagation from Fall Cuttings
Picture this: a crisp fall day, leaves tumbling down, and you’re in the garden with your sedum plants. The good news? Fall isn’t just for pumpkin spice and cozy sweaters — it’s the perfect time for sedum propagation! That’s right, those cuttings you get while pruning your sedum can mean brand-new plants for next season. Let’s dive into the world of sedum propagation!
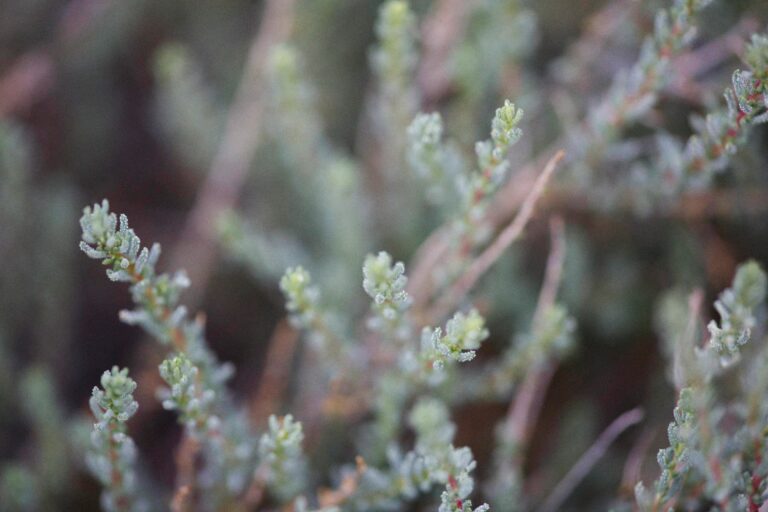
First things first, let’s talk about why fall is such a smart choice for sedum cuttings. Sedum, known for its hardiness and drought resistance, enters a sort of dormancy when cooler temperatures roll in. This dormancy phase actually helps cuttings to “callous” over, creating a protective layer that’s essential for new root growth. Now, isn’t that fascinating?
Snip and Snap: The Right Way to Harvest Sedum Cuttings
When you’re cutting back your sedum, think of it as your garden’s version of a treasure hunt. Each snip can potentially lead to a new, thriving plant. But unlike pirates following a worn map, you’ve got the advantage of knowing exactly where to look. Aim for stems that are healthy, free of pests, and have a few leaves on them. A sharp, clean pair of scissors or pruning shears will make the cut clean, which is vital for preventing any unsavory bacterial encounters.
Real-life example: my neighbor Annette has turned her sedum cuttings into a flourishing border along her walkway. Every fall, like clockwork, you’ll see her with her gardening gloves and shears, meticulously choosing the right stems. By spring, there’s a whole new lineup of sedum sentinels greeting everyone that passes by!
The Waiting Game: Rooting Your Cuttings
After the harvest, let your cuttings sit for a day or two, allowing the cut end to callous. It’s like giving the cuttings a little resting period before they embark on their growth journey. Next, find them a cozy home in some well-draining soil, stick the calloused end in, and give them a gentle drink of water.
And then, well… you wait. Rooting isn’t a speedy process — it requires patience. But imagine the satisfaction you’ll feel when you see those first signs of life, the tiny roots branching out, eager to anchor into their new world. Before you know it, you’ll have a sedum baby boom on your hands!
Frequently Asked Questions
As the golden hues of autumn descend upon our gardens, many green thumbs might ponder the best practices for tending to their perennial favorites. “Can I cut sedum back in the fall?” is a question that resonates among the gardening community. Let’s dig into the roots of this question and unearth some wisdom on the subject.
When is the right time to prune sedum in the fall?
Timing is everything when it comes to pruning sedum. With an array of sedum varieties, each basking in the fall sun, it’s important to know when the curtain should fall on this year’s growth. For many sedum types, cutting back can be done either after the first frost, when the sedum has gone dormant, or in early spring before new growth starts. This helps avoid damaging the plant and ensures a robust regrowth the following season.

What techniques should I use to cut back sedum?
Snip, snip away—but with a technique! It’s not just about taking shears to stems; it’s about knowing where to cut. Aim to trim the sedum back to about 2-3 inches above the soil level. Make clean, angled cuts to reduce the risk of disease and remember, the goal is to promote healthier and denser growth next year, so be mindful not to over-prune!
How should I care for sedum after pruning?
Post-pruning care is like the encore to a well-played concerto. Once you’ve bid adieu to the expired foliage, it’s time to set the stage for next year’s performance. Mulching around the base can be beneficial, providing insulation from the winter chills. Additionally, watering should be reduced, as sedum prefers a dryer wintering ground. This gentle attention will safeguard your sedum and encourage a sprightly return come spring.
True to our gardeners’ quest, each snip is an ode to the future blooms. Cutting back sedum in the fall is less about saying goodbye and more about preparing for a renewal. So, when the autumn air carries whispers of change, we answer, shears in hand, ready to welcome another cycle of growth.


