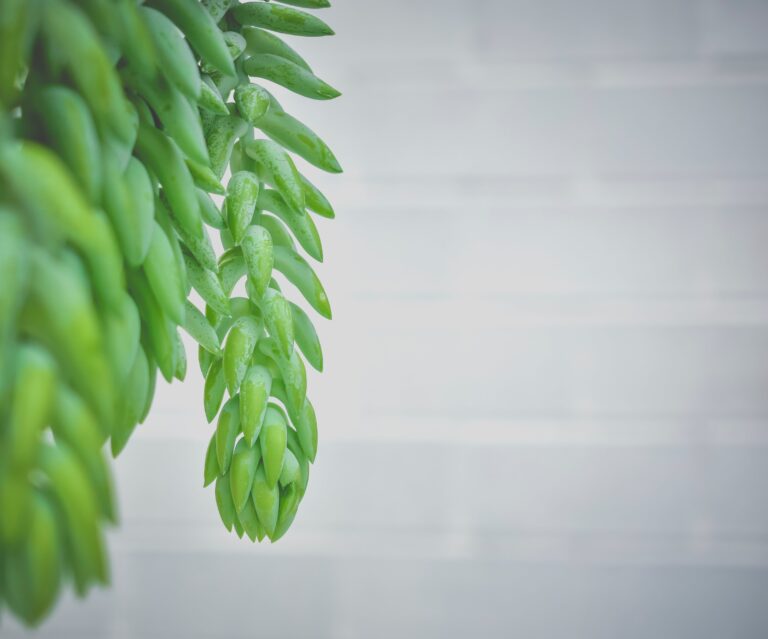
Introduction to Sedum Propagation
Discover the ease and satisfaction of multiplying your sedum plants. Learn why sedum propagation is a fantastic project for both beginner and experienced gardeners. Like a secret whispered from one gardener to another, the art of propagating sedums is shared with eager hands ready to delve into the world of succulents. It’s almost miraculous, seeing those tiny leaves or stem cuttings sprout roots and grow into full-fledged plants.
Imagine this: you have a beloved sedum that has been adorning your garden space with its sculptural beauty—and now you have the chance to create an entire display from just this one parent plant! This isn’t a tale of epic proportions but rather a simple testament to the resilience and generosity of sedums, ready to thrive and multiply with minimal intervention.
It begins with a single leaf, plucked gently from the existing plant, or a stem segment, snipped with precision. You place it on well-draining soil, step back, and let time work its magic. Weeks later, roots emerge, searching for sustenance, and soon new growth signals the start of a new life. For the beginning gardener, the wonder of creation unfolds; for the seasoned green thumb, it’s another notch in the botanical belt.
Day by day, the propagation process hums along, a green symphony orchestrated by nature’s rule. Water lightly, provide plenty of sunlight, and keep conditions optimal—not too wet, not too dry. Your sedums, like little soldiers, march onward to grow, expand, and conquer new pots or garden spaces. And so, the cycle continues, one plant becoming two, two becoming four, and so on until you find yourself the proud overseer of a verdant sedum empire.
Take a step into the world of sedum propagation, and you’ll soon find your green space transformed. It’s more than gardening; it’s a journey of growth, patience, and above all, bounty. So go ahead, make that first cut, and watch life unfold in the palm of your hands. Welcome to the rewarding voyage of multiplying your sedum collection—a tale of success written with every new sprout.
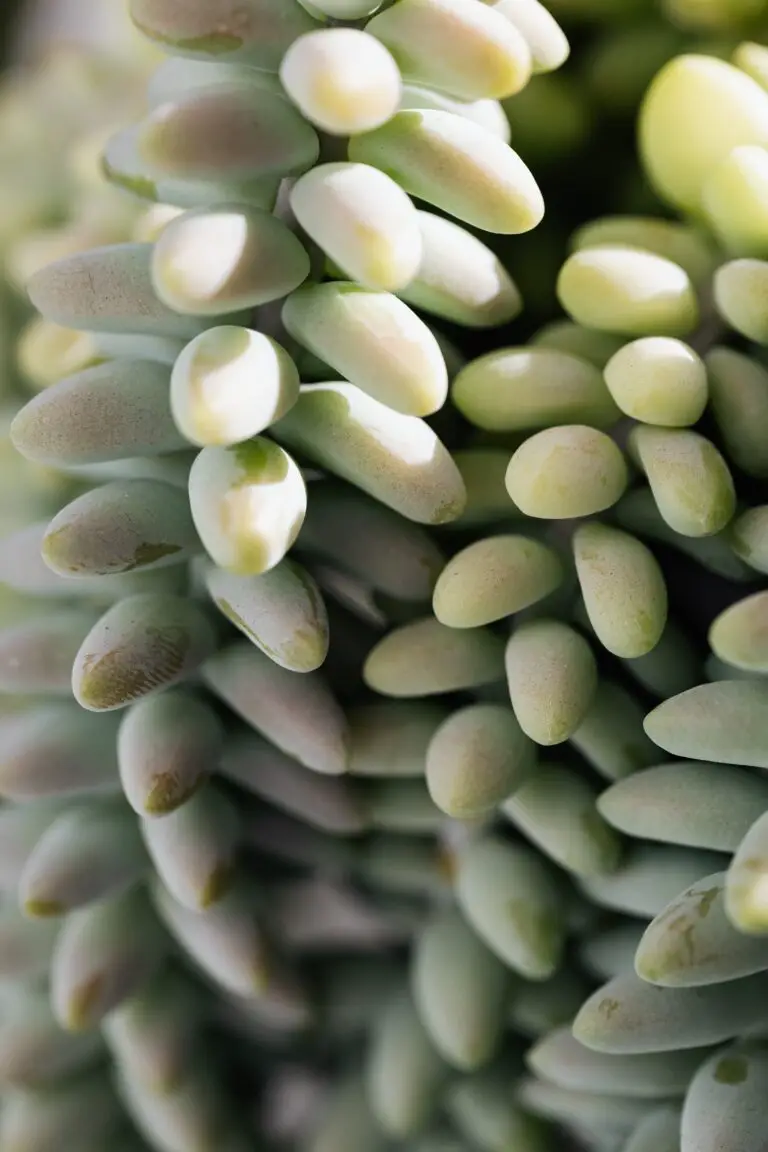
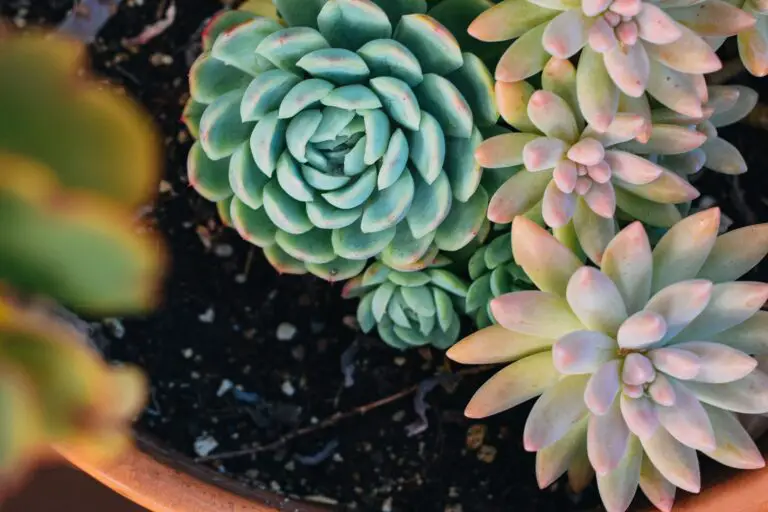
Understanding Sedum Varieties
Did you know, green thumbs, that sedum plants come in a dizzying array of shapes, sizes, and colors? It’s true! Some sedum varieties stand tall and proud, while others spread out like a lush carpet beneath your feet. Exploring the diverse world of sedums is not only fascinating but essential to pick the right match for your garden’s show. Let’s dig into the details!

Imagine you’re a botanist on an expedition, seeking the perfect sedum. You might start by looking at the hardiness of each variety—do they thrive in the unforgiving heat or keep their cool as frost decorates their leaves? It’s a botanical puzzle, and choosing the right piece is key. For those chilly northern landscapes, the ‘Frosty Morn’ sedum offers a reliable option, stepping up to the plate when the temperature drops. Conversely, in heatwaves where the sun doesn’t play favorites, varieties like ‘Autumn Joy’ or ‘Matrona’ bask in the glory without breaking a sweat (because, well, plants don’t sweat—but you get the point).
Now, about the propagation methods—some sedums love the simplicity of spreading their stems across the soil, a process called layering. Picture ‘Dragon’s Blood’ sedum painting the ground red with its vigorous growth. Check out this guide on making ‘Dragon’s Blood’ thrive. Others, like the stoic ‘Spectabile,’ prefer a more planned approach, yielding best to the snip-snap of cuttings or the delicate division of their roots. Want the full scoop on how to make more of these beauties? Swing by Balcony Garden Web for a deep dive into the specifics of sedum propagation techniques.
Before wrapping up this botanical show-and-tell, let’s not forget the climatic considerations. Certain sedums are like the all-terrain vehicles of the plant world, ready to roll in various soil conditions and microclimates. Still, paying attention to your local weather patterns is crucial for sedum success. Swing by our piece on choosing groundcover sedums that flourish in different climates for some rugged yet ravishing options like ‘Dazzleberry’.
To sum it up, sedum enthusiasts, tailor your propagation strategy to the variety’s personality—some may call for creative cuttings while others relish a more laissez-faire lifestyle. It’s a colorful journey through the sedum spectrum, and with a keen eye and a bit of know-how, your garden will soon be the envy of the neighborhood. Let’s propagate those sedums!
Propagation Methods for Sedum
Gardening enthusiasts, rejoice! If you’ve been swooning over your sedum collection and pondering over creating more of these succulent beauties, the answer is a resounding yes! You can indeed multiply your sedums, and I’m here to guide you through the foolproof techniques that will have your garden brimming with sedum splendor in no time.
First, let’s talk about leaf cuttings. Picture this: a plump, juicy leaf from your beloved sedum slipping right off and into the soil—a little piece of garden drama that’s all part of nature’s grand play. To make this happen, simply twist a leaf from the stem, give it a gentle coaxing if needed, and lay it atop a potting mix rich in perlite or pumice. Mist it lightly, and within weeks, you’ll witness the magic of tiny roots exploring their new home.
Now, onto stem cuttings. Imagine snipping a piece of your sedum’s stem—an act of garden bravery—and placing it in well-draining soil. This is where the excitement amps up, as you see the cutting erect new stations of growth, standing proud and tall like a botanical phoenix rising from its sandy bed.

But we’re not done yet. If you’re into a more hands-on approach, then division is your game. This is where you dig in (quite literally) and pull apart the clumps of sedum roots, creating new independent plants ready for their solo journey. It’s like a plant version of moving out—exciting, significant, and just a wee bit sentimental.
What’s more, you don’t have to navigate this propagation journey solo. Dive deeper into the world of sedum cultivation with a visit to our thorough guide on thriving with the resilient white stonecrop to ensure that your newly propagated sedums receive the star treatment they deserve.
By following these tried and tested propagation methods, not only will you expand your succulent collection, but you’ll also gain a deeper appreciation for the resilience and versatility of sedums. So roll up your sleeves, get your pots ready, and kick-start your sedum multiplying mission today!
Prepping Your Cuttings and Divisions
Embarking on your sedum propagation journey? Fantastic! First things, first: let’s gear up to prep those cuttings and divisions like a pro. Success in this green endeavor hinges on meticulous preparation and deft use of just the right tools and techniques. Ready to get your hands dirty? Read on!
Imagine you’re a chef. Just as you’d sharpen your knives before carving into a succulent roast, you’ll want your garden shears razor-sharp to snip sedum cuttings. Clean, precise cuts matter here – they minimize damage and give your sedum the best shot at taking root.
Don your detective hat and select the healthiest looking sedum for your cuttings—those with robust growth and no signs of disease or stress. A real-life tip from seasoned gardeners: If your sedum looks vibrant during a dry spell, that’s a prime candidate! Now, snip off a 3-to-4-inch portion of the stem for your cutting, just below a leaf node. Leaf node, you ask? That’s the part where leaves emerge from the stem – a hotspot for new root growth.
Divisions, on the other hand, are like puzzle pieces, detaching a part of the parent plant with roots already attached. Spring or early fall is your perfect window for this tactic. Gently tease apart a clump of sedum, ensuring each division has an ample section of roots. It’s like giving each new plant its own little survival kit.
Okay, it’s showtime! Once you’ve gathered your cuttings and divisions, it’s crucial to let them callus over. Exposure to air toughens up the cut end, forming a protective callus that helps ward off rot when planted. Think of it as allowing a wound to scab over before diving into a pool. Give it a few days to a week in a dry, shaded spot, and voilà, they’ll be tough enough to handle the next step in their root-making saga.
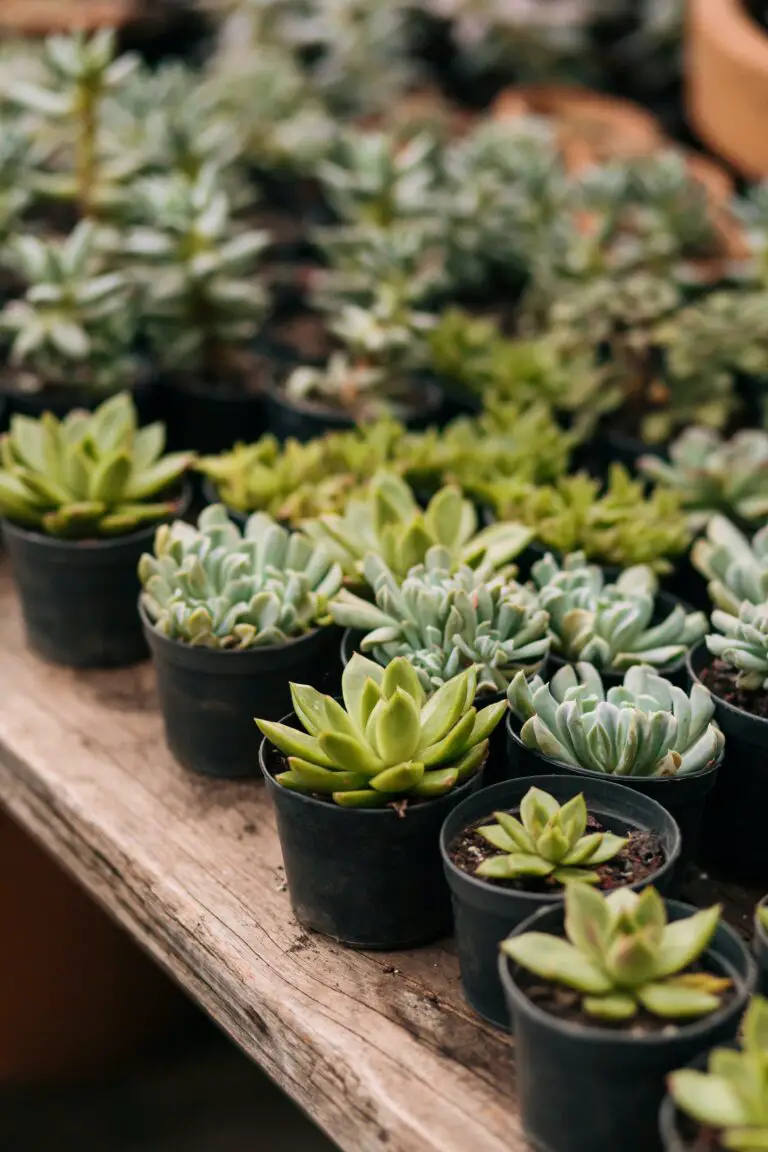
Planting and Caring for New Sedum Plants
Once you’ve mastered the art of propagating sedums, the excitement really begins as you watch your cuttings transform into thriving, full-fledged plants. Let’s delve into the essential aftercare that ensures your new green friends get the best start in life. Starting with the absolute must-haves—a stellar soil mix, the right containers, and the perfect ambiance for growth—we’ll walk you through the ins and outs of sedum aftercare. And don’t worry, we’ve all been there with the early mistakes, so I’ll share some common slip-ups to sidestep as your sedums settle into their new homes.
The Ideal Soil Mix
First things first, your sedums are craving a soil mix that mimics their natural rugged habitat. Think gritty, well-draining, and slightly alkaline. A mix of coarse sand, perlite, and potting soil should do the trick. You’re going for a texture that’s porous enough to let excess water escape, avoiding the dreaded soggy soil scenario where the roots can rot.
The Right Containers
Now, about those pots. Sedums aren’t fussy, but they do require a container that complements their soil needs. Opt for a pot with drainage holes; terra cotta is a fantastic choice as it wicks away moisture, keeping those roots nice and dry. Remember, size matters too—choose a pot that gives your sedums room to grow but isn’t overly spacious. You want to foster a cozy environment for root development without leaving too much empty space that can hold water and cause rot.
Creating the Ideal Environment
Sedums love the sun like a cat loves a warm window ledge. So, as you position your fresh propagate, seek out a sunny spot where it can soak up at least six hours of sunlight a day. But here’s a tip: avoid intense afternoon sun that can scorch tender new leaves. A little dappled shade during peak sun hours can stave off any sunburn.
And as for temperature, your sedums are pretty hardy. However, in their infancy, they appreciate a little coddling. Protect them from extreme cold and heat as they establish themselves. Think of “Goldilocks conditions”—not too hot, not too cold, but just right.
Early Care: Mistakes to Avoid
With great care comes great sedum growth, but it’s easy to slip. Overwatering is a sedum’s nemesis, so ensure you’re letting the soil dry out between watering sessions. And while it’s tempting to shower them with love, avoid overcrowding your new plants. They need breathing room to prevent moisture build-up and allow for air circulation, fending off any fungal foes.
Finally, be patient. Sedums may be slow to show signs of new growth, but don’t let that prompt over-fertilization. They’re not heavy feeders, and too much nutrient love can lead to weak, leggy plants. Stick to a light feeding schedule, and you’ll be rewarded with robust, happy sedums ready to bring life to your space.
Troubleshooting Common Propagation Issues
Hey there, green thumbs! Ready to dive into the world of sedum propagation but hitting some snags along the way? Fear not! It’s not uncommon to encounter a hiccup or two when you’re on a quest to multiply your succulent collection. Whether you’re dealing with a case of rot or playing the waiting game for roots to appear, we’ve got your back. Let’s roll up our sleeves and tackle these troubles head-on, shall we?
Spotting the Signs of Sedum Sorrow
First things first, let’s get down to the nitty-gritty of spotting problem signs. You know those plump, juicy leaves that we all adore in sedums? Well, they’re also a prime target for rot, especially if they’re sitting in too-moist soil or if your cuttings are taking a dip in water for too long. If your sedum leaves are beginning to look more like a deflated balloon than a firm, lush plant, it’s time to reassess your watering techniques.
Real-life example incoming: Imagine you’ve taken a leaf from your favorite ‘Autumn Joy’ sedum and you’re waiting for it to sprout roots. Weeks go by, but all you’re left with is a shriveled leaf and a sense of disappointment. What gives? Chances are, it was too wet, too cold, or maybe it just wasn’t its time to shine.
Root for Success: Encouraging Growth
When it comes to propagation, roots are the stars of the show. Without them, your sedums are just playing dress-up as potential plants. So, how do you coax those shy roots out of hiding? First, ensure that your environment is on point. We’re talking about the Goldilocks zone here—conditions that are not too hot, not too cold, but just right.

For those who prefer a little more assurance, there’s the classic “sandwich bag” method. Picture this: you place your sedum cutting in a sandwich bag with a touch of moisture and leave it by a sunny window. It’s like a mini greenhouse that’s just perfect for those roots to come out and party.
But beware, too much of anything, even love, can be detrimental. Steer clear of overbearance by ensuring your sedum cuttings have plenty of breathing room. No one likes a helicopter plant parent, right?
Navigating the Pitfalls: Best Practices for Sedum Propagation
Sedum propagation is not unlike a dance—sometimes you lead, sometimes you follow. By offering the right balance of moisture, warmth, and sunshine, you’re setting the stage for a spectacular performance. Yet, every now and then, even the best dancers stumble. If your sedums are struggling, take a step back. Assess your methods. Maybe it’s time to adjust the thermostat or reduce your watering frequency.
Remember, patience is a virtue, especially in the world of plant propagation. It’s a journey of discovery and learning. Even if you face setbacks, each one offers a lesson to be learned. Keep an analytical eye on your sedum’s progress, and don’t be afraid to make changes. With a bit of persistence and a lot of love, you’ll soon be the proud parent of a blooming sedum progeny.
Maximizing Success with Seasonal Tips
Ever wondered when the perfect time is to multiply your sedum collection? Ah, timing is everything, and sedums are no different! If you’re eager to grow your garden with these resilient plants, let’s dive into the seasonal know-how that’ll turn you into a propagation pro in no time.
Spring Into Action
Spring, with its symphony of blossoming flowers and warming weather, is a prime time for sedum propagation. The mild temperatures and increasing daylight set a delightful stage for new growth. Think of it as nature’s green light—sedums are waking up and ready for action! Starting your cuttings early in the season gives them ample time to establish strong roots. Plus, the consistent moisture spring showers offer means less watering on your part. Win-win!
Summer: The Sunny Side of Propagation
Who doesn’t love the summer sun? Sedums sure do! They’re sun worshipers at heart and this season is the ideal moment to take advantage of those robust, mature growths. But remember, it’s a balancing act—keep new cuttings protected from the most intense midday sun to prevent scorching. Think of it like applying sunscreen to avoid a nasty burn; those tender succulents need shelter too!
The Autumn Advantage
Fall may signal the end for some, but for sedum lovers, it’s another opportunity knocking. The cooling temperatures and shorter days invite for a less stressful transition for new plants. Don’t let the falling leaves fool you; there’s life in those stems yet! Capturing the essence of the existing growth before winter sets in makes fall an unexpectedly great time for propagation.
Winter Wonders
Winter hasn’t left our sedums out in the cold! While growth significantly slows down, if you provide a cozy indoor setup with grow lights, propagation can still be on your winter wonderland to-do list. Just a little extra warmth and light during winter’s short days can coax those cuttings into building their root systems, setting them up perfectly for spring.
Check out this video for some live-action tips on how to get the best out of your sedum propagation efforts:
Remember, each sedum has its personality, so tune in to what your specific plant pals prefer. Some like a bit more sun; others might thrive with a touch more shade. And let’s not forget about the water; these succulents don’t like soggy feet. But with these seasonal tips, you’ll have a lush landscape of sedums showing off in no time. Here’s to propagation success!
Sedum Aftercare and Growth Expectations
So, you’ve successfully propagated your sedums, and they’ve begun to take root—congratulations! But what comes next? It’s the crucial growth stage that needs your attention and care. Imagine nurturing a young athlete through their training: that’s the kind of dedication your little green protégés need. Let’s dive into what you can anticipate as your sedums burgeon from fledgling sprigs to mature, full-bodied beauties.
The first thing you’ll notice is a period of seemingly sluggish growth. But don’t be fooled; underneath that calm exterior, your sedums are establishing a robust root system. Think of it as the set-up before the grand flourish—a dedicated gymnast perfecting their routine before the performance. Provide consistent moisture (but not over-watering!) and a watchful eye during this phase.
As the weeks pass, you’ll witness a transformation akin to a caterpillar becoming a butterfly: the sedums will start to show vigorous growth. The stems elongate, and the leaves multiply, hinting at the opulent spread they’re about to exhibit. At this juncture, they’re slightly more self-sufficient, much like teenagers gaining independence, yet they still require guidance and care. Make sure they’re soaking up plenty of indirect sunlight—sedums love the spotlight, albeit not too harshly.
Now, here’s a pro tip from the seasoned gardener’s playbook: as your sedums mature, they’ll thrive with a bit of fertilizer magic. However, like a gourmet chef seasoning a dish, moderation is your friend. Opt for a balanced, slow-release fertilizer to give them a gentle nudge, not a shove.
And just as your patience starts to bear fruit, boisterous clusters of leaves and maybe some blooms will announce the arrival of a mature sedum. This is your signal that your plants are now ready to fend for themselves in the garden wilderness. But don’t stray too far; routine checks and pest patrols will ensure your sedums remain in peak form, ready to showcase their resplendent foliage.
Frequently Asked Questions
Got a burning question about sedum propagation? You’re not alone! Gardeners everywhere are curious about multiplying these robust beauties. Let’s dig into the dirt of your queries with some crystal-clear answers that’ll help you become a sedum-spreading superstar.
Can I propagate sedums just by using their leaves?
Believe it or not, sedums are the high-fivers of the plant world! Give them a leaf, and they’ll give you a whole new plant. Just pluck a healthy leaf, lay it atop moist soil, and voila – baby sedum in the making. Nature’s pretty rad, right?
What’s the best season to attempt sedum propagation?
Timing is everything, and sedums love the start of the growing season. Spring into action as the weather warms up – this gives your sedum cuttings the full grow season ahead to take root and thrive, just like launching a boat when the tide is right!
Do I need special equipment for propagating sedums?
No fancy gadgets required here! Nature’s toolkit is simple – healthy snips of sedum, a pot or patch of soil, some love and patience, and you’re good to grow. It’s like starting a campfire; you just need the basics and a bit of know-how.
Is it better to propagate in water or soil?
Sedums are the MacGyvers of the plant world – they’re resourceful! Both methods can work, but they prefer dry land. Plant the cuttings in soil, and you’ll be sending them on a luxury cruise rather than a rowboat ride.
How long does it take for sedum cuttings to root?
Like waiting for a kettle to whistle, sedum cuttings take their own sweet time. Usually, they’ll root in a few weeks, but it’s plant time we’re talking about – so give them a month or so to settle in and get comfy.
What are the signs of successful sedum propagation?
Success smells sweet and for sedums, it looks green and perky! New growth is the tell-tale sign that your green-thumb efforts paid off. Seeing new leaves is like getting a thumbs-up from your sedums – they’re happy and spreading their joy!
Championing your inner botanist is a joy, especially with sedums. They’re forgiving, they’re versatile, and they’re oh-so eager to multiply. Keep these FAQs in your back pocket, and you’ll be propagating like a pro. Here’s to your soon-to-bloom sedum sanctuary!