Introduction to Crassula Propagation
Welcome to the fascinating world of Crassula propagation! Whether you’re a seasoned plant enthusiast or just beginning to dip your toes into the world of succulents, the journey to expand your Crassula collection is as thrilling as it is rewarding. With a diverse range of species that includes the well-loved Jade Plant (Crassula ovata), getting to know the ins and outs of propagation will set you up for endless green-thumb adventures.
What makes propagating Crassula so intriguing? It’s the blend of simplicity and mystery—where a single leaf can unfurl into a robust, independent plant. Imagine walking past a beautiful display of these resilient plants and knowing that you have the key to multiplying them! Today, we peer into that unique mix of art and science that makes Crassula propagation a must-try for any plant lover.
To unravel the secrets of successful propagation, let’s consider the various methods at our disposal. Each technique offers its own set of fascinating quirks and outcomes. It’s like choosing your adventure—will you explore the mystical art of leaf-cutting, or venture into the world of stem cuttings? Perhaps the path of dividing offsets or seeds calls to you. Whatever route you choose, the end goal remains the same: a thriving addition to your botanical family.
As you embark on this green journey, don’t miss our in-depth exploration of the subject by checking out the marvels of Pagoda Crassula, where more tips and tricks await to ensure your propagation efforts blossom into success.
So let’s dive in, get our hands dirty, and let the propagation magic begin!
Understanding Crassula’s Growth Habits
Unlock the secret world of Crassula propagation with a peek into the unique growth habits that define these resilient succulents. Our leafy friends harbor a range of patterns that, when mastered, can elevate your gardening skills from casual cultivator to propagation prodigy.
Dive into the variety of Crassula species, each boasting its distinct demeanor, by following this resourceful guide to the Crassula dynasty. Embrace the knowledge that successful propagation aligns with the plant’s inherent cycles—knowing the prime seasons for propagating these succulent darlings makes all the difference. Spring and summer emerge as the champions of growth, a time when these plants are most eager to spread their roots.
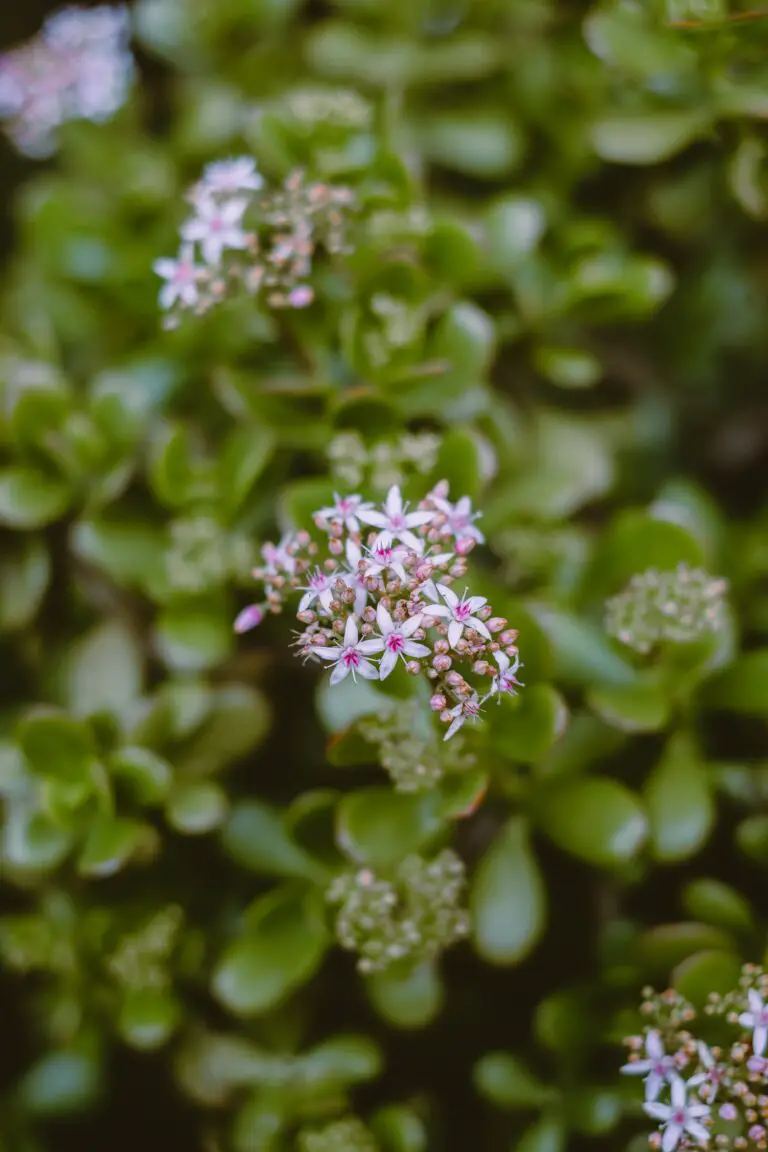
Imagine a Crassula ovata, commonly known as the Jade Plant, as it prepares to burst into a symphony of new growth. Warmth and light are its maestros, conducting the tempo of its expanding foliage. Each species dances to a slightly different tune, with variation in leaf size, color, and texture. Some might sprint to adolescence, while others savor a more measured, deliberate pace toward maturation.
In this grand ballet of growth, we are but humble spectators and nurturers. Through close observation and a tender touch, the prospect of seeing a single leaf transform into a robust, self-sustaining plant becomes a tangible joy, and the secrets of crassula how to propagate are slowly unraveled.

Remember, each Snipping carries the legacy of its parent—a genetic blueprint etched in verdure. With our guidance, these tapestries of life weave new patterns, a testament to the beauty of regeneration and the timeless art of propagation.
Preparing for Propagation: Tools & Materials
Before you can work your green magic on Crassula plants, it’s essential to gather the right toolkit for the task. Imagine you’re a gardener-scientist—precision is key! The foundational tool in your arsenal should be a pair of clean scissors or shears; think of them as your scalpel, vital for making precise cuts that encourage healthy growth.
Next up, we’re applying a touch of biochemistry with rooting hormone. This is not fairy dust, but it might as well be, for the wonders it works in encouraging new roots to form. I’ve seen it turn what could have been a propagation flop into a rooting success story! For a deeper dive into the magic of rooting hormones, check out this informative piece on how to use rooting hormones effectively.
Once the cuts are made, you’ll need the perfect potting mix. Think of the potting mix as your Crassula’s first home—it needs to be cozy and supportive, allowing for breathability and just the right amount of moisture retention.
Finally, ensure you’ve got an array of appropriate containers ready. They’ll serve as incubators for your new plants, so size and depth matter, just like choosing a pot that will best support a young plant’s growth. For more insights into Crassula care, explore our thorough guide to nurturing these succulent beauties.
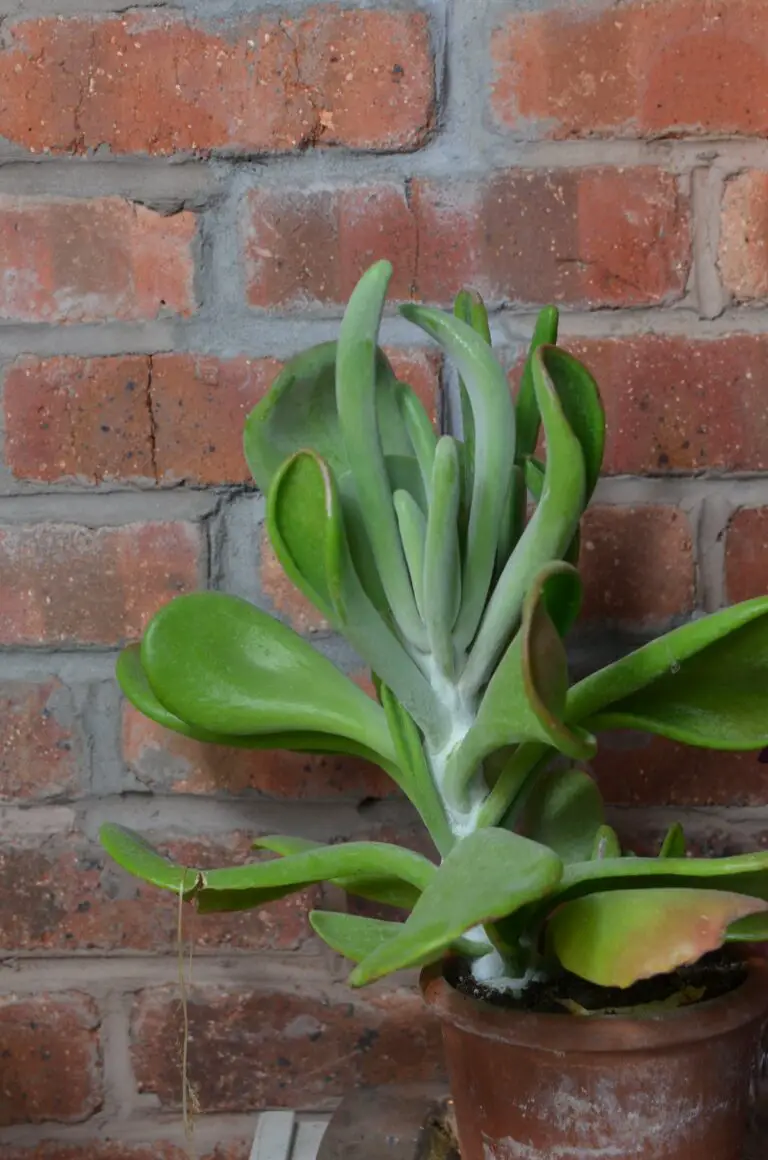
Here’s an inspiring shot to show you what successful Crassula propagation can look like:
Whether you’re a seasoned propagator or a beginner, preparation is the launchpad for your Crassula’s journey into the world. Gather your tools, don your imaginary lab coat, and let’s propagate some Crassulas!
Step-by-Step Guide to Leaf & Stem Cuttings
So you’re ready to propagate your Crassula and dive into the world of succulent gardening! Well, you’ve come to the right place. Propagation might seem like a task reserved for the green-thumbed experts, but with the right guidance, anyone can do it. Let’s cut to the chase and get those succulents growing!
Snip Snip: Taking Your Cuttings
For starters, you’ll need to harvest your leaf or stem cuttings. With a sterile pair of scissors or a razor blade, snip a healthy leaf from the mother plant, or cut a section of the stem. Keep in mind that the cut should be clean to avoid infection. Now, what you’ve got in your hand is not just a piece of plant—it’s the start of a new succulent life!
Patience is a Virtue: Callousing Over
After the big snip, patience becomes your best friend. Allow the cutting to callous over for a few days to a week. This means that the cut end will dry out and form a sort of protective seal. Why is this important? It prevents rot and gives your cuttings the best shot at taking root. Think of it as giving your plant kiddo a shield before it heads into battle.
Rooting for Success: Encouraging Growth
Once your cuttings have calloused, it’s time to encourage those roots to come out and play. Place the cutting in a well-draining soil mix—because let’s face it, no one likes soggy feet, especially not succulents. Water sparingly; overwatering is the archenemy of propagation. You want to foster an environment that whispers (not screams) moisture.
Remember, you can discover more important tips on maintaining healthy Crassula plants by visiting our full guide on Thriving Succulent Care.
Signs of Life: What to Look For
Now, the waiting game begins. In a few weeks, tiny roots should start to emerge. This is a moment for a mini celebration! But hold the confetti—we’re not done yet. Once you’ve got roots, continue to care for them with gentle watering and lots of indirect sunlight. Over time, you’ll see new leaves developing, and that’s when you truly know you’ve achieved propagation perfection.
Each Crassula is a unique individual, so expect surprises and embrace the quirks. After all, in the fascinating tapestry of succulent propagation, variation is the thread that weaves together a beautiful collection. So, stay observant, adjust your care as needed, and always celebrate the small victories.
Succulents are more than mere plants; they’re a testament to nature’s resilience and a gateway to a lush world of greenery. With each new Crassula you propagate, you’re not just adding to your collection—you’re participating in the age-old dance of growth and renewal. Happy propagating!
Caring for Your Cuttings: Light, Water, and More
So you’ve successfully propagated your Crassula and now have a bunch of eager little cuttings yearning to grow. The next steps are crucial to ensure they flourish into the robust, charming plants they’re meant to be. Let’s dive into the post-propagation care that will set your Crassula cuttings up for success.
The Ideal Light for Thriving Cuttings
Just like a newborn soaking up the world, your Crassula cuttings require the right lighting to thrive. The goal is to mimic the dappled sunlight of their natural habitat. Position your cuttings in a spot where they can get bright, indirect light. A north-facing windowsill can be the perfect stage for your young stars to perform. However, avoid direct sunlight as it can be too intense and cause scorching—like an overzealous spotlight on a delicate performer.
Watering Wisdom for Juvenile Jades
When it comes to hydration, it’s all about balance. Your Crassula cuttings are like athletes in training; too little water and they can’t perform, too much and they might ‘drown.’ Initially, keep the soil just barely moist, as their roots are still too tiny to drink deeply. Imagine if you were sipping from a tiny tea cup rather than guzzling from a sports bottle—that’s the kind of gentle watering your cuttings need.
Timing the Transplant: From Cuttings to Contenders
Understanding the right time to transplant your Crassula cuttings is like knowing when to graduate a prodigy from school. Too soon, and they might not be prepared for the world; too late, and they could become stunted. Generally, give your cuttings several weeks to develop a good root system. Once you notice robust growth and a clump of roots, it’s curtain call! Transplant them into their permanent homes, where they’ll continue to dazzle and amaze.
For a visual guide on nurturing your Crassula cuttings, be sure to check out this insightful video:
Common Mistakes in Crassula Propagation
Embarking on your propagation journey with Crassula can be exciting, but even the most green-thumbed gardeners can stumble along the path. Let’s chat about some of the classic faux pas that can trip you up and how to sidestep those garden gremlins.
Overwatering: The Soggy Pitfall
Folks often think more water equals more love, but Crassula cuttings are a bit more high-maintenance—they disdain soggy feet. It’s easy to overdo the hydration in your eagerness to see growth, but patience is key. Too much aqua, and your hopeful sprouts will be swimming towards an early grave instead of sprouting roots.
Deep Planting Cuttings: Going in Too Deep
When you plant your cuttings, it might feel like you’re tucking them into bed, but there’s no need to send them to the center of the Earth. Planting them too deep is like forcing them to wear a sweater and a winter coat in May—it doesn’t make sense and just suffocates their potential. A shallow nest is all they need to feel secure and start sprawling.
Using Contaminated Tools: An Invisible Hazard
Your scissors or shears might look clean, but under the right (or rather wrong) circumstances, they could be harboring invisible critters or fungi eager to infest your precious plant babies. Always give your tools a good clean with some alcohol or a dash of bleach in water between snips—think of it like the plant world’s hand sanitizer moment.
Now picture this: Your favorite Crassula’s leaves are glistening in the sun, you’ve got your sterile tools in hand, and you’re ready to avoid all the common missteps. It’s the little details that lead to propagation triumphs. Keep these tips in your back pocket, and watch your leafy friends flourish.
Troubleshooting: Why Isn’t My Crassula Propagating?
So you’ve dipped your green thumbs into the world of Crassula propagation, but instead of basking in the glory of tiny new succulent babies, you find yourself staring at lifeless cuttings. It’s alright; even the most seasoned gardeners face off against propagation perplexity. Let’s uproot these issues together!
The Cuttings Conundrum
When you snip away at your Crassula, dreaming of the lush, leafy offspring, it can be disheartening to see your cuttings flop. Remember Steve, our Crassula champion from next door? Even his cuttings failed to take root when he skimped on the aftercare. Keep your cuttings moderately moist and cocooned in a warm, but not scorching, environment. Think of it as a nursery for your newborn plantlets—they need gentle care.
Leafy Lament: Wilted Soldiers
And what about Lisa from the local plant club? She watched helplessly as her Crassula leaves went limp like overcooked spaghetti. Turns out, she had drowned them in her eagerness. Even succulents with their desert descent can’t swim. The trick is to mist them with the moderation of a desert rainfall. Just enough to quench their thirst without suffocating their spirit.
Rooting Roadblock
It’s a familiar story: you follow the steps, wait with bated breath, but the roots seem to have stage fright. This could be a sign your cutting is throwing a silent tantrum because of the unsuitable soil. Just as a cake flops with the wrong ingredients, so too will your propagation efforts if the soil doesn’t drain like a well-functioning sieve. Take a page out of Greg’s garden diary and mix in some perlite or coarse sand to achieve that ‘goldilocks’ zone of hydration.
As you navigate the peaks and valleys of propagating these delightful green gems, remember to observe, adapt, and treat each cutting as a unique project. Now, for a bit of visual learning, watch this video for more insight into overcoming the typical Crassula propagation pitfalls:
Embrace the trials as part of the growing journey. With each attempt, you’re one step closer to unlocking the Crassula propagation secrets. Keep these tips in your gardening toolkit, and soon, you’ll watch in awe as your efforts take root and flourish.
Advanced Techniques for the Avid Propagator
Welcome to the inner sanctum of Crassula propagation, where we elevate the art of growing these succulent treasures to new heights. Are you ready to discover the horticultural secrets that can help your Crassula babies thrive? Then brace yourself for a deep dive into the world of advanced propagation techniques, tailored just for the green-thumbed enthusiast like you!
First up: grafting. It may sound like the stuff of lab coat-clad scientists, but in reality, it’s an accessible trick for the home gardener. Imagine taking a sturdy Crassula stock and imbuing it with the vigor of a different variety’s scion. The fusion of two different plants can create stunning and resilient specimens that will be the envy of your plant-loving peers.
Let’s not overlook growth accelerators. These are not the shadowy elixirs of old gardening tales but are well-researched substances that encourage your Crassula cuttings to take root faster and grow stronger. With judicious use, your propagating prowess will skyrocket as you watch your cuttings transform into full-fledged plants in record time. It’s like giving them a headstart in the race to lushness.
Half the fun of propagation is experimentation. Take, for example, our fellow enthusiast Georgia. She mixed a pinch of cinnamon into her potting mix, a natural rooting hormone, and found that her Crassula ovata cuttings developed roots quicker than ever. And then there’s Sam, who swears by the “moonlight method,” placing his propagating trays in the gentle moon glow and claiming it enhanced the growth rate. Now, while I can’t promise moonlit magic, isn’t it exhilarating to try these creative twists?
Whether it’s grafting genius or accelerators aiding growth, always remember that the true secret to Crassula propagation success lies in the love and attention you provide. So go ahead, arm yourself with these advanced techniques, and transform your garden into a thriving oasis of verdant Crassula variety. Who knows what incredible hybrids and growth you’ll witness with just a sprinkle of ingenuity and a whole lot of plant passion!
Embracing the Magic of Grafting
At this point, you’re not just another gardener; you’re a Crassula conjurer, wielding the wand of grafting with finesse. Bear in mind that the compatibility of your stock and scion is crucial – it’s like a botanical matchmaking service where finding the right pair leads to a happily-ever-after of lush growth. With practice, you’ll soon be creating Crassula masterpieces with the knack of a seasoned grafting guru.
Growth Accelerators: The Need for Speed
Perhaps you’re craving speed in your propagation process? Growth accelerators are your new best friends. From synthetic auxins to organic seaweed extracts, these catalysts can fortify your propagation routine with remarkable vigor. But remember, with great power comes great responsibility – use these accelerators with care to avoid overwhelming your delicate new starts.
From Tiny Cuttings to Thriving Plants: The Growth Journey
Taking a small cutting from a mature Crassula can be the start of an exciting journey. The process, often imagined as a simple snip-and-plant, actually unfolds as a fascinating story of transformation. Let’s dive into the stages of growth a Crassula cutting experiences, drawing from the life stories of these resilient succulents.
Initial Root Development: Setting Down New Foundations
Imagine you’ve selected a healthy Crassula cutting; its journey begins. The first chapter is all about root development. Within the first week or two, your cutting will start to show tiny white tendrils reaching out into the soil. These are not just roots; they are lifelines, drawing in water and nutrients to support what comes next.
During this initial stage, a delicate balance of watering is crucial. Too much moisture could rot the cutting, while too little could dry it out. It’s like nurturing a tiny spark of life, encouraging it to grow brighter.
From Roots to Shoots: The Green Emergence
With roots established, the real magic begins. What was once a bare stem starts to sprout vibrant green leaves. Depending on the species and care, this stage can range from a couple of weeks to a month. Each new leaf is a victory, a testament to the plant’s will to grow.
Crassula’s resilience is most evident here; even under less than ideal conditions, they push forth growth, driven by an invisible force within their cells. It’s a lesson in patience and optimism, watching these tiny shoots expand into a miniature version of their parent.
Cultivating Maturity: A Full-Fledged Succulent
The growth journey of a Crassula cutting culminates in the emergence of a full plant, complete with the unique characteristics of its species. This can take several months to a year, but the transformation is worth the wait.
As growers, we become witnesses to a life unfolding. Each Crassula has its own narrative, from a cutting that struck roots against all odds, to a robust plant that adds a touch of greenery to its surroundings. The timeline varies, and so do the stories, but the result is always a lush, self-sufficient Crassula that started from a mere snippet of its ancestor.
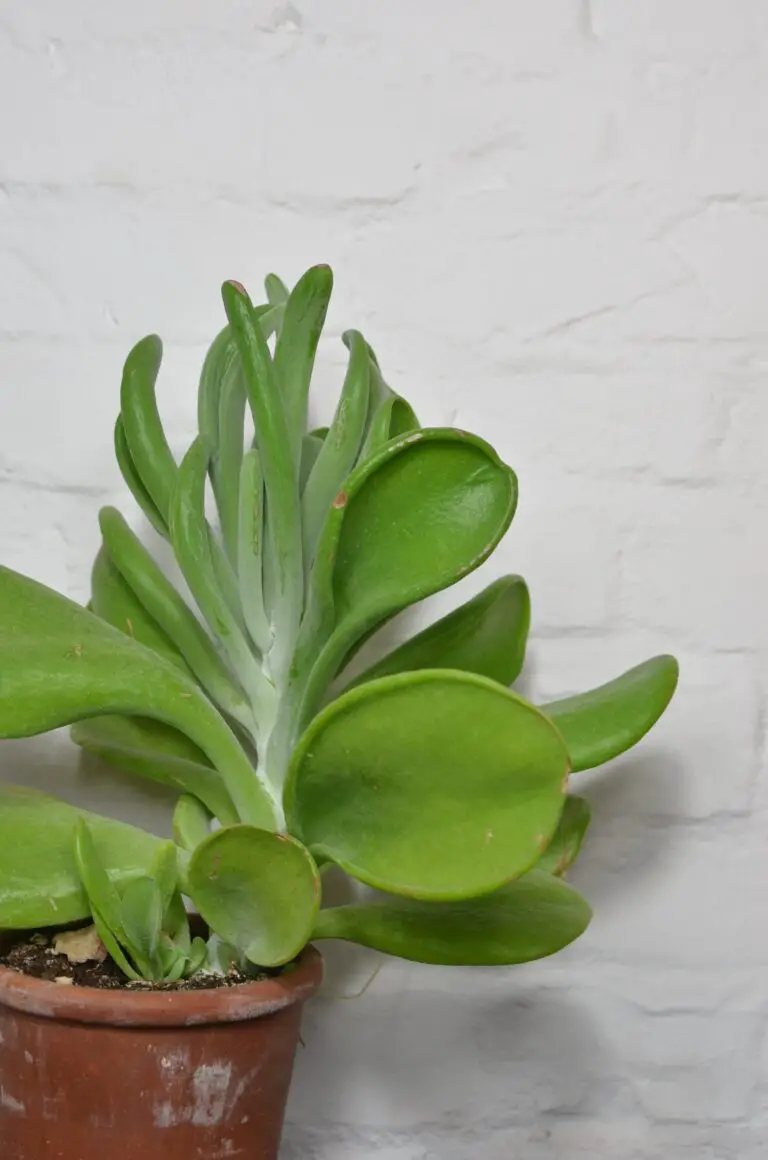
The kind of personal timeline you can expect is as varied as the Crassula species themselves—a testament to the adventure of propagation. Whether it’s a Crassula ovata with its thick, jade-like leaves or a Crassula arborescens with its silvery-blue hue, the journey from tiny cuttings to thriving plants is a tale of hope and growth that never ceases to amaze.
Crassula Propagation Secrets: Tips for Growing Success
Frequently Asked Questions
Embarking on the journey to propagate your Crassula can be a rewarding adventure filled with anticipation and excitement. Let’s delve into the common questions plant enthusiasts often ponder, and unlock the secrets to flourishing Crassula babies!
Q: Can I really propagate Crassula from a single leaf?
A: Absolutely! The resilience of these succulents is astounding. A healthy leaf, when placed on well-draining soil under the right conditions, will initiate roots and a new plantlet will bravely emerge. Remember to let the leaf callus over for a day or two before laying it on the soil to thwart any unwanted rot.
Q: Is water propagation more effective than soil propagation for Crassula?
A: This often depends on personal preference and climate conditions. However, I’ve witnessed roots spring to life within two weeks when using the water propagation method, while soil propagation may require a bit more patience. For a visual guide, here’s a compelling video detailing the differences between water and soil propagation for these plucky plants.
Embedding the video…
Q: My propagated leaf is shriveling up. Is all hope lost?
A: Fear not! Shrivel is a part of the Crassula leaf’s natural process as it uses its stored water to develop roots. If the environment is ideal — think bright, indirect light and warm temperatures — you’ll soon see signs of growth. Just remember: the key is to resist the urge to water until there’s a significant root system.
Q: How long does it take for a Crassula to root and grow new shoots?
A: Patience is a virtue, especially in propagation. Typically, it can take several weeks to see root formation, and a few more for baby shoots to make their debut. Throughout this time, maintain consistent conditions and resist poking around too much — roots are shy and fare better without disturbance.
Real-life success stories? I’ve seen a humble leaf transform into a robust, full-sized plant in under a year. That’s the magic of propagation. Keep these tips and tricks in mind, cater to your green friends’ needs, and soon you’ll be the proud parent of a whole clan of Crassulas!