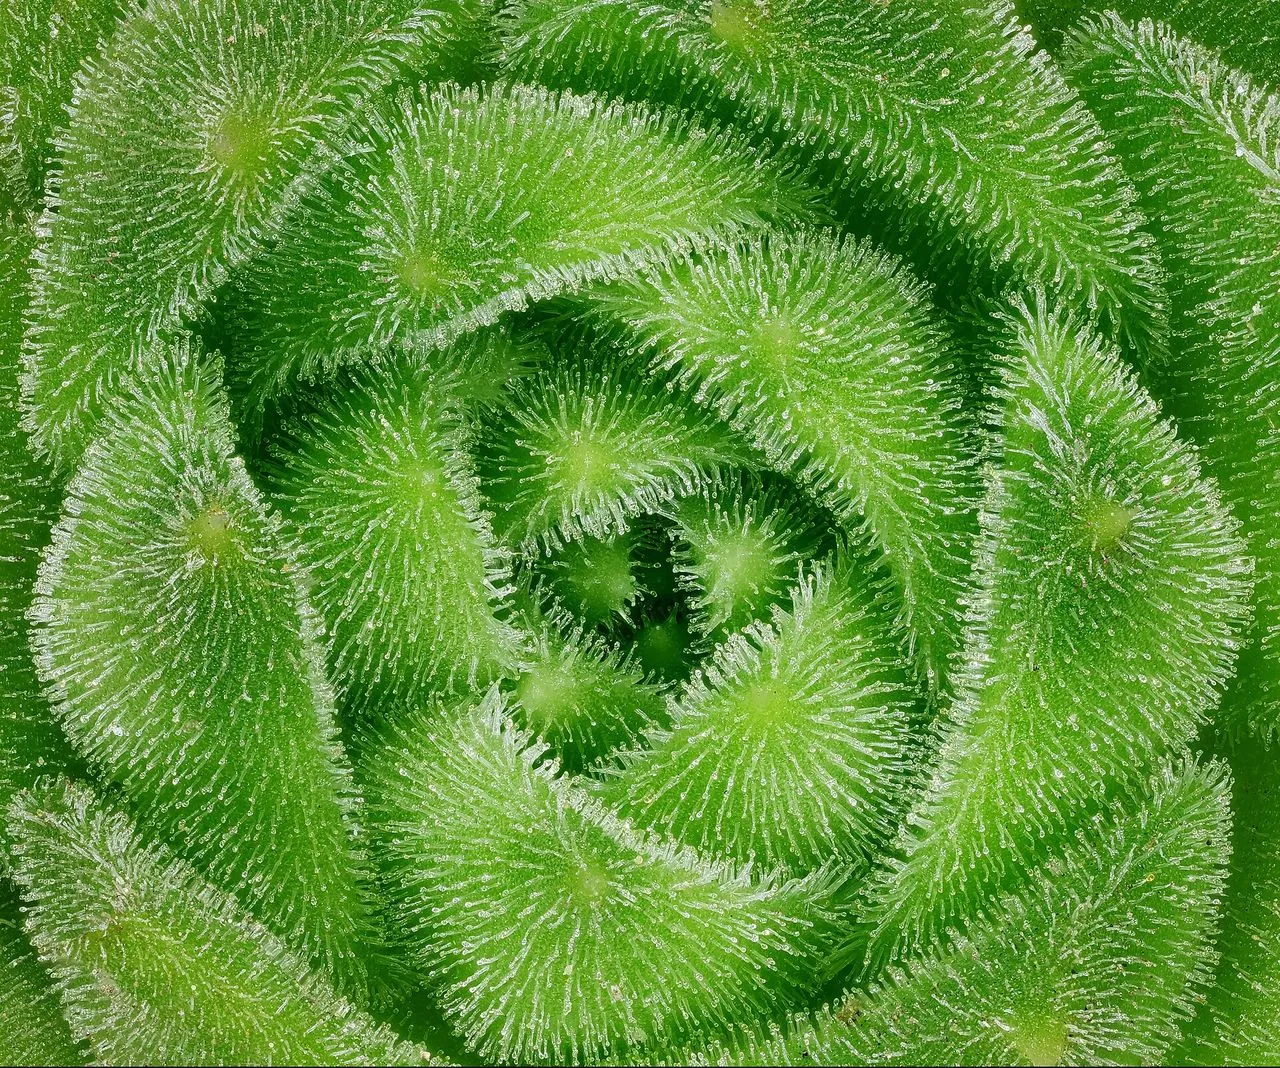
From the Field
A reference for the soft, slow-growing,
and quietly resilient.
Comprehensive cultivation guides to Crassulaceae, Asphodelaceae, Agavoideae and the rest of the plants that hold their water in their leaves. Written by a certified horticulturist working from a real collection.
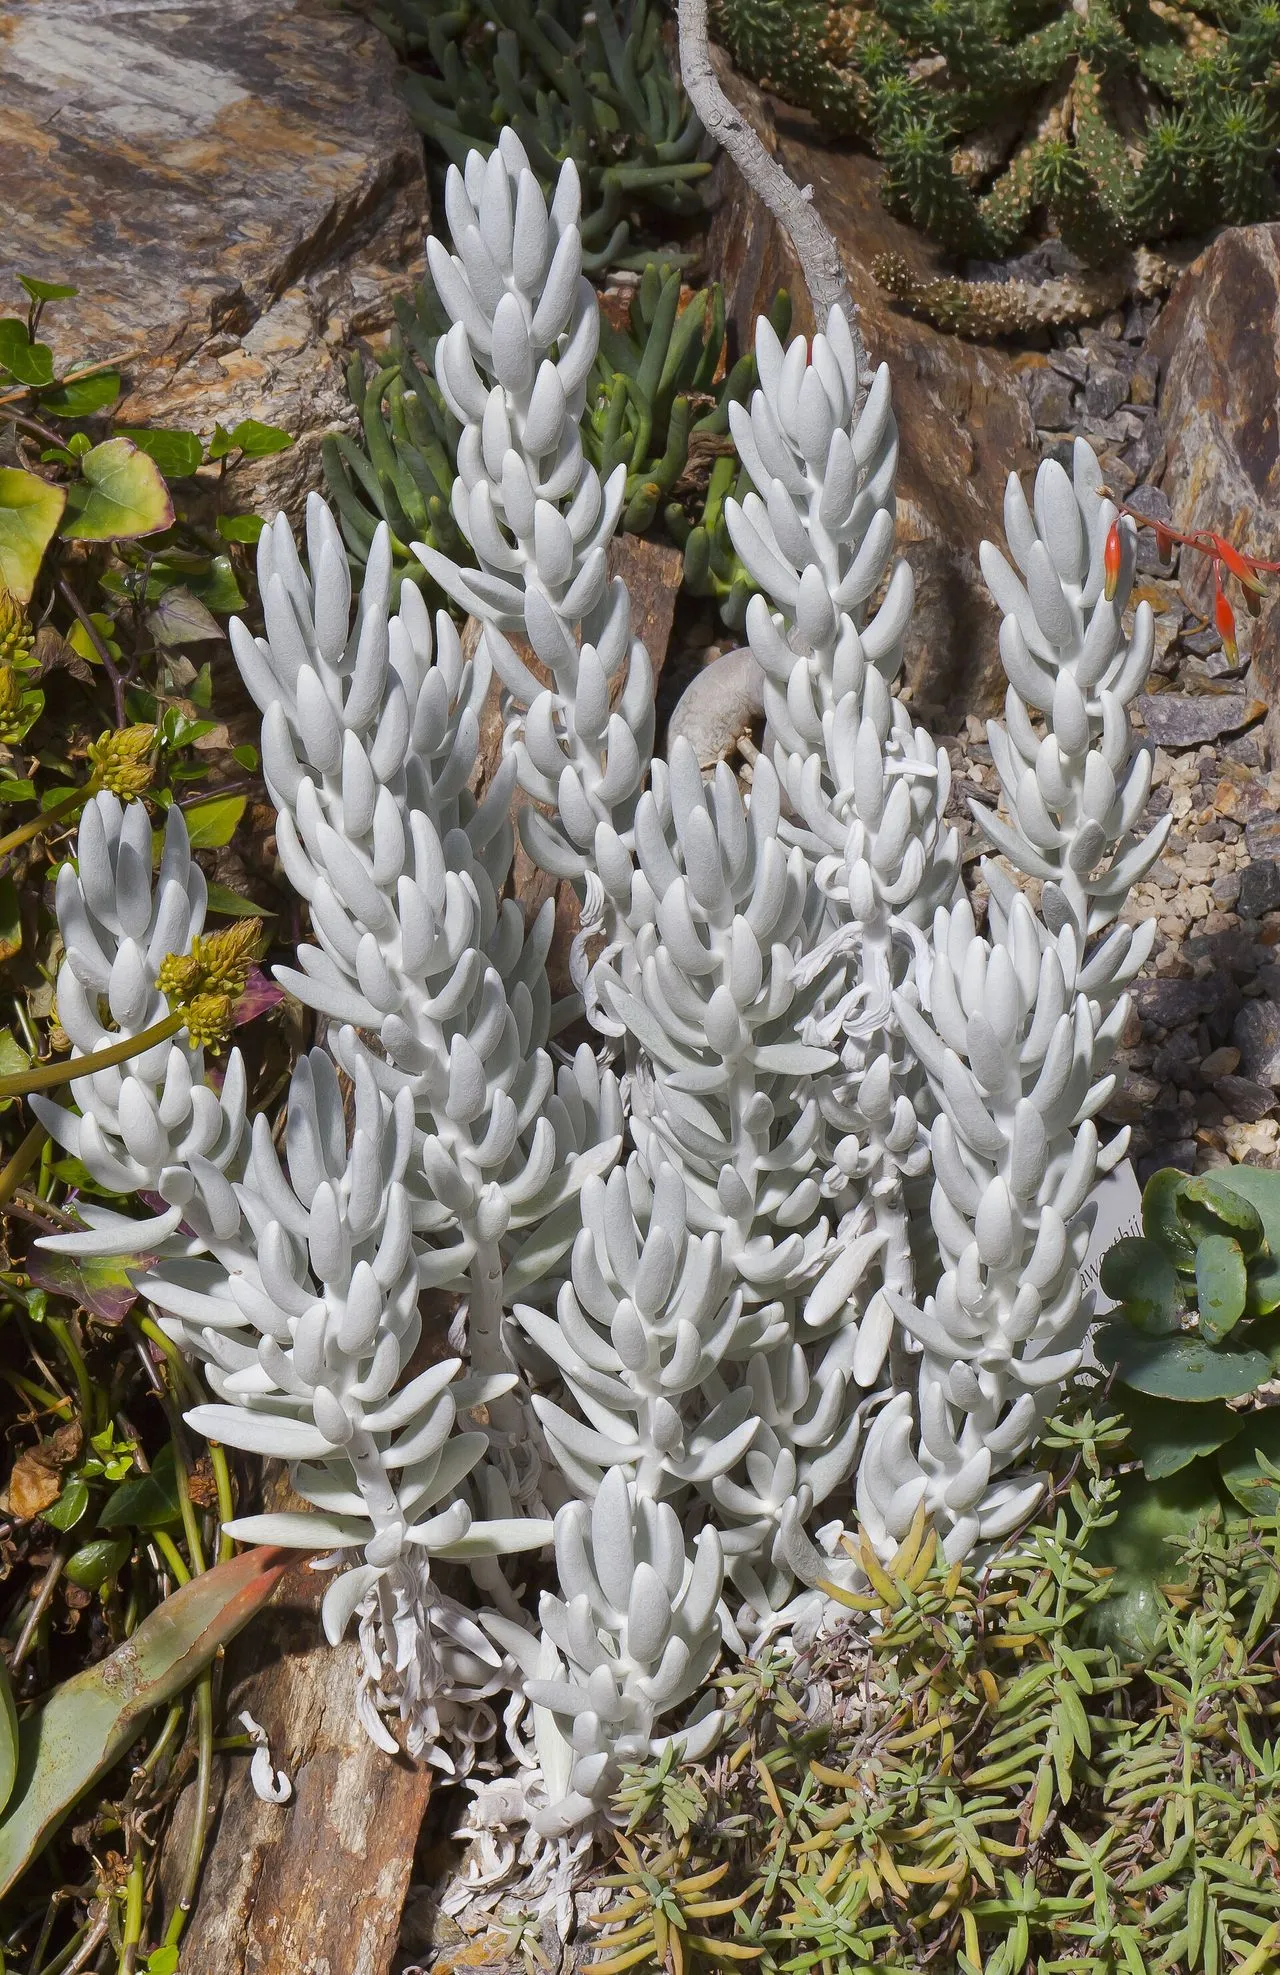
By Genus
Browse the collection
Recently Added
From the editorial bench
Aphids on Echeveria: Identify, Treat, and Prevent Infestations
Aphids target Echeveria flower scapes and new leaf growth, causing distortion, honeydew, and secondary mould.
Echeveria Stretched and Leggy: Why It Happens and What to Do
A leggy Echeveria is etiolated from insufficient light. Learn how to stop new stretching, when to behead, and how to prevent repeat growth.
Aloe Vera Yellow Leaves: Causes, Diagnosis & Recovery
How to diagnose yellow Aloe vera leaves from over-watering, drought, iron lockout, low light, and normal senescence, with targeted fixes for each cause.
Echeveria Edema: What Those Blisters and Corky Patches Mean
Raised blisters and corky patches on Echeveria leaves are plant edema, an overwatering symptom not a disease.
Echeveria Spots on Leaves: Sunburn, Edema, Pests and Disease
Spots on Echeveria leaves may be permanent sunburn, edema, pest damage, fungal disease, farina loss, or mechanical scarring. Diagnose by texture and spread.
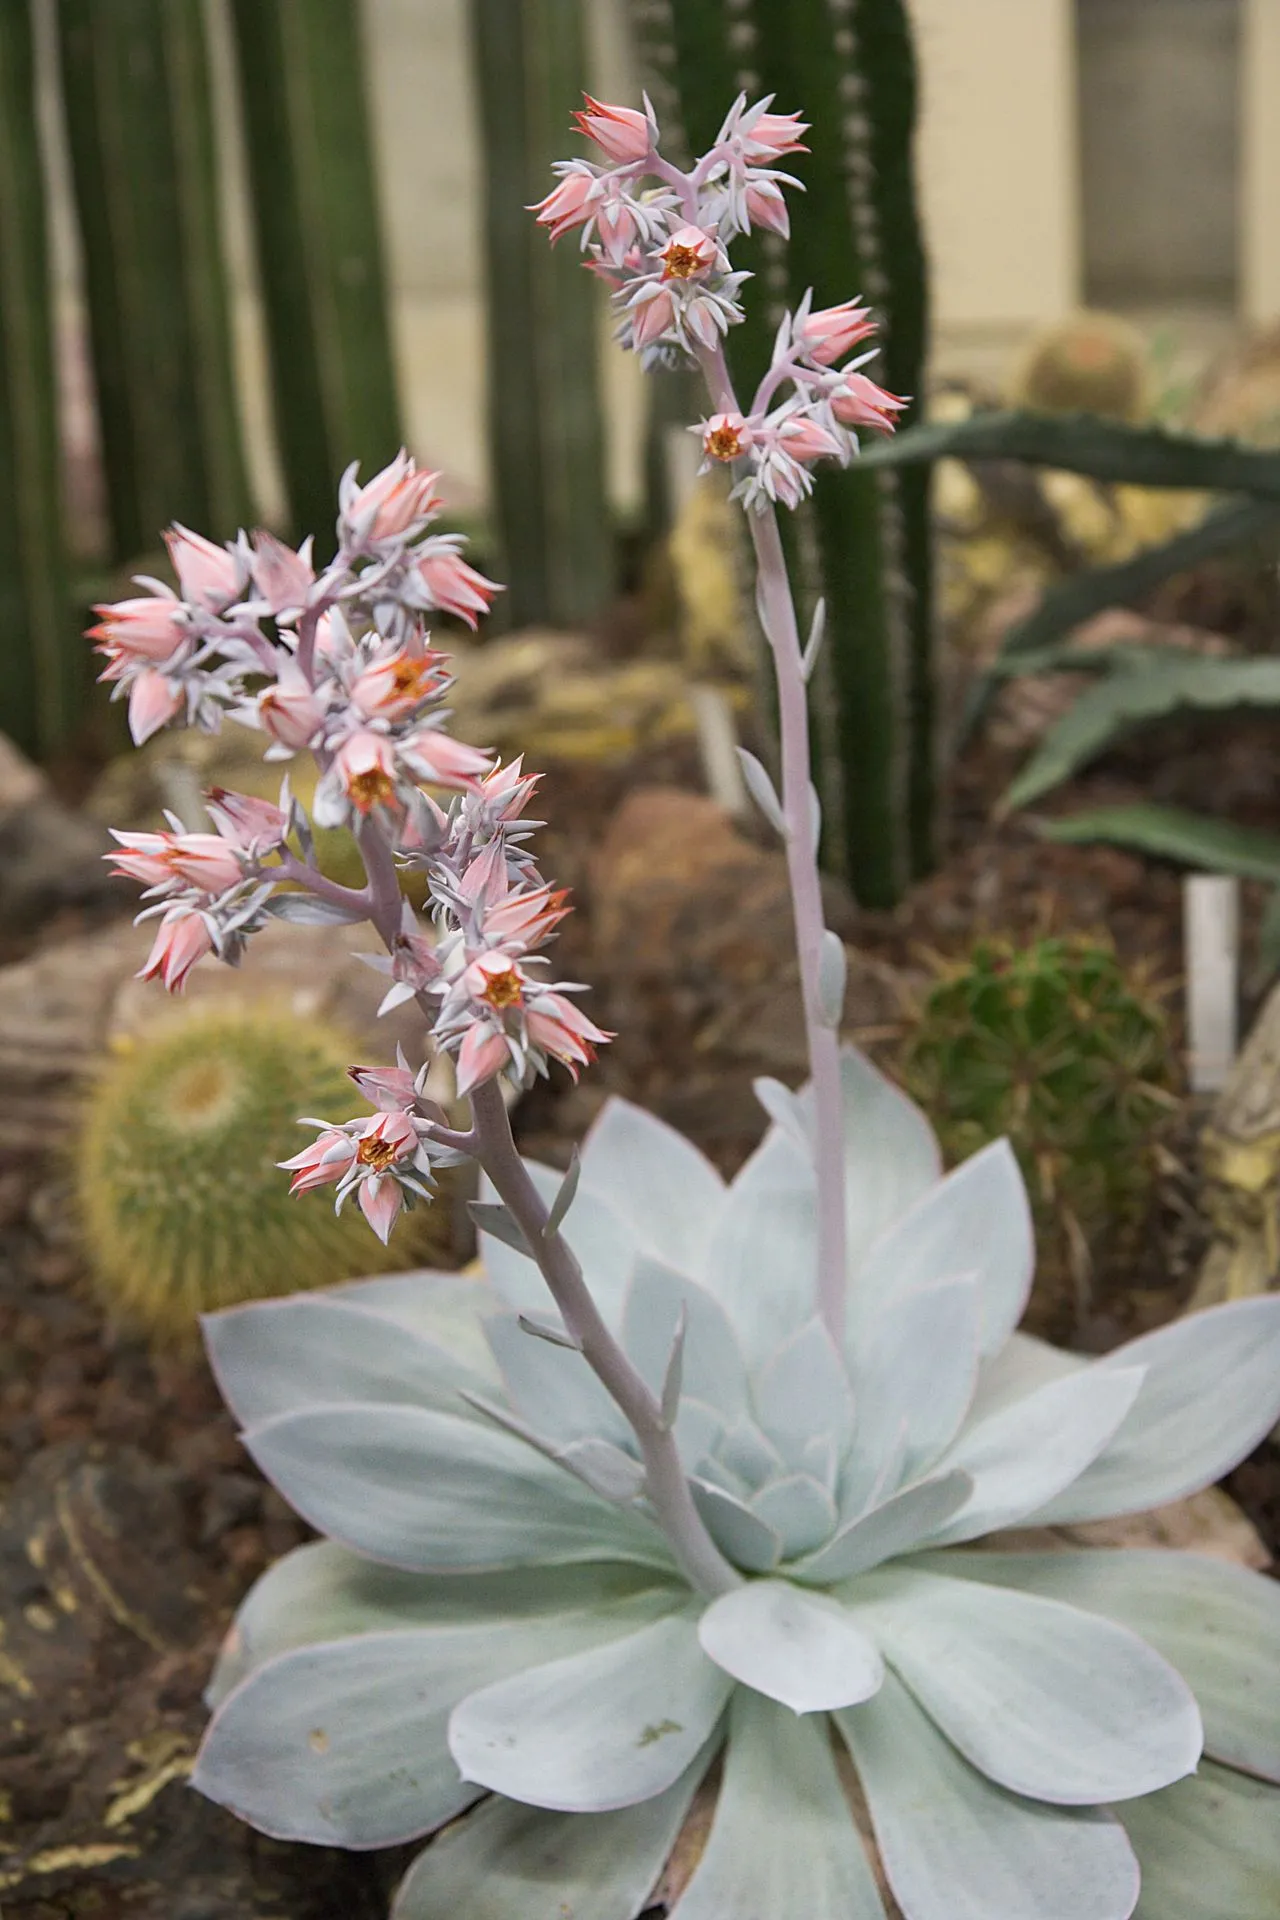
Echeveria Not Flowering: Light, Maturity, and Seasonal Cues
An Echeveria that will not flower is usually immature, under-lit, or lacking the seasonal temperature shift that triggers bud initiation.
Aloe Vera Leggy: Etiolation, Long Necks & How to Fix Shape
Why Aloe vera gets leggy, how to distinguish etiolation from normal stem age, and how to correct light, repotting, and long-neck structure safely.
Aloe Not Blooming: Why Your Aloe Won't Flower & How to Fix It
Why aloes fail to flower, covering age requirements, dormancy cues, light levels, pot size, and temperature triggers, with practical steps to encourage…
Aloe Vera Red Tips: Sun Stress, Anthocyanins & Actual Sunburn
Why Aloe vera leaf tips turn red or orange, distinguishing harmless anthocyanin stress-colouring from permanent sunburn damage, with practical light…
Echeveria Crown Rot: Saving a Rosette When the Centre Turns Mushy
Soft, brown, or translucent tissue at the growing point of an Echeveria rosette is crown rot — the most time-critical succulent emergency.
Echeveria Leaves Turning Yellow: Causes and Recovery
Yellow Echeveria leaves can be normal senescence, over-watering, root rot, drought, low light, or nutrient stress.
Echeveria Mealybug Treatment: Remove Pests Without Damaging the Rosette
Mealybugs hide in Echeveria leaf axils and roots. Treat visible insects with alcohol swabs, isolate plants, inspect roots, and repeat weekly.
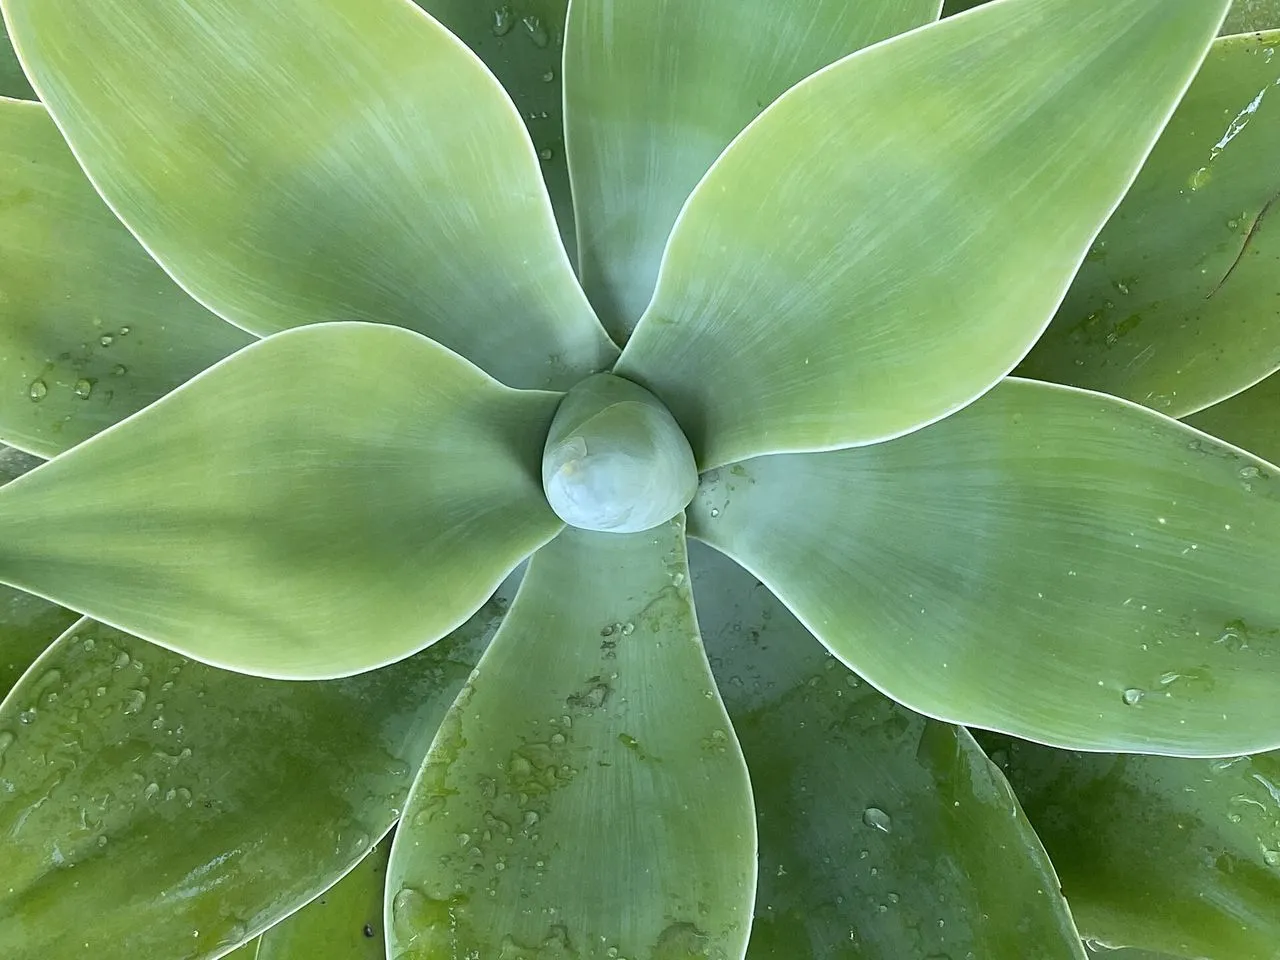
Complete Guides
Pillars for every genus
The Complete Sedum Guide: Stonecrop Identification, Cultivation & Propagation
Identify the plant as creeping, upright, pendant, or dwarf before deciding sun, water, hardiness, and propagation.
The Complete Sempervivum Guide: Identification, Cultivation & Propagation
Comprehensive guide to the genus Sempervivum: alpine origins, taxonomy, cold-hardy cultivation, monocarpy, propagation from offsets, and common…
The Complete Senecio Guide: Taxonomy, Cultivation & Propagation
Comprehensive guide to succulent Senecio (and the reclassified genus Curio): taxonomy, identification, light, water, substrate, propagation, pruning…

The Complete Kalanchoe Guide: Identification, Cultivation & Propagation
Comprehensive guide to the genus Kalanchoe: taxonomy, identification, photoperiodic flowering, propagation from cuttings and leaf bulbils, pruning…
The Complete Agave Guide: Identification, Cultivation & Propagation
Comprehensive guide to the genus Agave: taxonomy, morphology, light and watering needs, cold hardiness, propagation by offset and bulbil, and common…
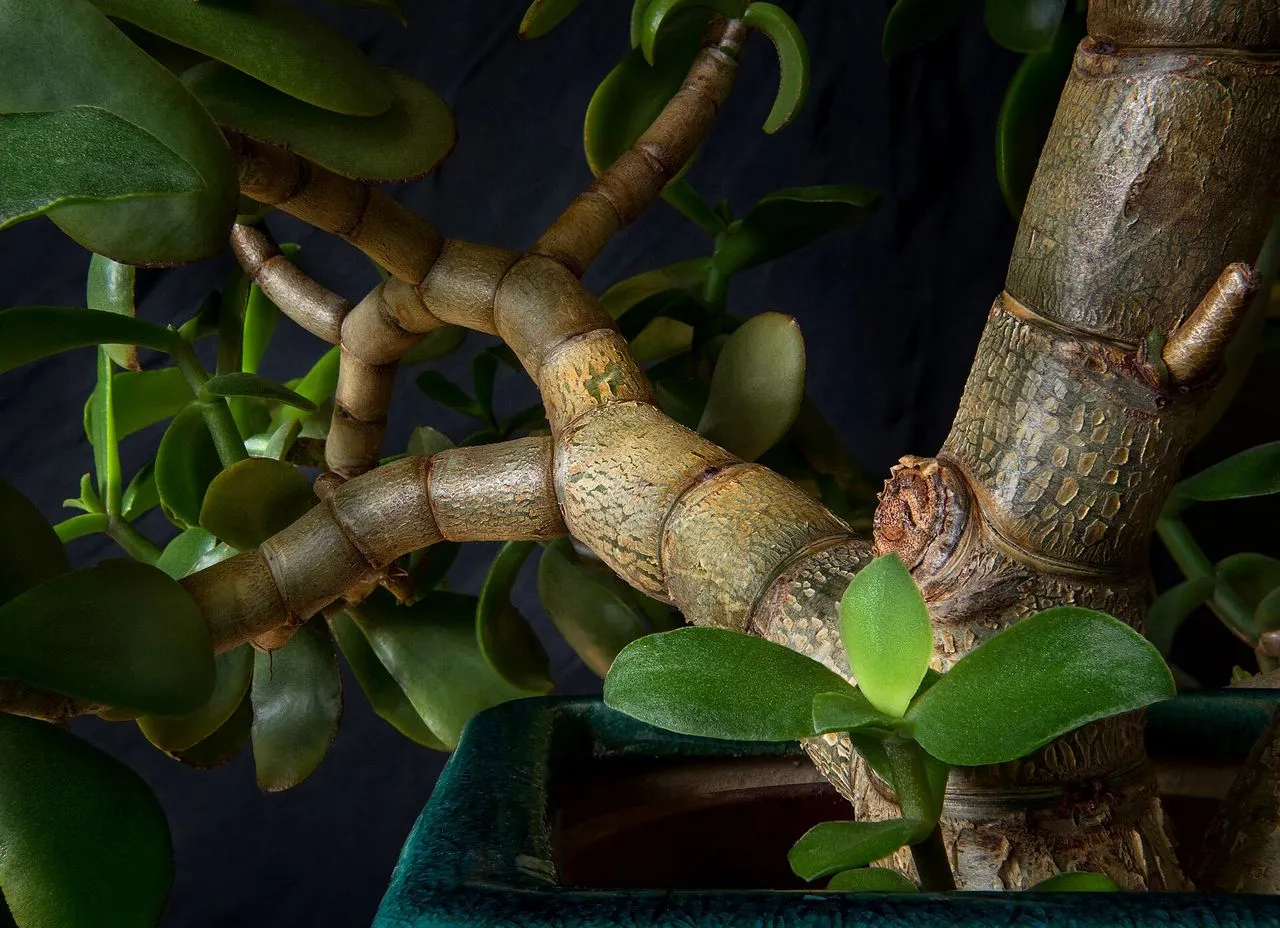
The Complete Crassula Guide: Taxonomy, Cultivation, Propagation & CAM Physiology
Start with a gritty mix and the brightest south or west window available.
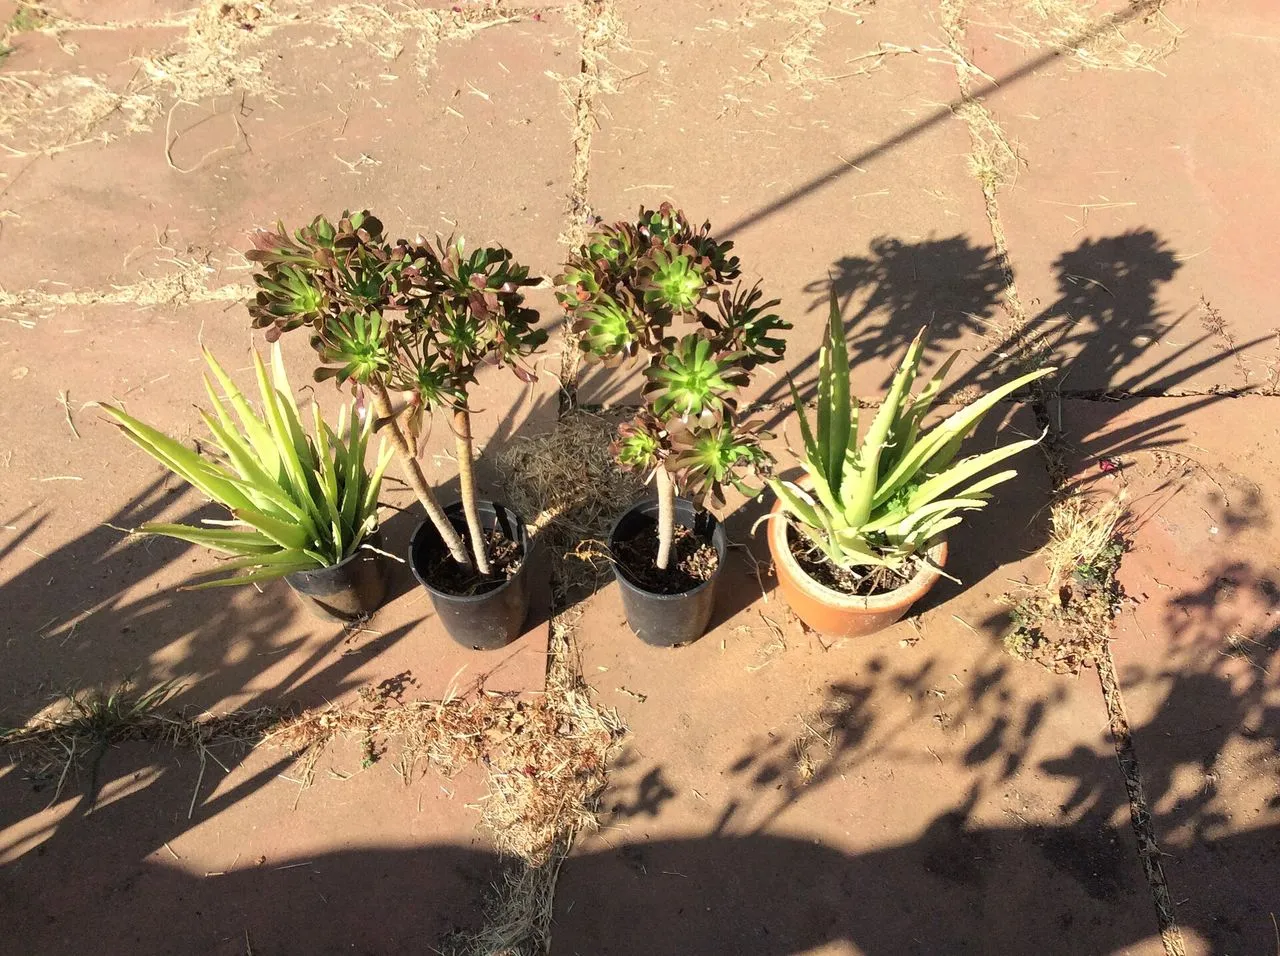
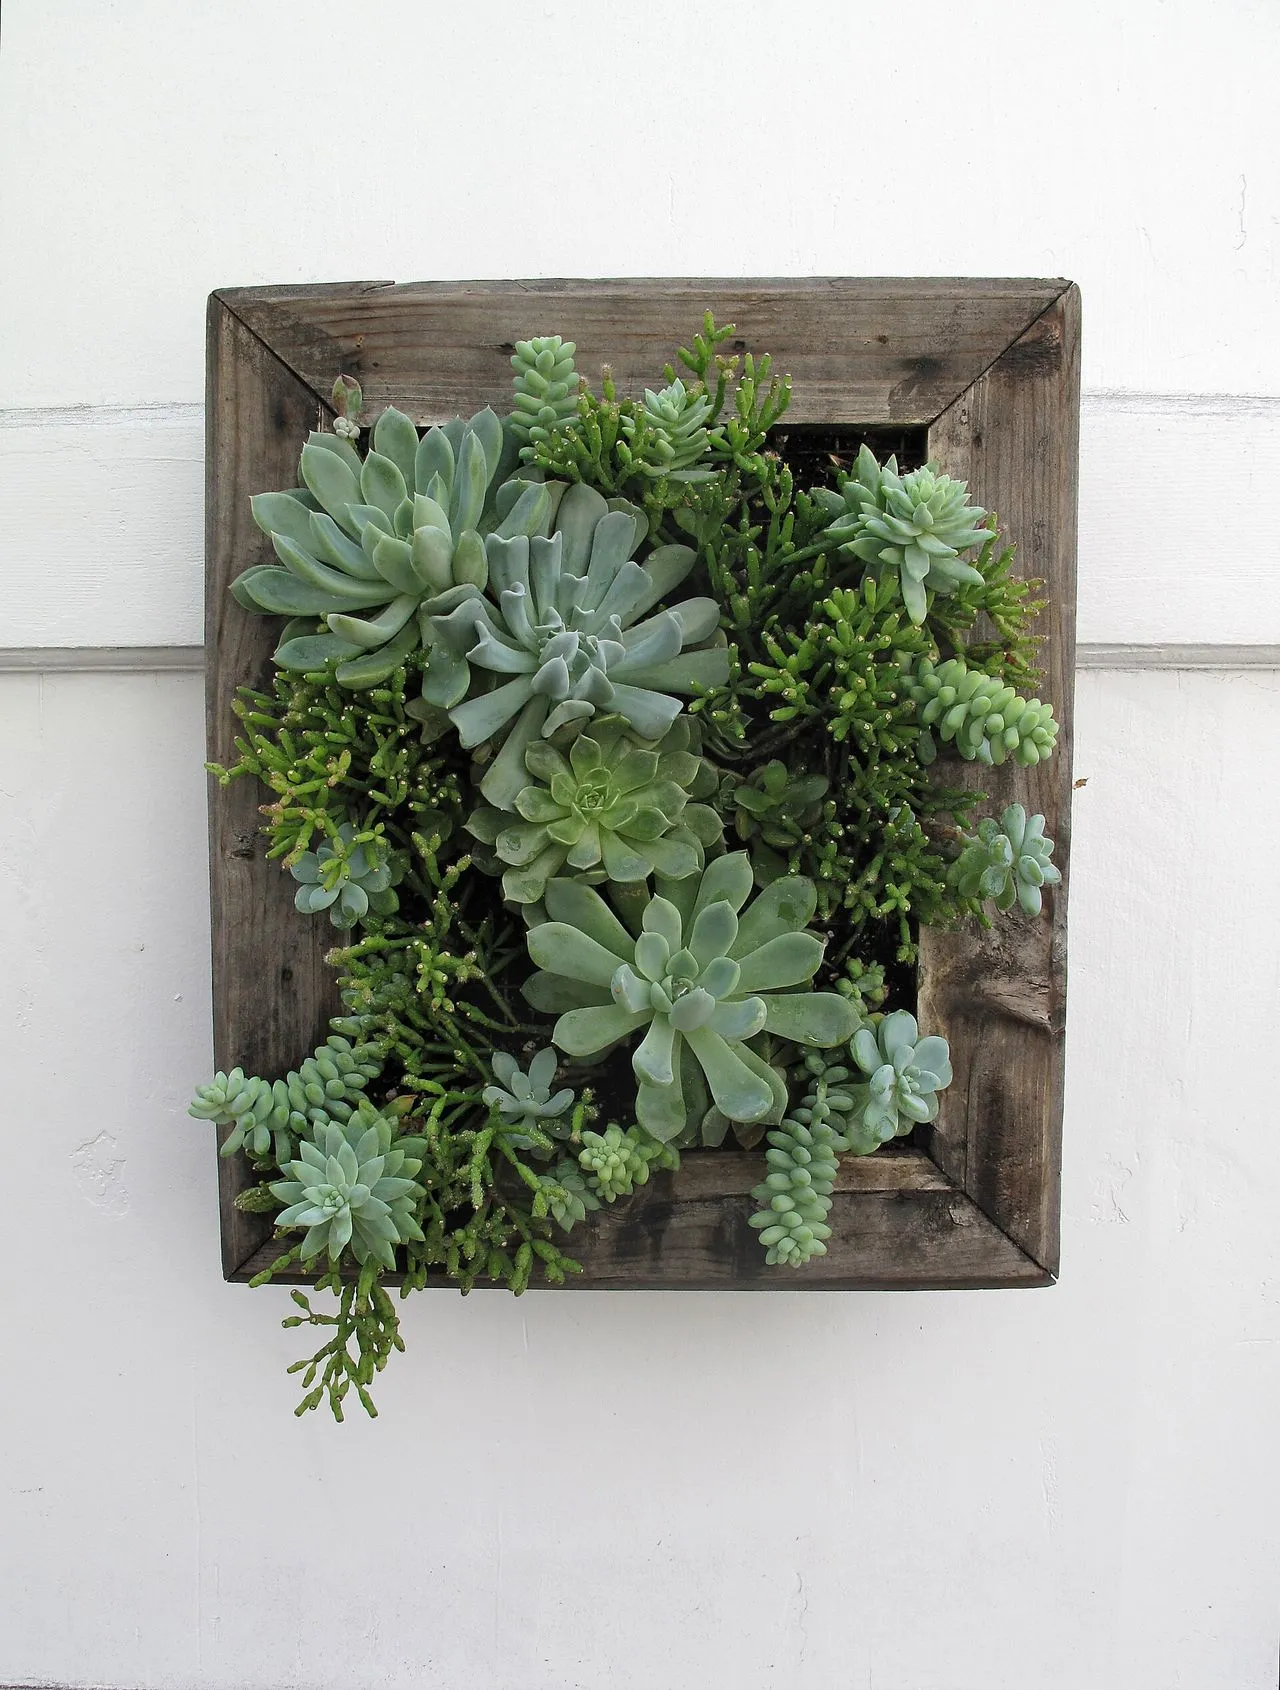
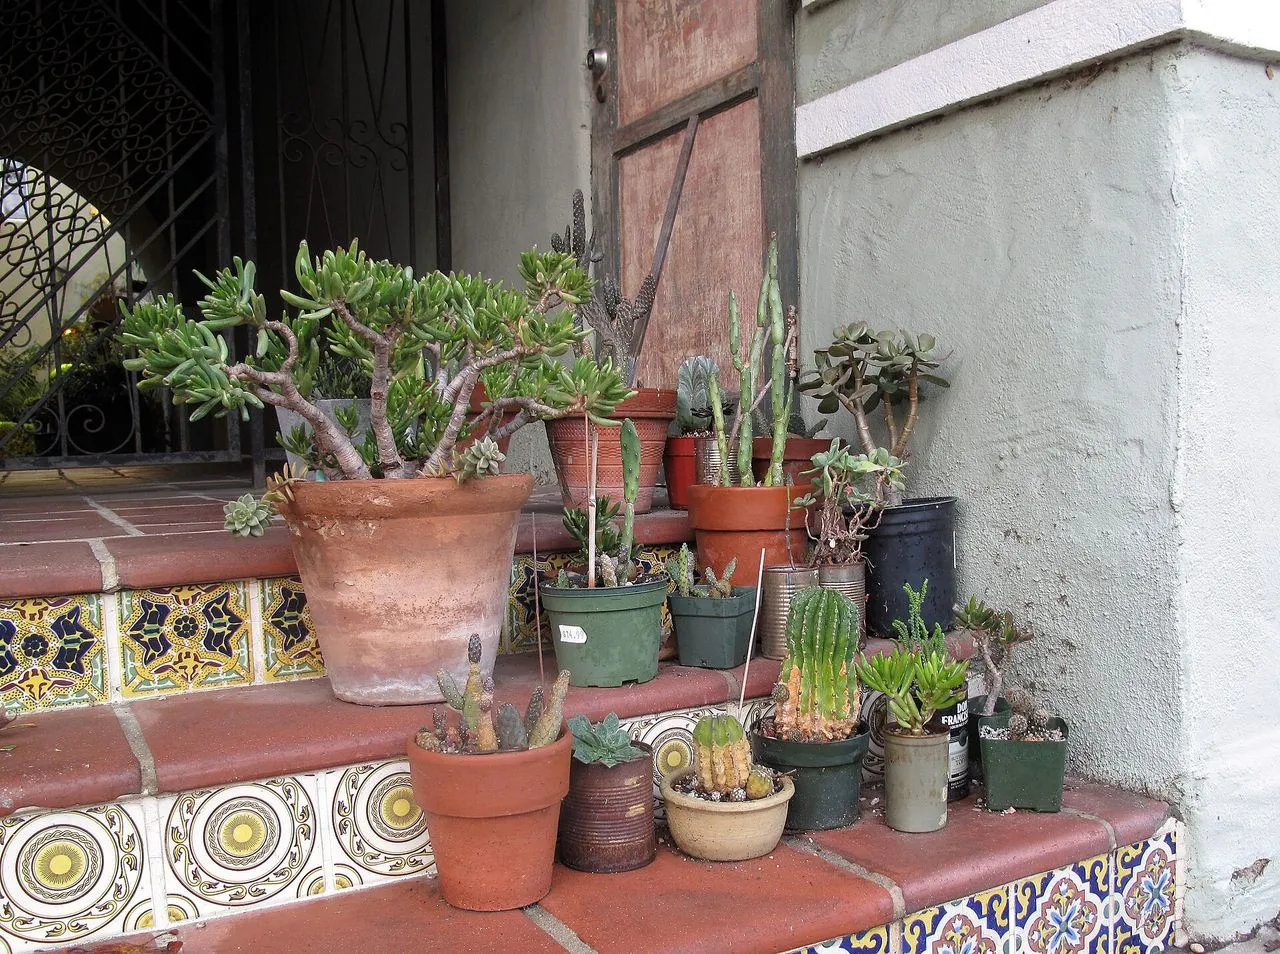
Succulent Arrangements: Design, Planting, and Keeping Them Alive
Honest, horticulturally-literate guide to designing and maintaining multi-plant succulent arrangements — dish gardens, terrariums, and vertical frames.
Succulent Soil: A Practical Guide to Substrate, Mixing, and Drainage
What 'free-draining' really means, the components of a succulent mix, a standard recipe, and how to adapt it to Echeveria, Haworthia, Agave and friends.
A Beginner's Guide to Succulents: What They Are and How to Keep Them Alive
A grounded introduction to succulents — what they are, the main genera Prickly Petals covers, the five things you need to get right, and the five most…