From the Field
A reference for the soft, slow-growing,
and quietly resilient.
Comprehensive cultivation guides to Crassulaceae, Asphodelaceae, Agavoideae and the rest of the plants that hold their water in their leaves. Written by a certified horticulturist working from a real collection.
By Genus
Browse the collection
Recently Added
From the editorial bench

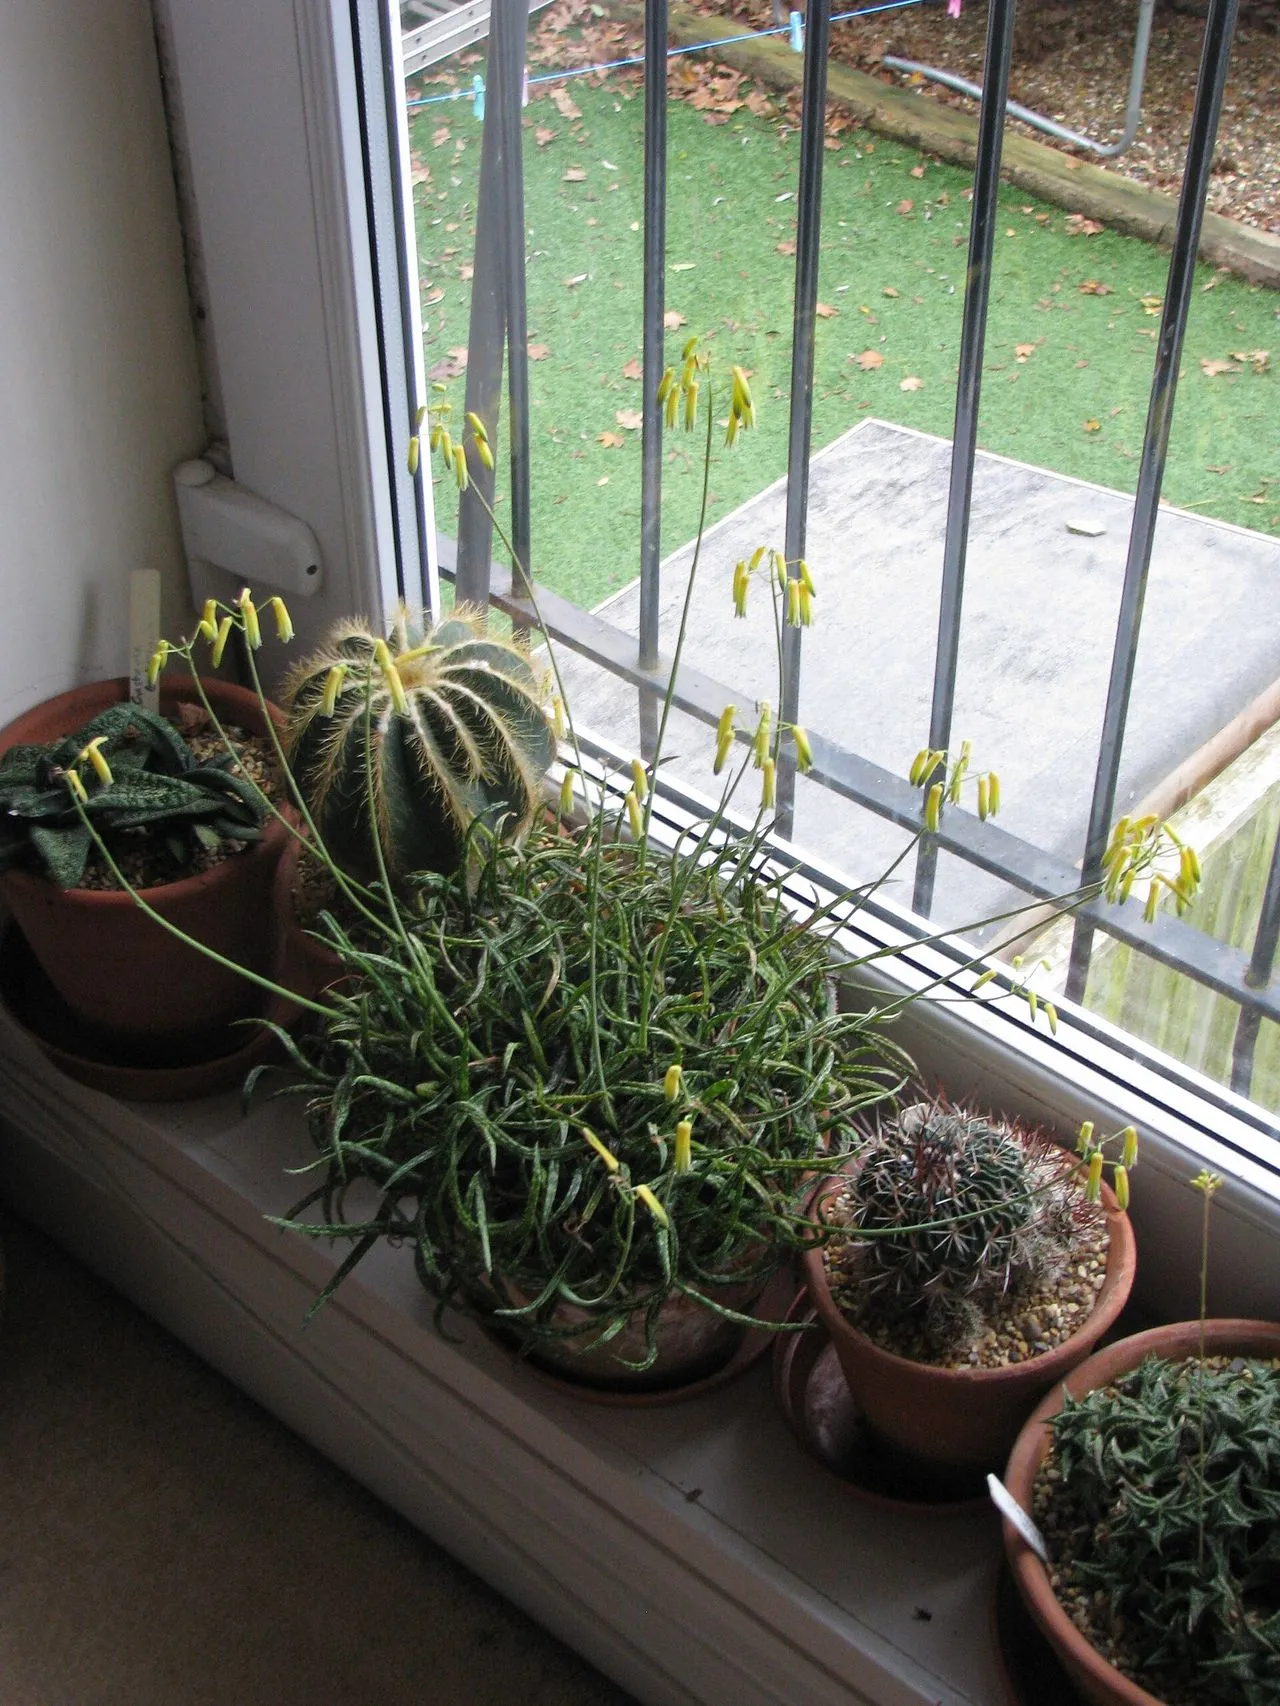
Cactus Not Flowering: Age, Dormancy & the Dark Period Fix
Find out why a cactus is not flowering, from immaturity and weak light to missing winter rest, oversized pots and disrupted dark periods.
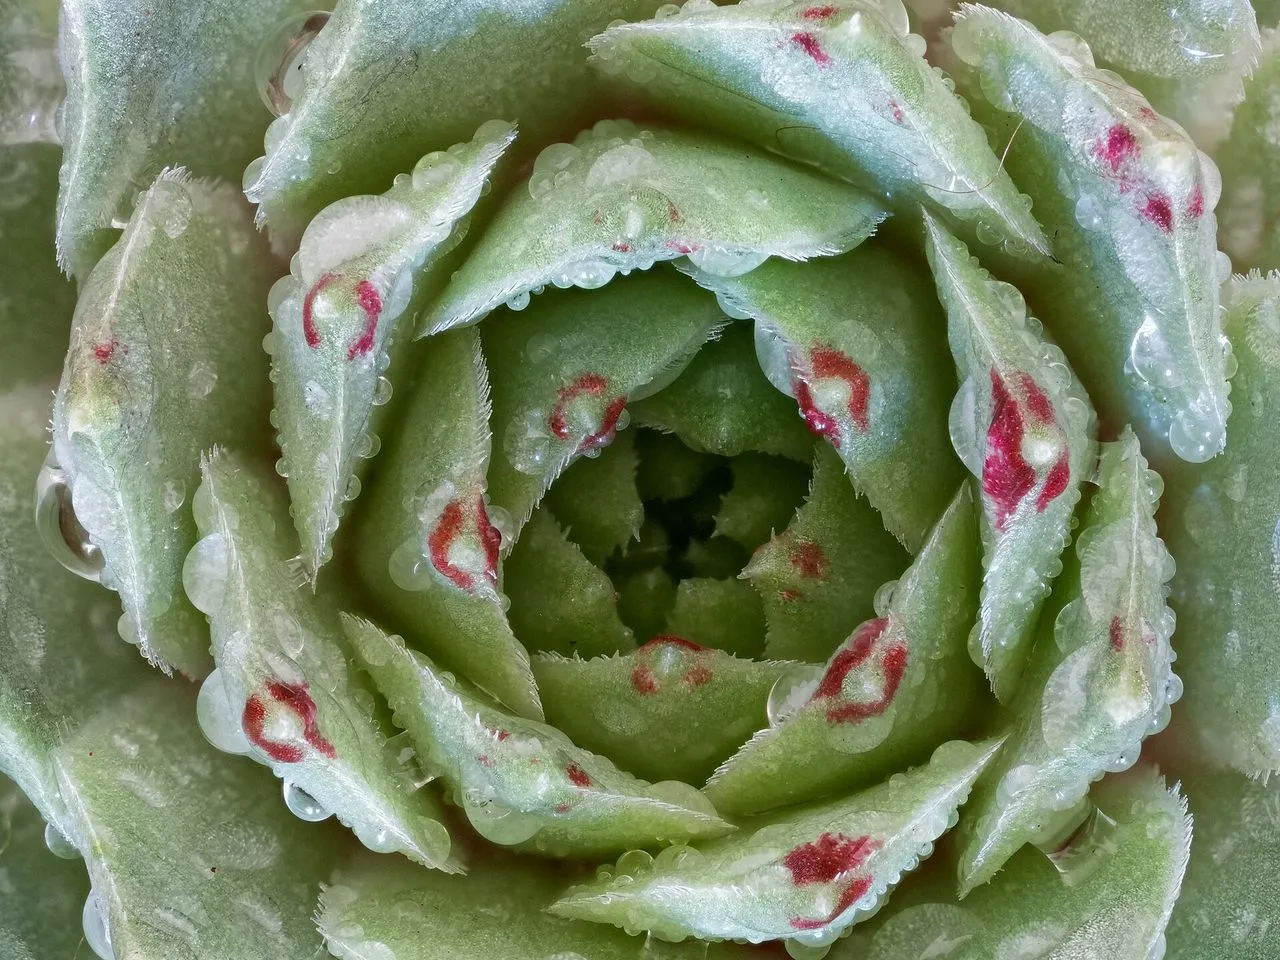
Sempervivum Color Fading: Why Red and Purple Pigment Disappears
Why Sempervivum color fades to green, how light and temperature affect anthocyanins, and how to restore stronger red, purple, or bronze tones.
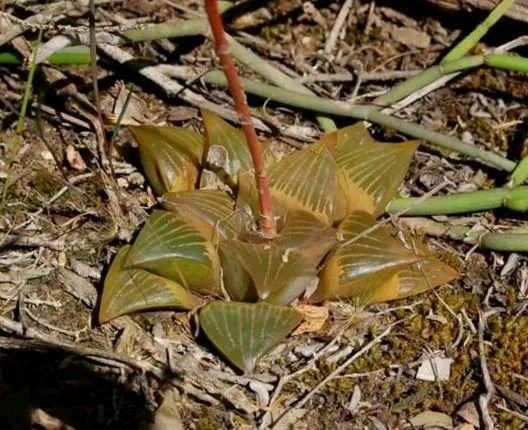
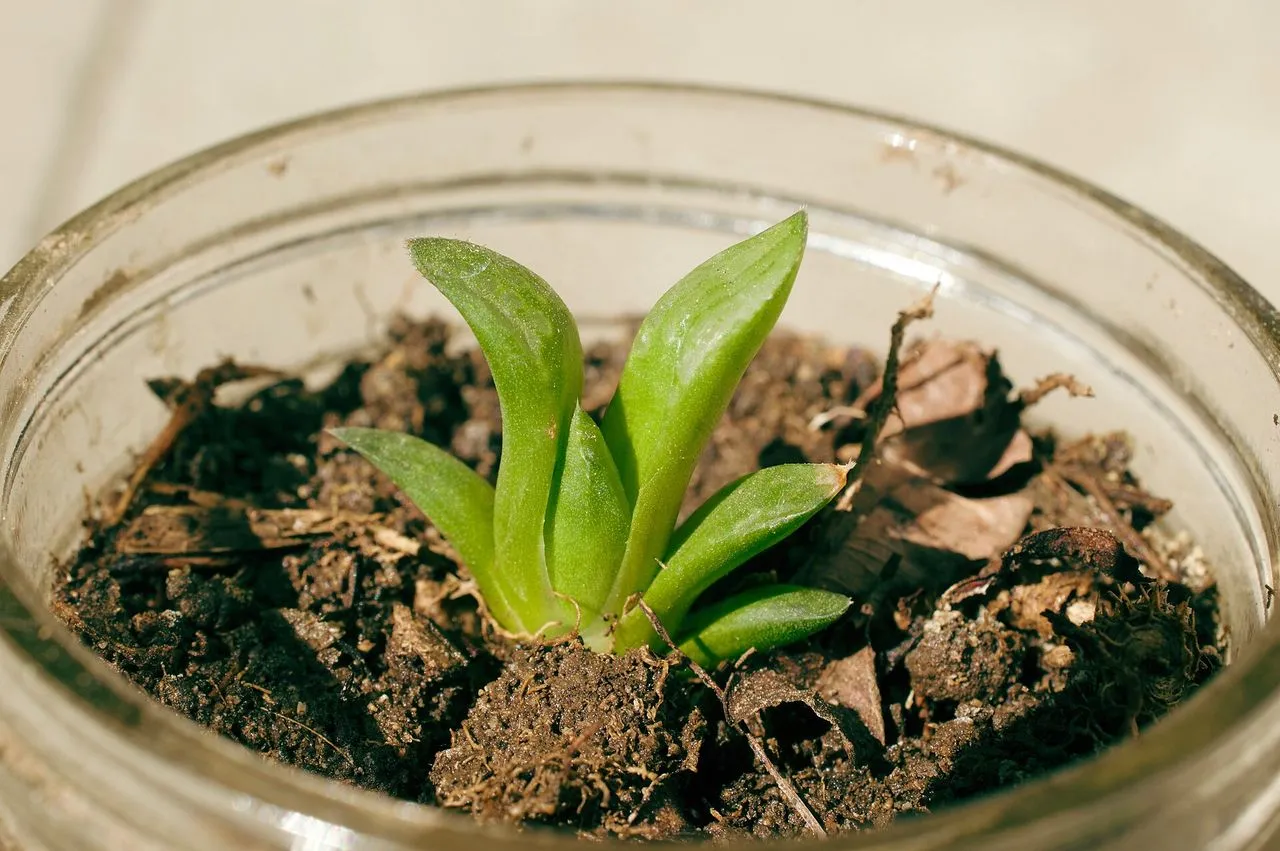
Haworthia Elongating: Why It Stretches and How to Fix It
Haworthia elongating usually means low light. Learn how to move it brighter without sunburn, when to use a grow light, and what to do with stretched old growth.
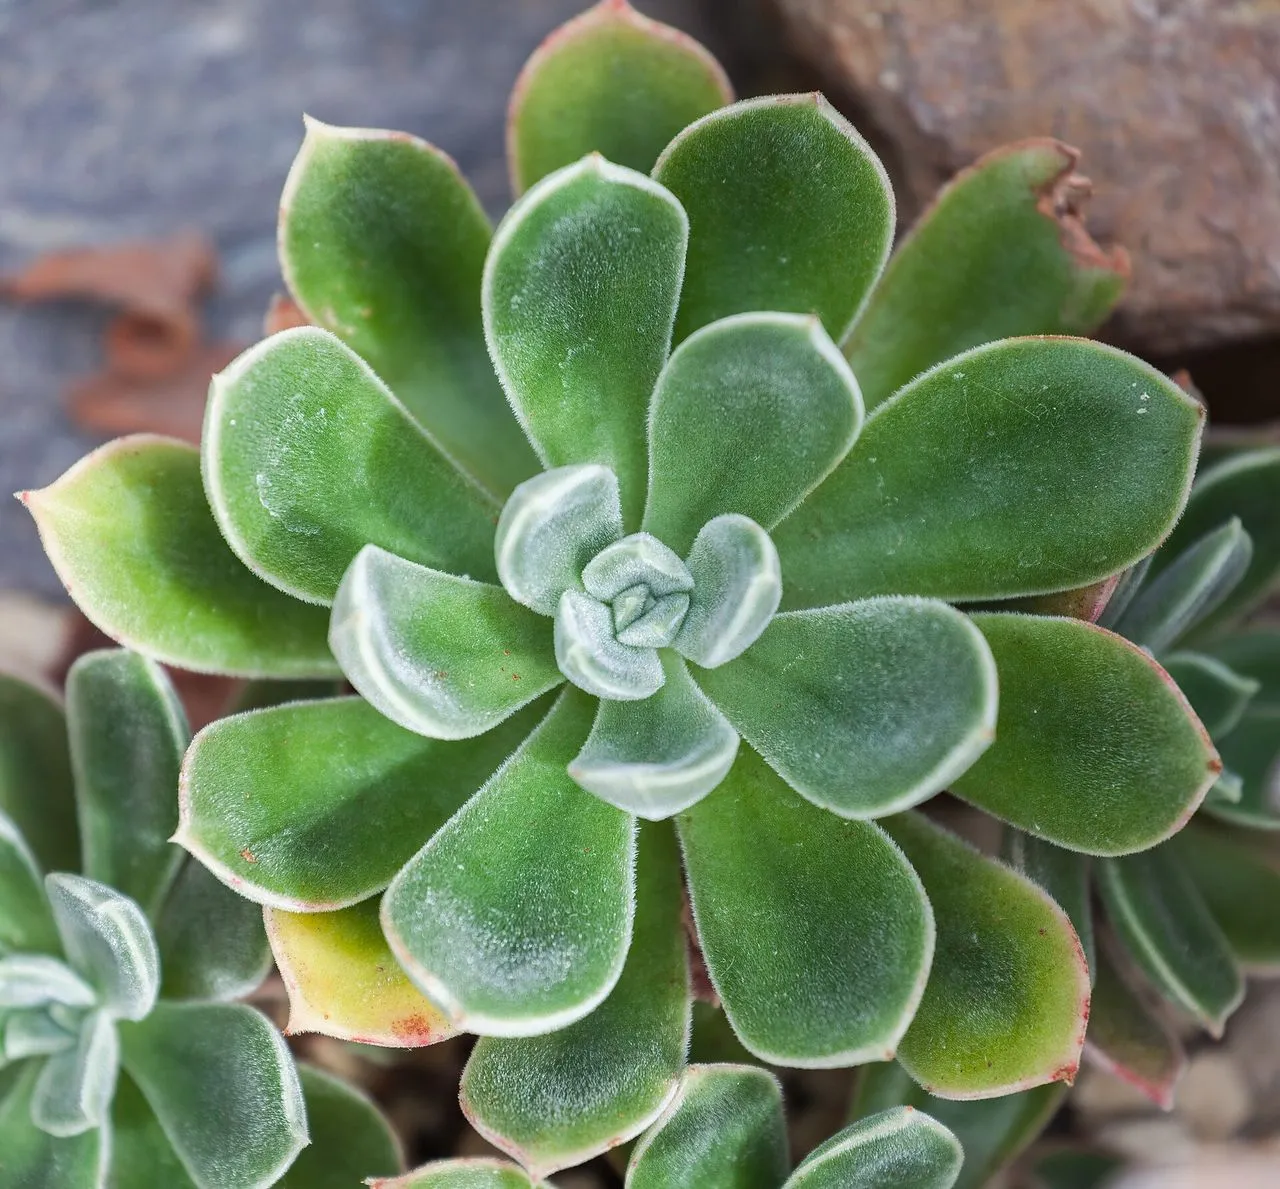
Echeveria Not Flowering: Light, Maturity, and Seasonal Cues
An Echeveria that will not flower is usually immature, under-lit, or lacking the seasonal temperature shift that triggers bud initiation.

Agave Winter Damage: Frost, Wet Roots & Recovery
Keep the plant dry and wait 3 to 7 days before cutting so dead tissue separates from living tissue.
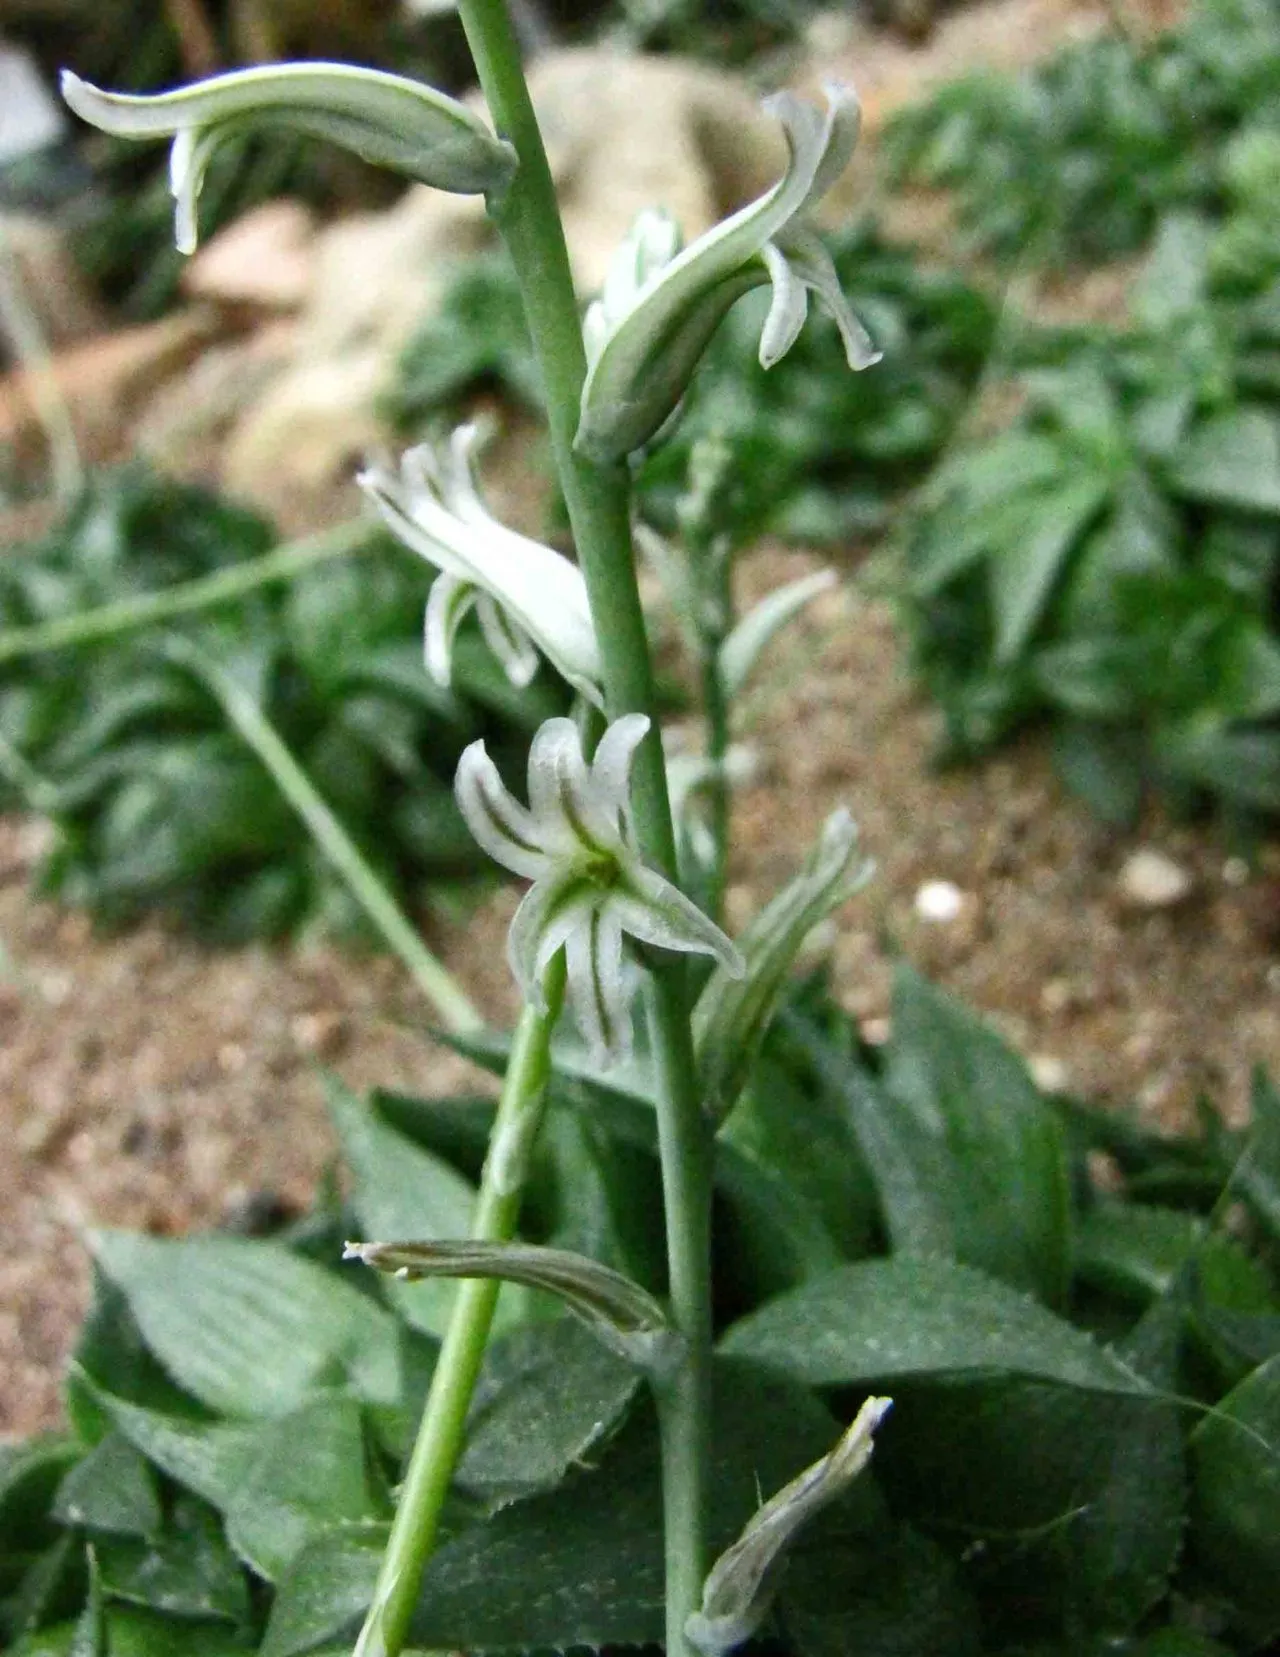
Haworthia Aphids: Identification, Damage, and Treatment
Aphids on Haworthia most commonly attack the flower stalk but can colonise leaf axils.
Haworthia Leaves Turning Brown: Causes and Fixes
Brown Haworthia leaves have five distinct causes: normal senescence, sunburn, cold damage, root rot, and drought.
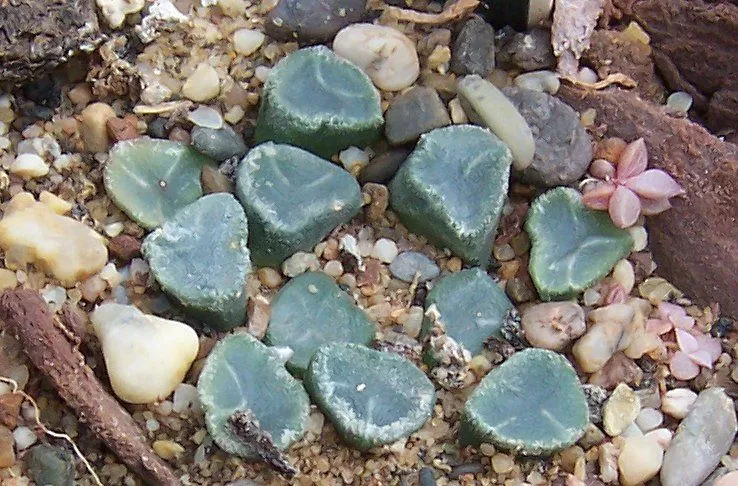
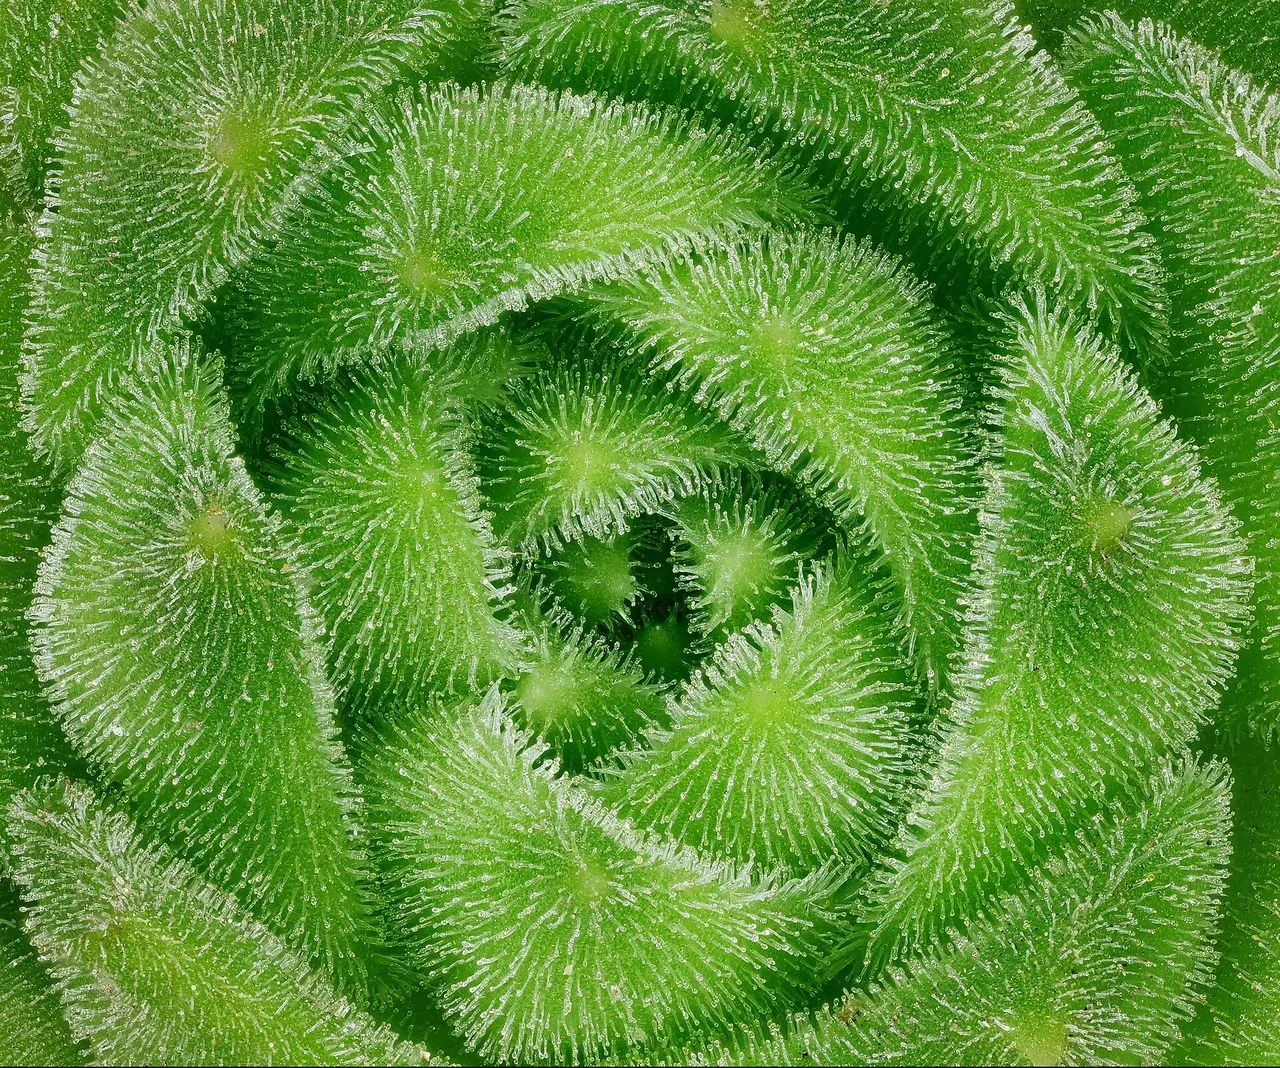
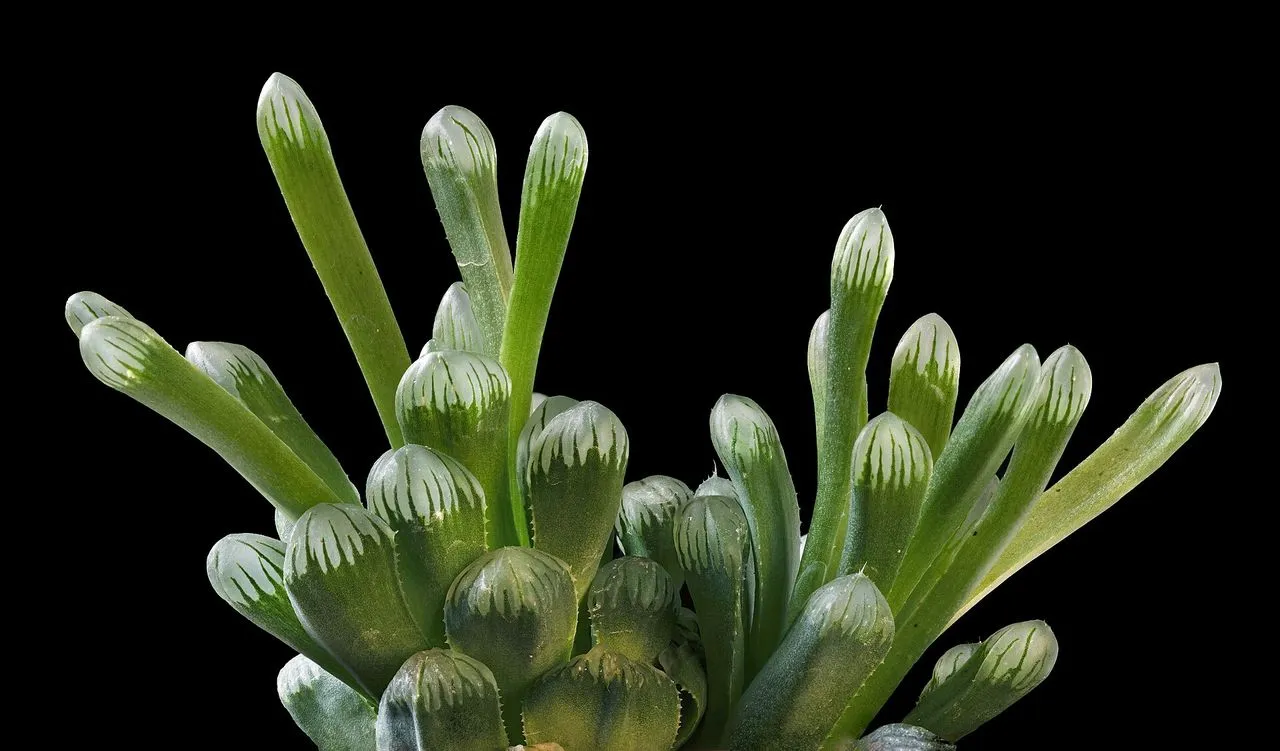
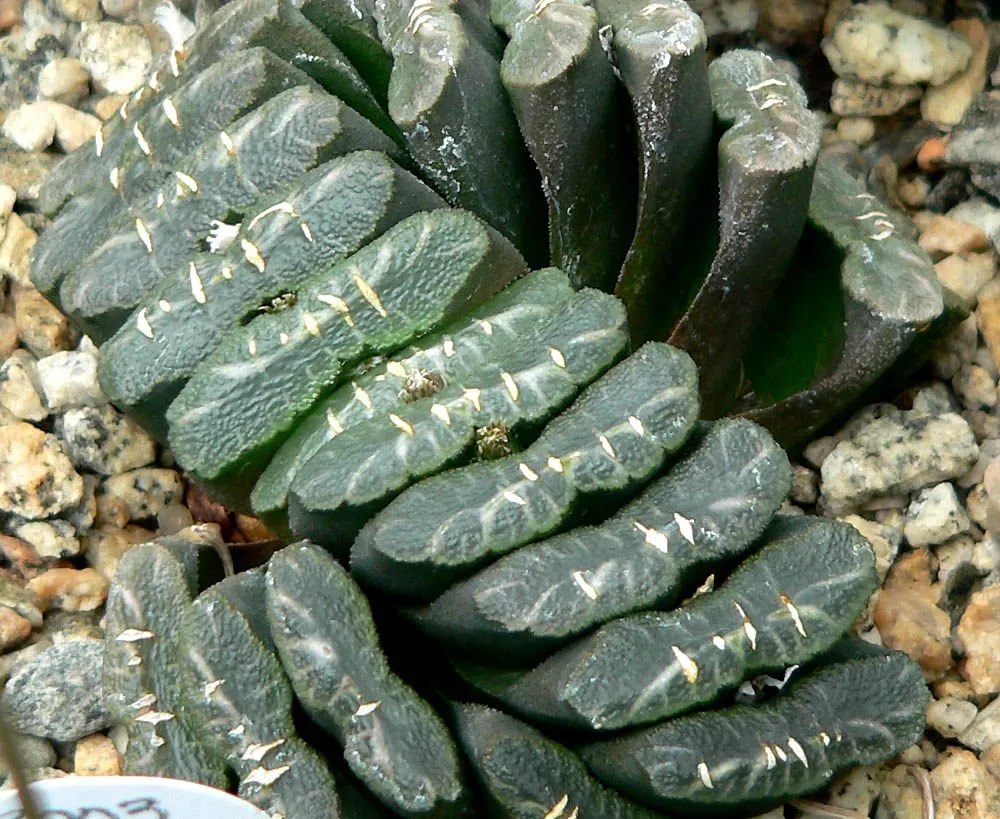
Haworthia Leaves Turning Transparent: Windows vs Warning Signs
Transparent or translucent Haworthia leaves are often the plant's normal leaf windows, not a problem.
Haworthia Leaves Shriveling: Causes and Recovery
Shriveling Haworthia leaves can mean under-watering, root damage from rot or root mealybug, heat stress, or repotting shock.
Haworthia Leaf Tips Dying Back: Causes and Prevention
Dying leaf tips are the most common cosmetic complaint on Haworthia.
Haworthia Not Growing: Why It Stalls and When to Worry
A Haworthia that appears not to grow is usually dormant, root-damaged, or light-deprived.
Haworthia Leaves Soft and Mushy: Rot Diagnosis and Recovery
Soft, mushy Haworthia leaves are the clearest sign of active rot — in the roots, stem base, or crown.
Complete Guides
Pillars for every genus
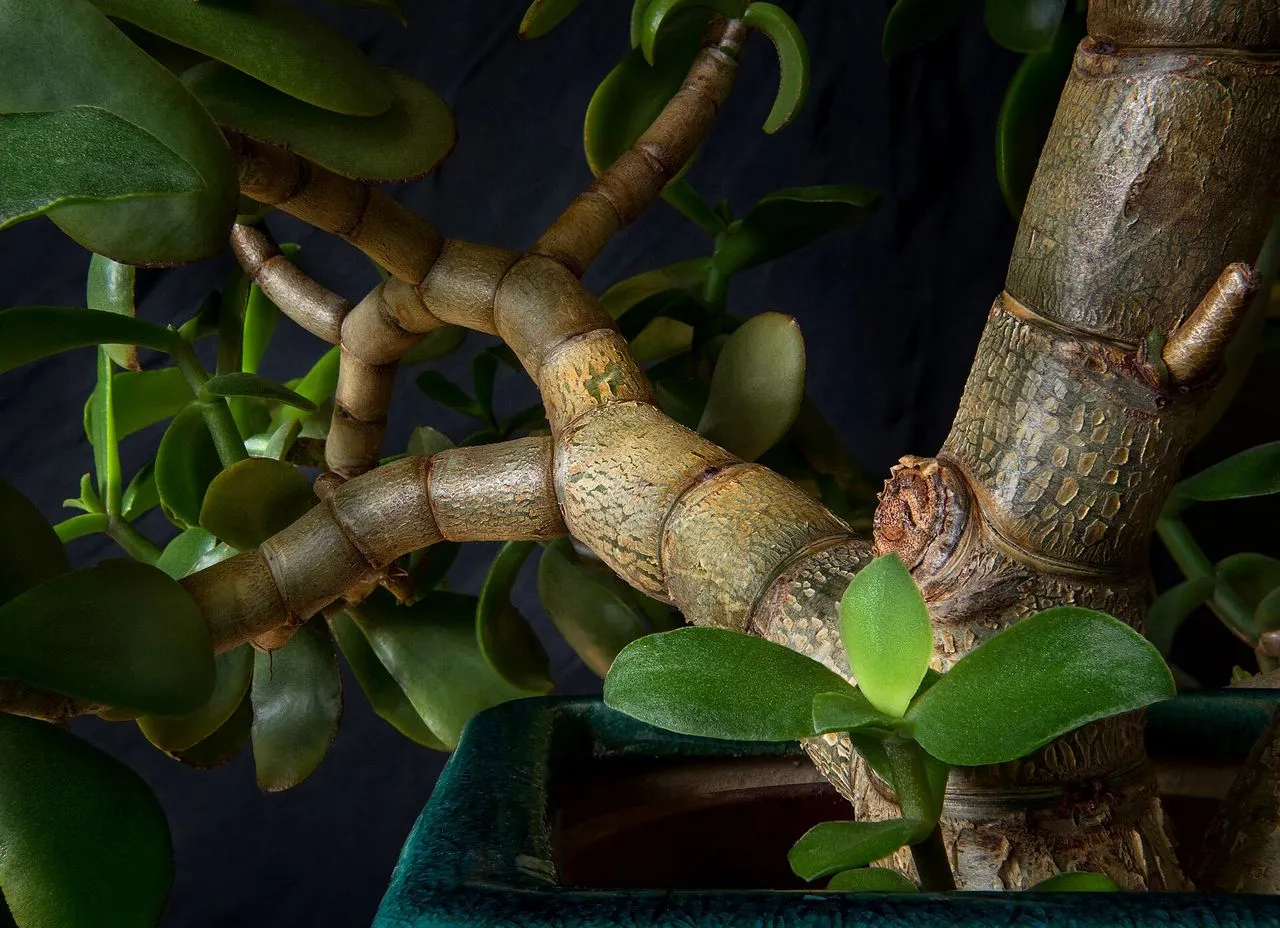
The Complete Crassula Guide: Taxonomy, Cultivation, Propagation & CAM Physiology
Start with a gritty mix and the brightest south or west window available.
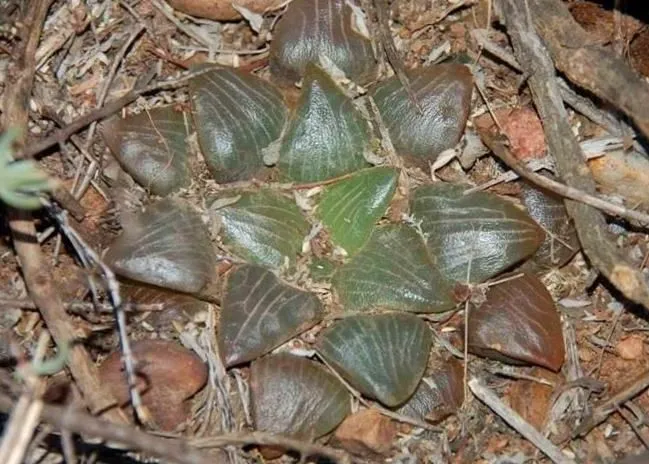
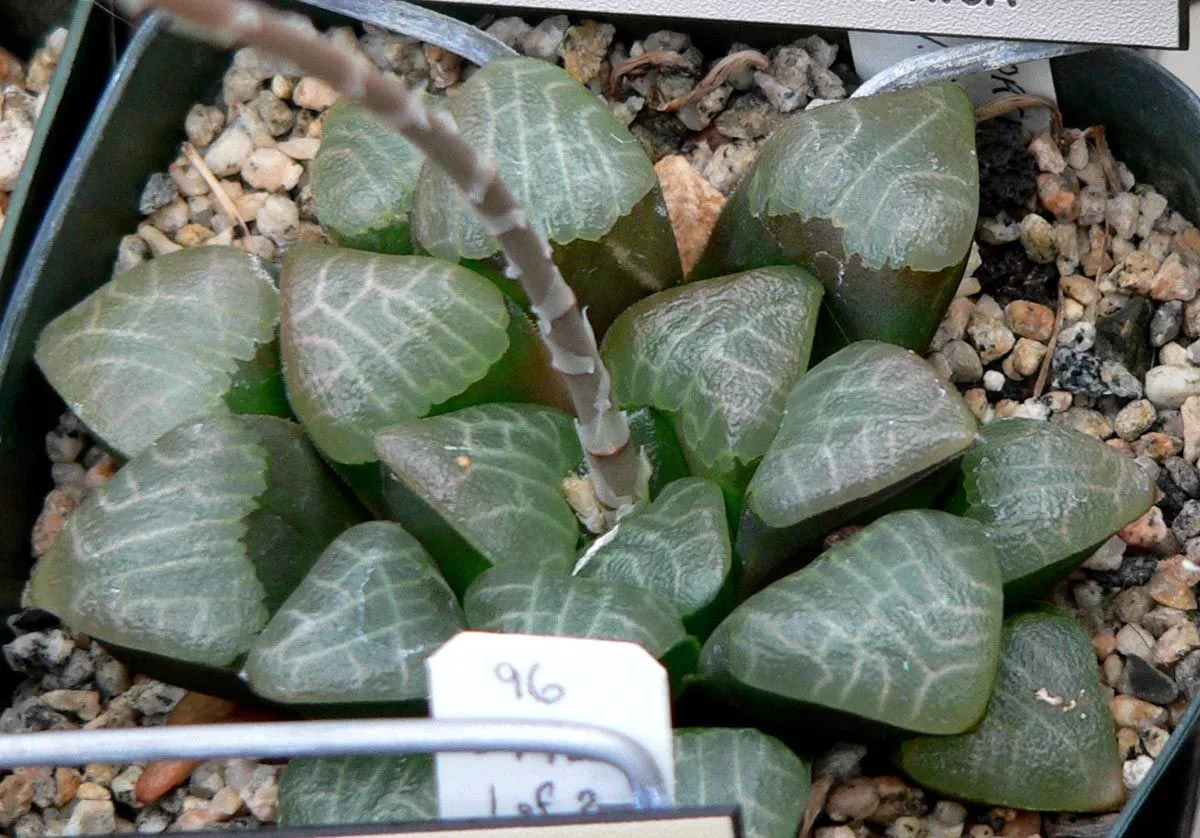
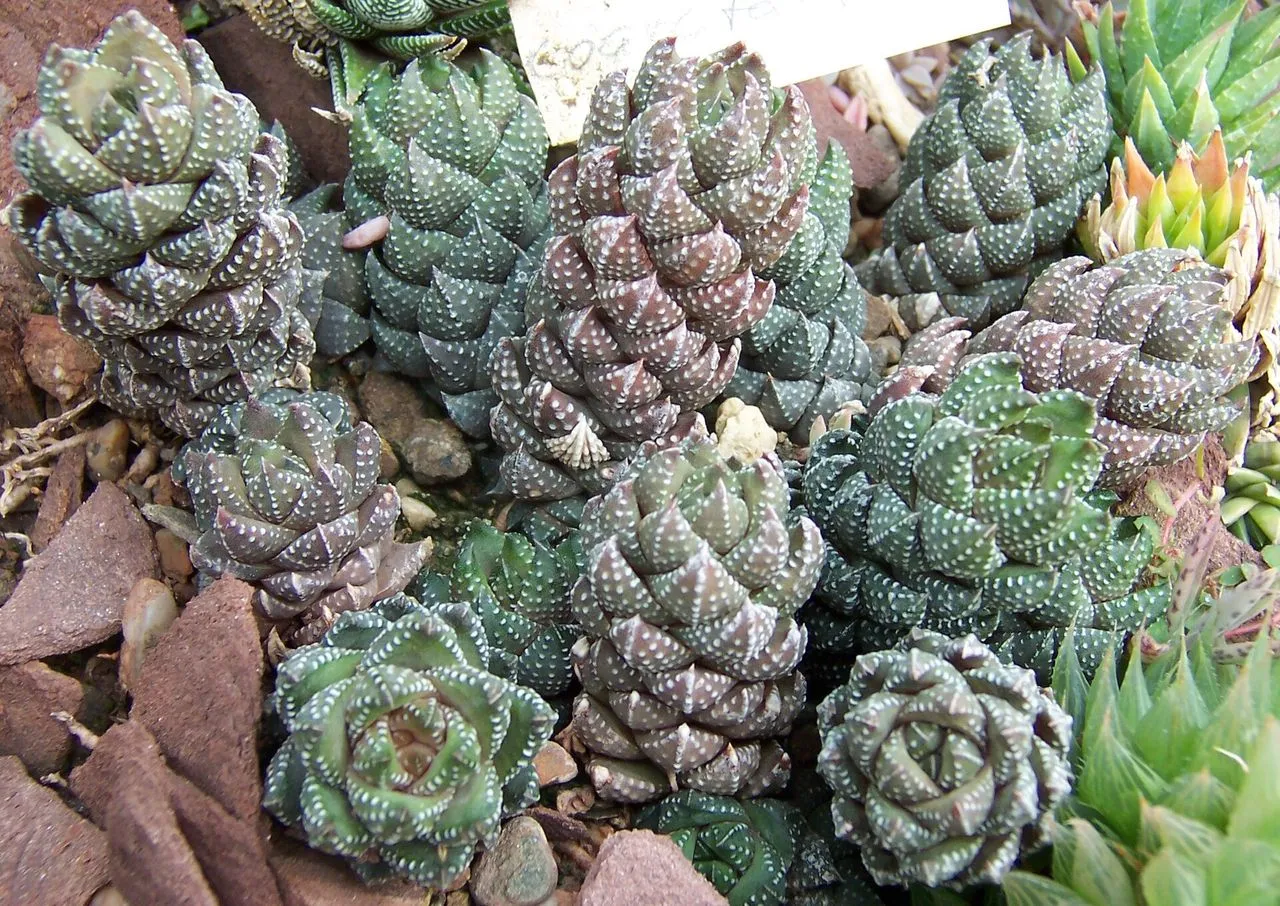
The Complete Haworthia Guide: Identification, Cultivation & Propagation
Full Haworthia guide: how to tell soft-leaf from hard-leaf types, light and watering that prevent rot, propagation methods, and 20+ species worth knowing.

The Complete Kalanchoe Guide: Identification, Cultivation & Propagation
Comprehensive guide to the genus Kalanchoe: taxonomy, identification, photoperiodic flowering, propagation from cuttings and leaf bulbils, pruning…
Indoor Succulents: A Practical Guide to Keeping Them Alive at Home
Light, water, ventilation, and species choice for growing succulents indoors — including what not to try without grow lights.
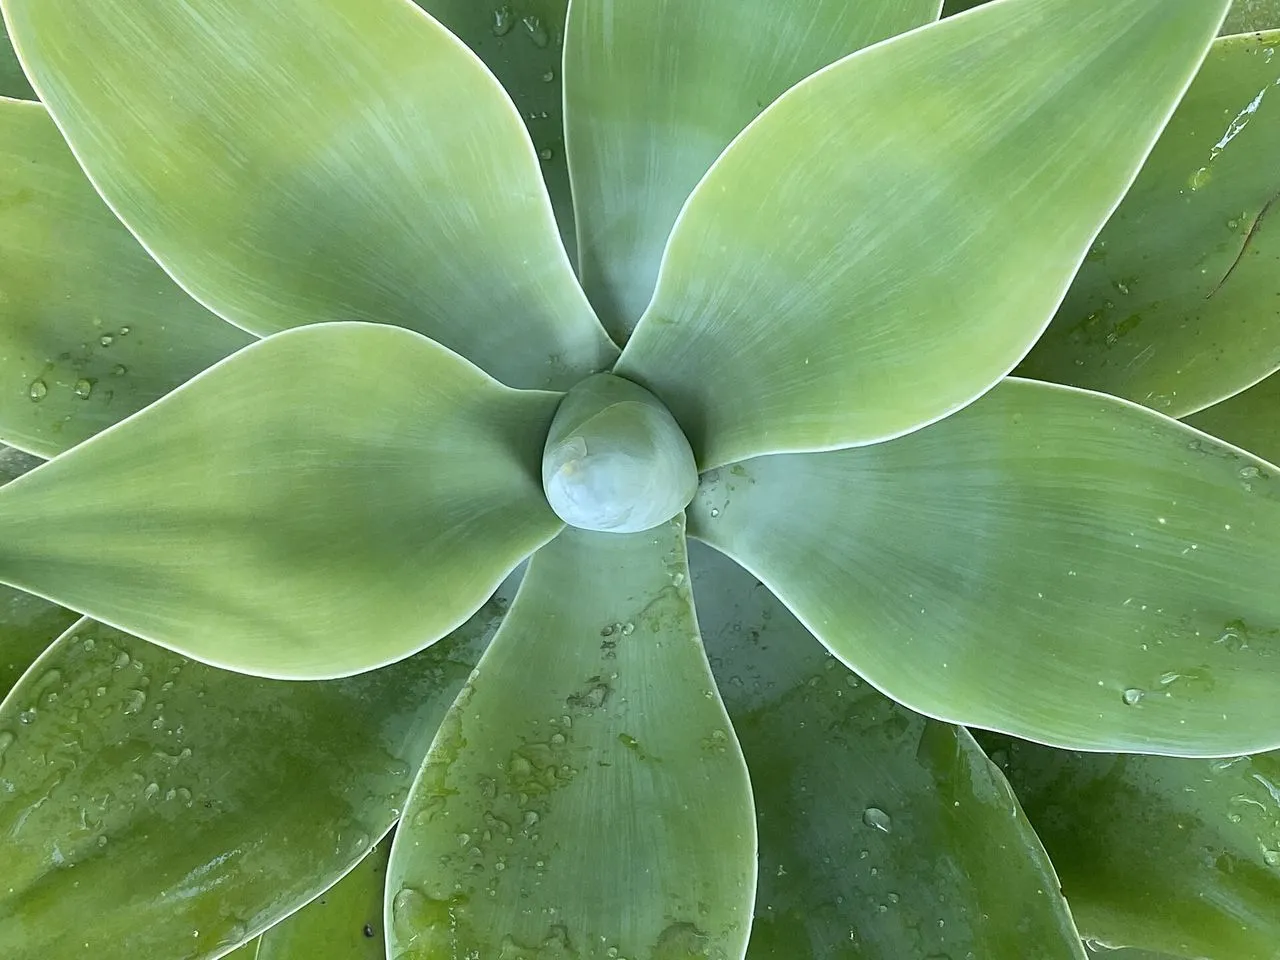
The Complete Agave Guide: Identification, Cultivation & Propagation
Comprehensive guide to the genus Agave: taxonomy, morphology, light and watering needs, cold hardiness, propagation by offset and bulbil, and common…
The Complete Echeveria Guide: Identification, Cultivation & Propagation
Complete Echeveria care guide for beginners: bright light, soak-and-dry watering, gritty soil, drainage, rosette identification, propagation, and common problems.
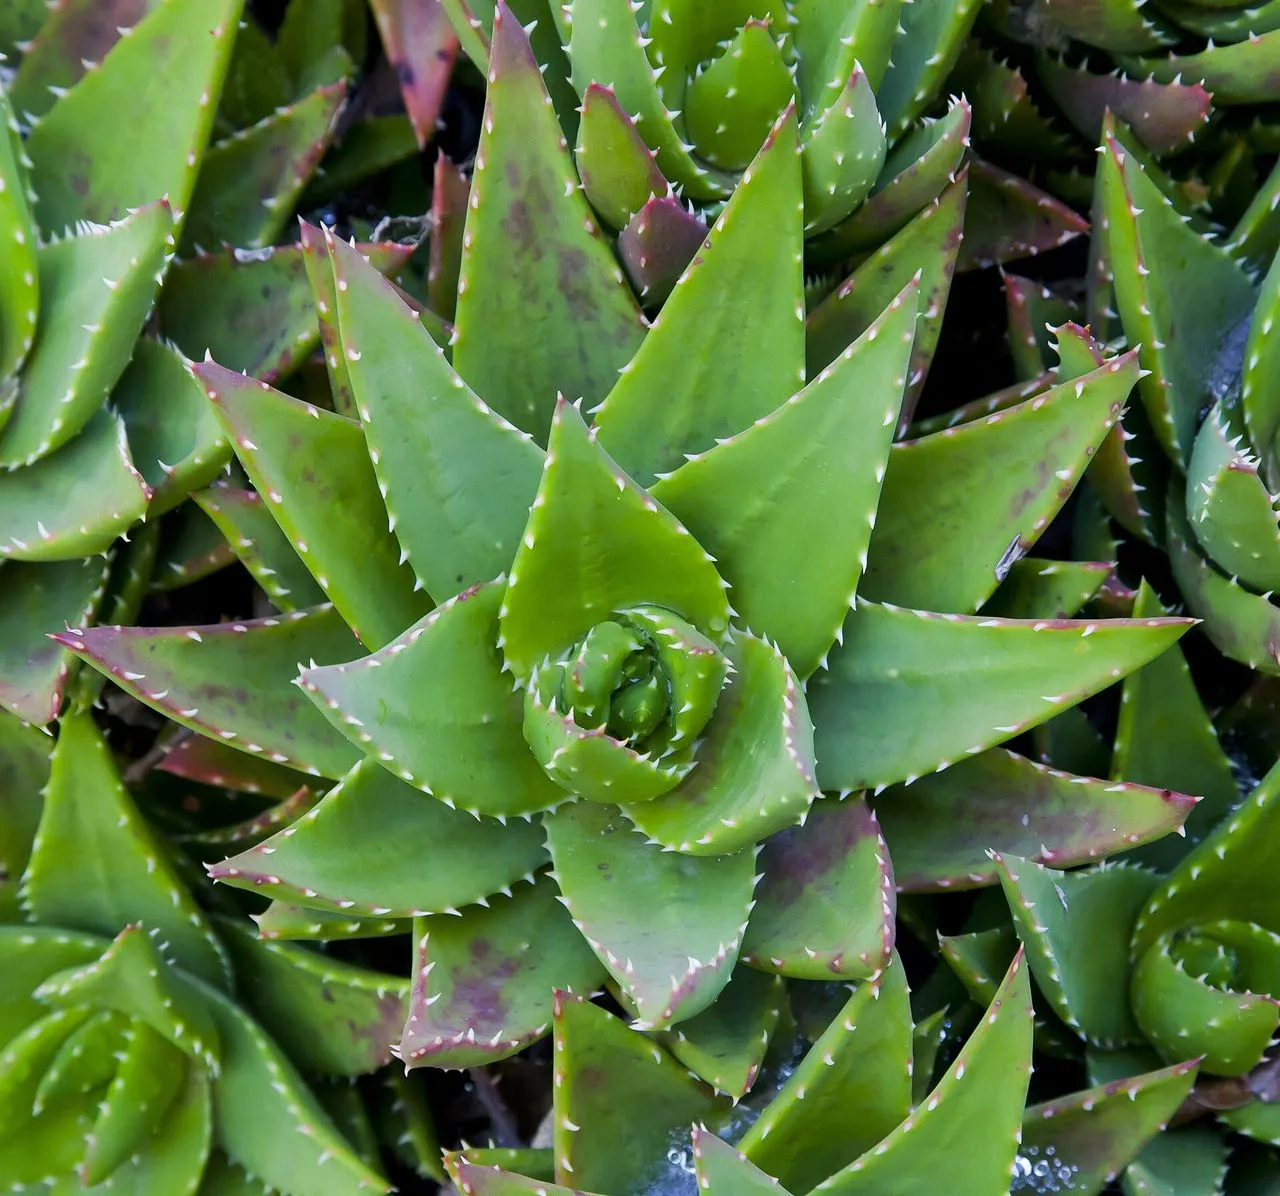
The Complete Aloe Guide: Identification, Cultivation & Propagation
Start with Aloe vera or Aloe arborescens before attempting Madagascan, Namibian, or high-altitude species.
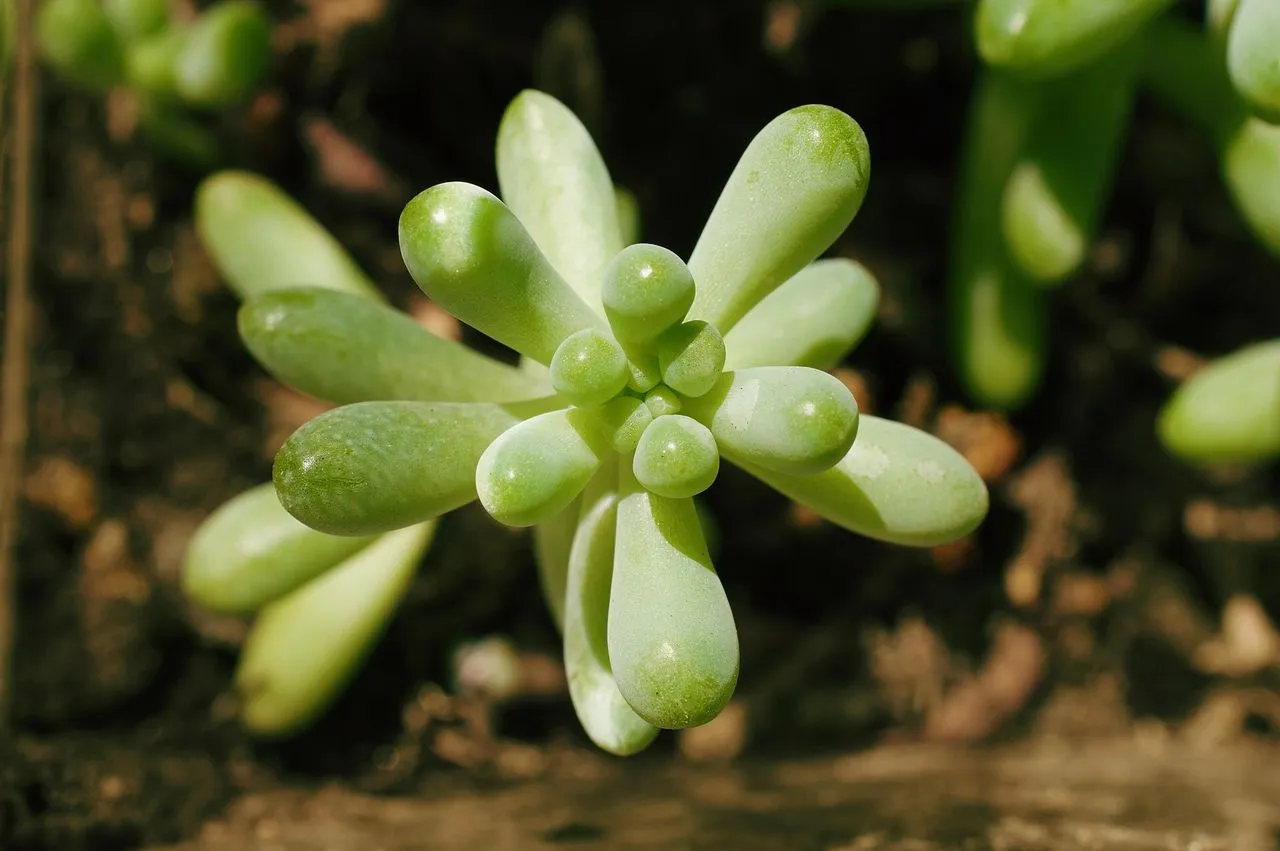
The Complete Sedum Guide: Stonecrop Identification, Cultivation & Propagation
Identify the plant as creeping, upright, pendant, or dwarf before deciding sun, water, hardiness, and propagation.
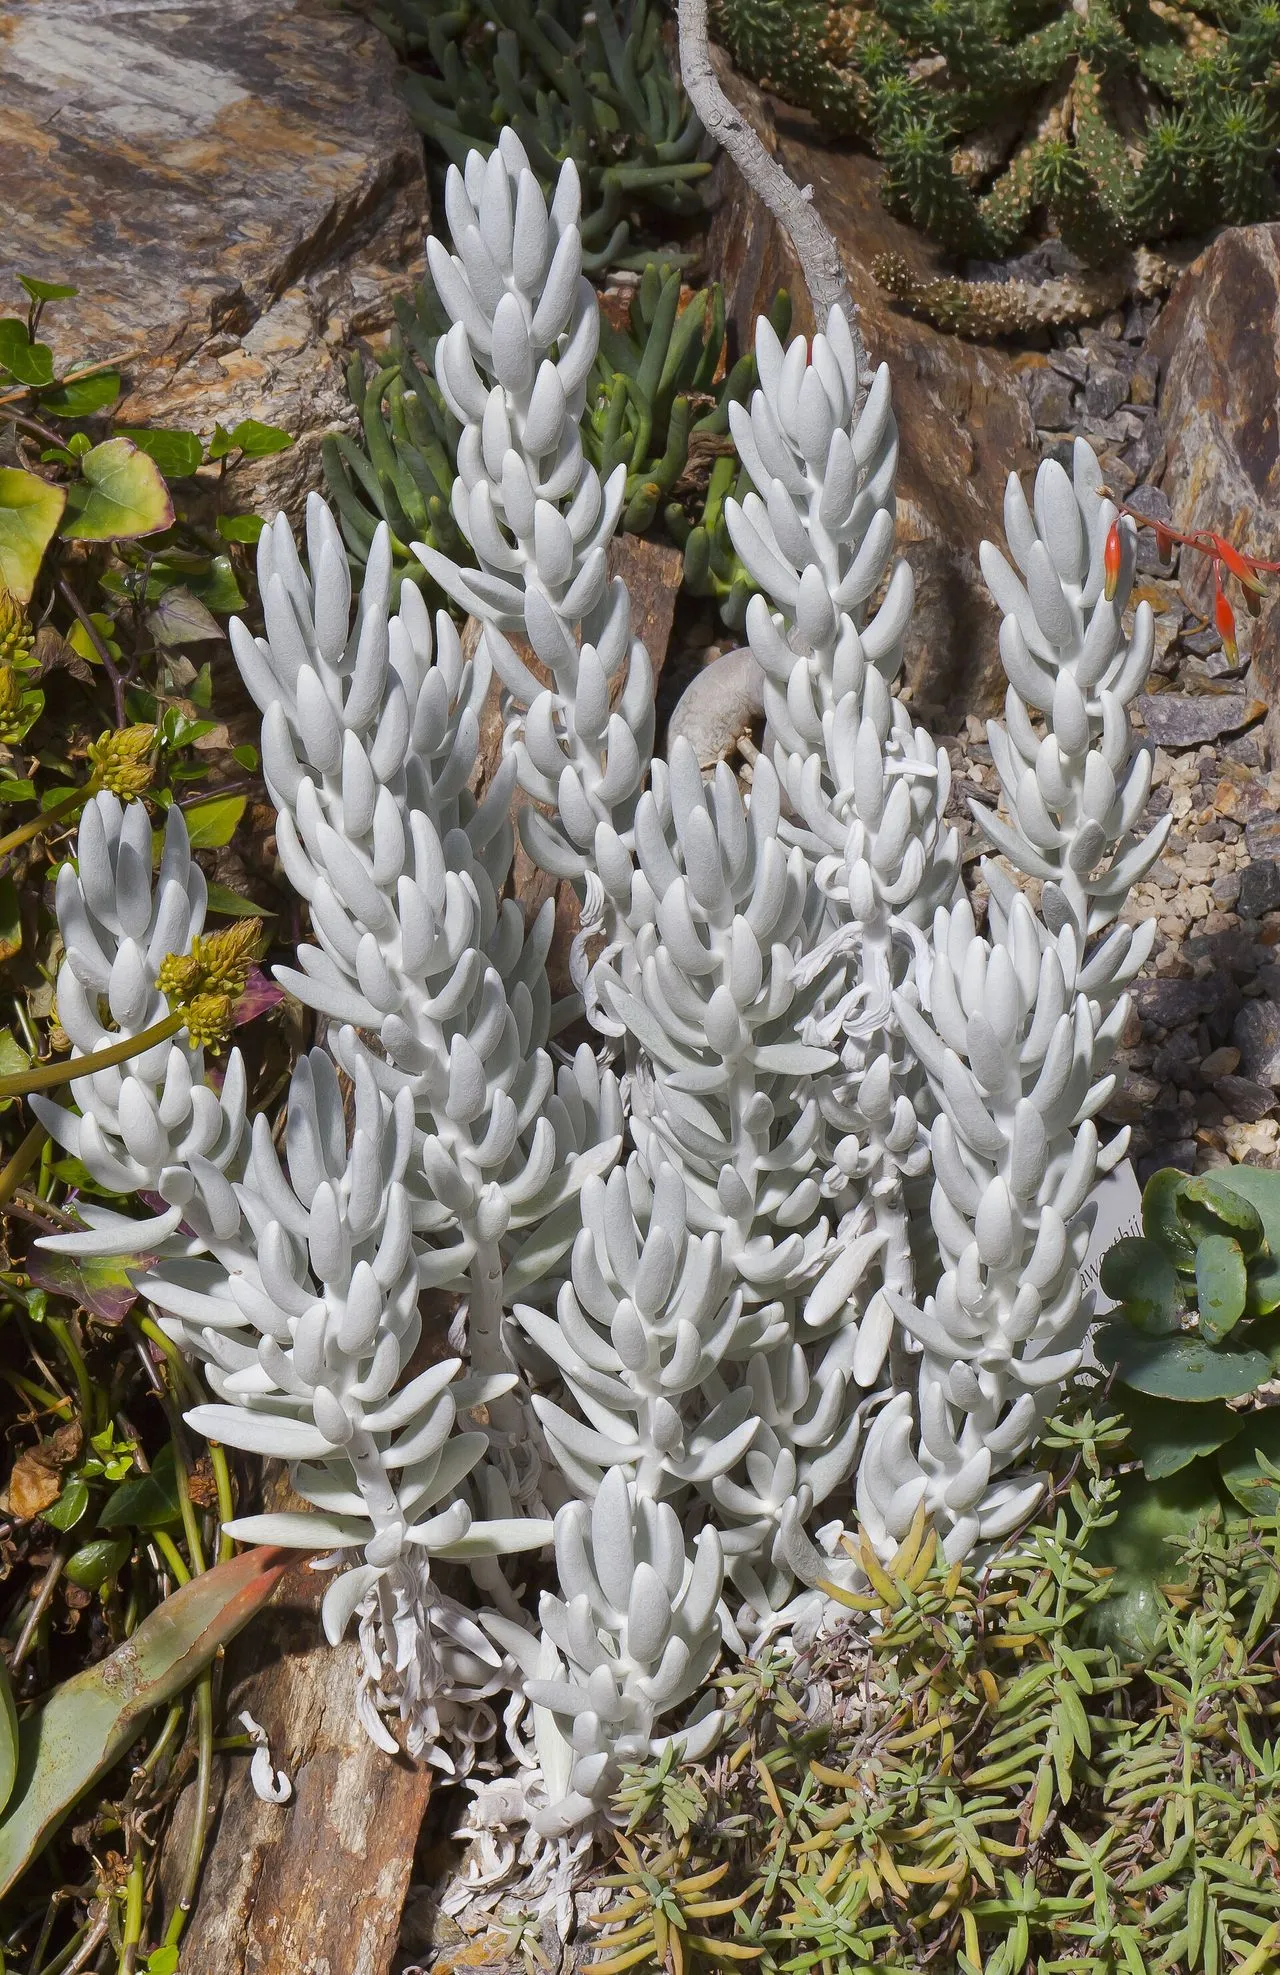
The Complete Senecio Guide: Taxonomy, Cultivation & Propagation
Comprehensive guide to succulent Senecio (and the reclassified genus Curio): taxonomy, identification, light, water, substrate, propagation, pruning…