Introduction to Deadheading Sedum
Have you ever caught yourself marveling at the robust vibrancy of a neighbor’s garden and pondered over their secret? Well, don’t be surprised if the answer is as simple as deadheading their sedum! This practice might sound a bit morbid, but it’s actually a life-affirming technique for your succulents. Let’s dive into the ins and outs of making your garden flourish by giving your sedum a little trim.
If you’ve ever felt the satisfaction of a well-maintained garden, then you know the joys of gardening are manifold. Deadheading, the act of removing spent flowers from plants, elevates not only the aesthetic of your garden but also the health of your plants. Sedum, those hardy, drought-tolerant succulents that grace gardens with their colorful blooms, particularly benefit from this practice. By deadheading your sedum, you’re clearing the way for the plant to prioritize new growth and bloom production.
Imagine you’re browsing through an art gallery. Each painting is hung with space to breathe, not crowded by fading, less vibrant pieces. This is the essence of what deadheading does for your sedum—it removes the old blooms that no longer serve the plant’s display, allowing the thriving parts to stand out. Not only does this promote a lush landscape, but it also encourages a hearty plant structure that is less susceptible to disease.
For more insights into keeping your greenery in tip-top shape, peek at our expert guide on smart gardening insights. You’ll discover that with just a few simple tweaks to your plant care routine, you can significantly enhance the vitality and appeal of your garden through all seasons.
Now that you’re versed in the introduction to deadheading, are you ready to put on your gardening gloves and give your sedum the attention it deserves? Remember, a little nip and tuck goes a long way in the plant world, and sedum is no exception. With deadheading as part of your gardening toolkit, you’re all set to boost the blooms and health of your beloved succulents.
The Purpose of Deadheading in Garden Maintenance
Deadheading, the simple act of snipping off spent flowers, is more than just a garden chore; it’s a ritual that ensures the vibrancy and health of your plants. But what does this mean for sedum, those hardy gems of the succulent world? Let’s dive into why garden enthusiasts swear by this technique, specifically when it comes to nurturing these robust beauties.
For starters, deadheading is akin to giving your plants a rejuvenating spa treatment. Imagine this: blooms on your sedum have withered. They’re not only an eyesore but are also sapping precious energy from the plant. This is where deadheading swoops in to save the day. By removing these spent flowers, you’re redirecting the plant’s focus from seed production back to its lush foliage and future blooms. The result? A sedum plant that’s the life of the garden party, proudly displaying full-bodied leaves and preparing for a spectacular floral showcase.
If you’re picturing your garden now, and thinking of all the bustling sedum that could benefit from this tender love and care, then you’ve captured the essence of deadheading. Not only does it help maintain the plant’s shape and prevent self-sowing (which in the case of sedum, can lead to a garden coup), but it can also enhance the plant’s growth cycle. This encourages a concentrated burst of sedum flowering, transforming your garden into a live tableau of vibrant sedums buzzing with life and color.
And it’s not just about aesthetics either. Keeping sedum neat through deadheading can also dissuade pests and diseases that often lurk around dead and decaying plant matter. So, you’re not just tidying up; you’re standing guard against the tiny invaders looking to make your sedum their new home.
Imagine the pure joy of watching your sedum varieties prosper, standing tall and resplendent against the green tapestry of your garden. 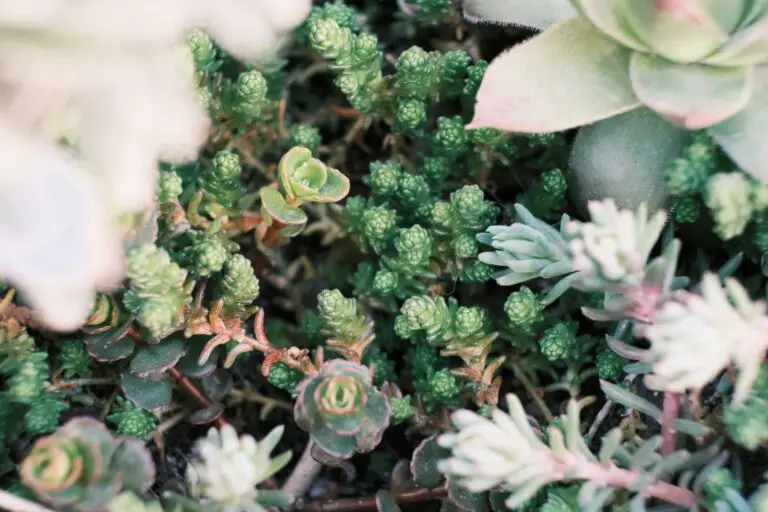 Now, that’s a picture worth painting season after season. And with deadheading, you can make this enchanting vision a recurring reality.
In our next section, we’ll explore the hands-on techniques for deadheading your sedum — complete with the dos and don’ts that will ensure you’re doing right by your resilient garden companions.
What Happens If You Don’t Deadhead Sedum
Have you ever strolled through a garden and admired how the sedum plants stand out with their star-shaped blooms? It’s like they’re having their own little rock concert, with each flower head waving in the air like they just don’t care. But here’s the thing—should they care? What happens when you let those vibrant encores, the blooming periods, play out without any curtain calls (aka deadheading)?
Well, imagine a sedum, post-performance, with spent blooms that linger like an overstaying house guest. These fading stars, rather than making an elegant exit, can actually steal the show from next season’s headliners. Not deadheading means those old blooms can hog resources, sapping the vitality from the upcoming act. It’s the botanical equivalent of a once-bright stage becoming dimmed by yesteryear’s confetti and streamers.
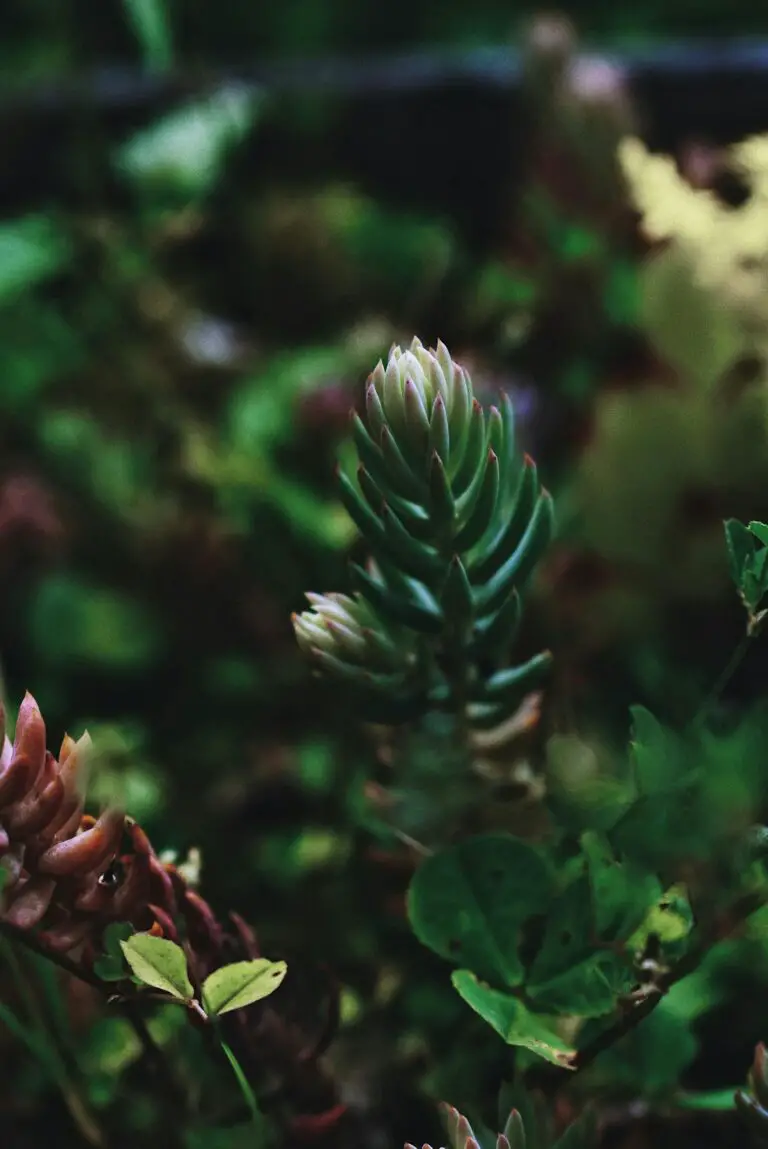
Think of each unsnipped flower as a signal to your sedum. It whispers, “Hey, our job is done here,” encouraging the plant to shift its energy to seed production rather than dazzling the crowd with new blooms. Over time, this can lead to fewer flowers, and let’s be real, isn’t the floral show one of the main reasons you invited sedum to your garden party?
Moreover, without pruning back these spent blossoms, your sedum might start to look, well, a little unkempt. It’s like wearing a party dress for weeks after the gala—it was fabulous at the time, but now it’s just not the look you’re going for. Keeping those wilted blooms can result in a garden that’s less Versailles, more untamed wilderness.
And let’s chat about self-sowing. Those old flower heads might decide to take the stage dive into the surrounding soil, potentially leading to a spontaneous encore where you might not want one. It’s important to have control over your garden’s playlist, right?
For more insights into how to maintain the health and aesthetic of your sedum, check out this comprehensive guide to sedum care. Understanding the nuances of plant tending can ensure that the show goes on in your garden, year after star-studded year.
So, perhaps it’s time to consider whether your sedum deserves that chance to take a bow, snip off those spent blooms, and prep the stage for an encore that’s even more riveting than the last.
How to Properly Deadhead Your Sedum Plants
Hey, green thumbs and budding gardeners! Have you ever watched a sedum plant bloom and wondered if there’s a magic trick to keep those vibrant blossoms coming? Well, there’s no magic, but there certainly is a technique that works wonders: deadheading. Don’t worry; it’s not as grim as it sounds! Let’s dig into the right way to deadhead your sedum to boost its health and keep it blooming beautifully.
First things first, grab your gardening gloves, and let’s get ready for some plant pampering. Deadheading sedum involves removing the spent flower heads to encourage the plant to focus its energy on new growth. It’s like telling your plant, “Hey buddy, let’s keep the good times rolling!” So, here’s the lowdown on how to do it properly:
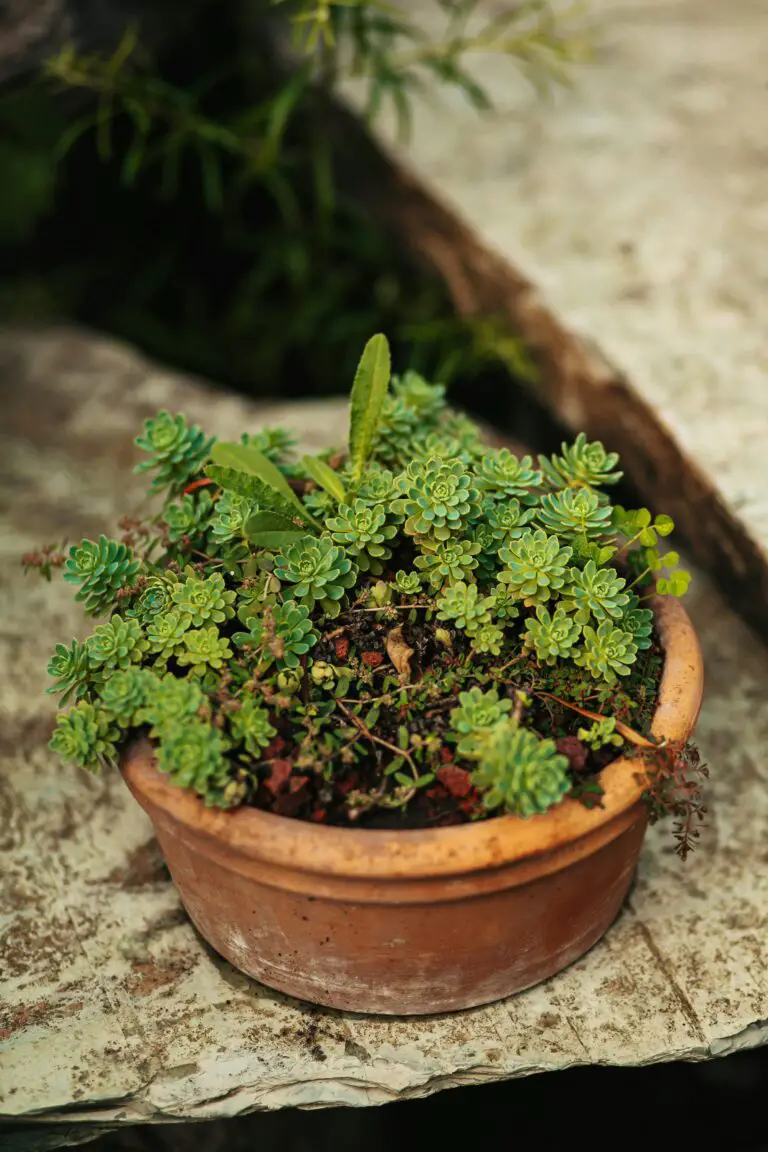
Start by identifying the spent flowers; they’re usually faded, with a tired and wilted look. You don’t need a degree in botany to spot them, but if you get stuck, remember that these are the flowers that aren’t inviting bees or butterflies anymore.
Once you’ve found those slacking flowers, use a sharp pair of scissors or pruning shears to snip them off. Aim to cut just above a leaf or bud to keep your sedum looking tidy and encourage new blooms to pop up. Oh, and make sure your tools are clean to prevent spreading any plant diseases – cleanliness is next to gardenliness!
But what if you snip too much or too little, you ask? Imagine you’re giving your plant a haircut. You want it to look fresh and stylish but not like it’s had an encounter with a lawnmower. It’s all about balance!
Now let me tell you about my neighbor, Bob. Bob never deadheaded his sedum, and it ended up looking like a sad, bloomless lump. Don’t be like Bob. Instead, treat your sedum to regular deadheading sessions, especially during the peak blooming season. This way, your plants will be the talk of the town (for all the right reasons).
If you’re hungry for more gardening tips, check out this helpful guide on deadheading that can come in handy for all your flowering plants, not just sedum. And for those who want to delve deeper into comprehensive succulent care, take a peek at the Sedum Spectacles: Exploring the Varied Heights of Stonecrop Plants for insider info on how to keep your sedum in tiptop shape year-round.
In the wise words of garden gurus, deadheading helps your garden to “grow with the flow.” So keep these tips in your garden toolbelt, and you’ll be on your way to a flourishing sedum sanctuary that even Bob will envy!
How to Properly Deadhead Your Sedum Plants
Are you wondering whether your sedum plants need a quick snip here and there? You bet they do! Deadheading isn’t just about keeping your garden looking neat; it’s an open secret among gardening enthusiasts for encouraging sedums to redirect their energy into more significant growth and bountiful blooms. So let’s get to the heart of what you came for—the step-by-step guide to deadheading sedums.
Firstly, it’s important to have a clear vision of what we’re aiming for. Picture the sedum plant as a resourceful little worker, always busy at producing dazzling flowers. But once those flowers are past their prime, they’re essentially like outdated files clogging up the system. Deadheading is like a timely tidy-up, prompting the plant to produce new, fresh buds.


Ready? Here’s the action plan: Make sure you have a sharp pair of gardening shears or scissors—blunt tools can cause damage, and we want a crisp, clean cut. It’s like when you’re in the kitchen; ever tried chopping tomatoes with a dull knife? It’s a sorry scene. The same applies here; neat cuts equal less stress on your sedums.
Next step, identify the flowers that are waving the white flag. These are typically discolored or wilted and are saying, “I’ve had a good run, time to make room for the new.” Now, snip them just above a new bud or leaf node. With each cut, you’re essentially giving your plant a rejuvenating spa session, allowing it to conserve its energy for future growth.
Think of it as a relay race where the spent blossoms are passing the baton to the next set of buds, ready to burst open and show off their radiant petals. Like my neighbor Sue, who wins the neighborhood flower show year after year—her secret? Regular deadheading. No magical potions, just good old-fashioned gardening savvy.
If you’re thirsty for more gardening knowledge, take a moment to explore this engaging article on the art of deadheading. And for those with a green thumb eager to delve into the intricacies of sedum care, why not leaf through this guide—it’s loaded with tips to help your plants thrive.
Remember, deadheading isn’t just maintenance; it’s an investment in the future splendor of your garden. So, keep those shears handy, and let the snipping begin! With these steps, your sedum will be the picture-perfect example of health and vitality, inspiring onlookers and providing you with a deeply satisfying gardening experience.
The Best Time to Deadhead Sedum
When it comes to maintaining the robust vitality and dazzling bloom display of your sedum, timing is everything. Deadheading, the gardener’s term for the simple snip-snip of spent flowers, can feel like a dance with nature. But when is the right moment to take the stage with your gardening shears?

Imagine your sedum as a living crescendo, its life cycle a symphony of growth, bloom, and renewal. The act of deadheading harmonizes with this rhythm, ideally occurring just after the last performance of blooms fades away. This encourages the plant to focus its energy on vigorous growth and the promise of a new flush of blossoms. Done too early, and the encore of flowers might be cut short; too late, and the plant might have already exhausted its resources on producing seeds.
Consider the early summer sedum, basking in the sunshine, its petals like a choir in full song. As the weeks pass, these once vibrant singers begin to quiet down, their colors dimming. This is your cue. With your shears in hand, you’re not just a gardener but a conductor, ensuring the next movement in your plant’s lifecycle is as enchanting as the first.
Real-life examples abound. Take Annie, the avid gardener from the sunny coast of California. Each year, as her sedums begin to wilt under the midsummer sun, she deftly deadheads the spent blooms. The result is a glorious resurgence of flowers that neighbors come to admire. Or consider Jack in the cool climes of Maine, who waits just a tad longer for the autumnal chill to signal his sedums’ final act before deadheading, ensuring a burst of growth the following spring.
So, when should your shears make their cameo? It’s a blend of art and science, a dash of intuition mixed with observation. Watch your sedum closely, learn its unique rhythm, and time your deadheading to the waning of the blooms, but before the seeds set hard on the stems. That’s the sweet spot — the ideal interval to promote a healthy plant, lush with new growth and ready to put on a spectacular show.
Alternatives to Deadheading: Letting Sedum Seeds Spread
Imagine a garden where nature takes the reins, and each plant finds its own niche, painting a landscape of diversity and resilience. This isn’t just a daydream; it’s the reality that awaits if you decide to let your sedum plants go to seed. By stepping back from the shears and allowing sedum to self-seed, you’re signing up for an array of potential benefits that can enrich both your garden’s ecosystem and its appearance.

Take, for example, the sedum’s natural life cycle. Deadheading, or the removal of wilted or spent flowers, often prolongs blooming and keeps plants looking tidy. However, by letting those faded flowers stand, you’re allowing seeds to form and fall, creating a self-replenishing treasure trove of new plants. As sedum seeds scatter and settle, don’t be surprised to see fresh sprouts in unexpected places, injecting spontaneity into your garden design.
Self-seeding sedum also puts on a captivating show come autumn. As many avid gardeners will attest, the sight of sedum’s intricate seed heads dusted with frost is nothing short of enchanting. These delicate structures catch the light and create a living sculpture that evolves with the season, offering visual interest long after summer has faded.
But the beauty of self-seeding goes beyond aesthetics. By foregoing deadheading, you’re also encouraging biodiversity. Those seeds become a banquet for birds and other wildlife, weaving your garden into the larger tapestry of the local ecosystem. Furthermore, the plants that grow from these fallen seeds inherit the resilience of their parent, ensuring that your garden not only looks good but stands up to the challenges of the environment.
Consider the case of Mrs. Johnson, a seasoned gardener from the Pacific Northwest. She decided to let her ‘Autumn Joy’ sedum variety self-seed two years ago. Adjusting her approach added a pleasantly untamed look to her garden. To her delight, the new sedum plants that emerged were hardier, even withstanding a particularly harsh winter that left other specimens worse for wear.
It’s changes like these that mark the shift from a manicured garden to a self-sustaining oasis. By allowing sedum to self-seed, you’re not just taking a step back; you’re stepping into a new realm of gardening where plants mirror the resilience and unpredictability of nature itself.
Caring for Sedum Post-Deadheading
So, you’ve given your sedum a fresh new look by deadheading the spent blooms. It’s akin to a refreshing summer haircut – but the care doesn’t stop there! Let’s dive into the trifecta of post-deadheading attention your sedum needs to thrive like a green Olympian.
Water Wisdom
After you’ve trimmed those deadheads, watering your sedum is like serving a revitalizing drink to a marathoner post-race. However, the trick lies in the ‘Goldilocks’ amount – not too much, not too little, but just right. Remember, sedum is a succulent, and overwatering is like signing up for a chocolate-eating contest every day – it’s a pleasure until the side effects hit. Give your sedum a soak when the soil feels dry to the touch – usually a week between waterings will keep your plants in champion form.
Fertilizing Fundamentals
Next up, fertilizing! A gentle touch of fertilizer is like a boost of energy gel during a marathon. Spread some granular, slow-release fertilizer around your sedum once per growing season, usually in the spring. It’s as simple as this – it’ll provide a consistent source of nutrition akin to an athlete’s balanced diet, helping your plant buddy bulk up with lush leaves and vibrant blooms.
Disease Deterrence
Let’s not forget about the sneaky pests and diseases looking to attack your hearty sedum. These critters are the hurdles in the steeplechase, and your sedum needs to be prepped to avoid a stumble. Stay vigilant for signs of trouble like wilted leaves or a coat of mildew. Disease prevention in sedums is like the coach’s strategic plan – remove any debris from the base, ensure good air circulation, and keep the soil well-drained to prevent any microbial party crashers.
Check out this video for some hands-on tips:
With proper care, your sedum will soon stand proud and ready to burst into its next bloom with the vigor of an eager sprinter at the starting block. Keep the watering consistent, the nutrition balanced, and the garden bed pest-free – your sedums will thank you with a garden display that’s nothing short of a standing ovation.
Common Mistakes to Avoid When Deadheading Sedum
Let’s dive right into the dos and don’ts of deadheading sedum, and trust me, it’s not just about snipping off the spent blooms willy-nilly. To keep your sedum thriving and not just surviving, you’ll need to master the art of deadheading with precision and care. So, grab your garden shears, and let’s talk about how to avoid those rookie mistakes that could leave your sedum looking sad instead of splendid!
DO: Know When to Snip
Timing is everything when it comes to deadheading. Wait for the flowers to start fading, but don’t jump the gun – early bloomers might still have some show left in them. And remember, deadheading in late fall can also lead to a healthier plant come spring.
DON’T: Cut Too Deep
When you do make the cut, avoid diving too far down into the lush foliage. Think of deadheading like giving your plant a trim, not a buzz cut – you want to encourage growth, not stunt it. Just deadhead the spent flower heads and leave the healthy leaves intact to do their thing.
DO: Use the Right Tools
Keep those garden shears sharp and clean. Blunt or dirty tools can damage the plant and leave it vulnerable to disease. Think of it as surgery for your sedum – you wouldn’t want a surgeon using a butter knife, so don’t do the equivalent to your plants.
DON’T: Forget to Clean Up
Leaving the snipped blooms and old foliage on the ground is pretty much an open invitation for pests and diseases to set up camp. Take a few moments to clean up the debris and keep the area around your sedum as pristine as a five-star hotel room.
DO: Observe Your Plant’s Response
Deadheading isn’t a one-size-fits-all; each plant will react differently. Keep an eye on your sedum after deadheading – if you notice new growth and vibrant health, you’re on the right track. If not, it might be time to tweak your technique.
DON’T: Overlook the Health of the Plant
If your sedum is already struggling, hold off on the deadheading. Give it some TLC first – ensure it’s got the right soil, sunlight, and water regime. A stressed plant won’t benefit from deadheading; it’s like asking someone running a marathon to juggle at the same time – not helpful.

By following these simple dos and don’ts, you’ll keep your sedum looking sharp and healthy. Just like people, plants need a little love and attention to flourish. If you treat your sedum right, it will reward you with robust growth and an impressive display season after season. So go forth and deadhead with confidence! Your sedum will thank you for it.
FAQs on Deadheading Sedum
Are you debating whether to give your sedum plants a little trim or not? You’re not alone! Let’s tackle some of the common curiosities and questions that pop up when gardeners—and sedums—cross paths.
What Happens If You Don’t Deadhead Sedum?
Imagine leaving your hair to grow wild without a trim for years. Sounds like a hairy situation, right? Well, sedums, much like our hair, can go untamed too. If you don’t deadhead your sedum, they won’t punish you, but they might not reward you either. The plants could become lackluster, and you might miss out on promoting new growth and blooms. Plus, the old, spent flowers can sometimes turn the charm of your garden into a bit of a ghost town. Spooky!
Is Deadheading Sedum Really Necessary?
Eavesdrop on any group of gardeners, and you’ll catch a heated debate about this. While deadheading sedum isn’t a horticultural law, it’s like giving your green pals a spa day—it’s all about rejuvenation. Snipping off the old blooms encourages sedum to focus its energy on the flashy new flowers rather than on producing seeds. This means more colorful fireworks for your garden display!
Will Deadheading Sedum Encourage Rebloom?
If you’re hoping for an encore presentation of blooms, deadheading is your backstage pass. By removing spent flowers, you’re essentially nudging your sedum to get back on stage and shine once more. It’s like they’ve had a power nap and are ready to party all over again. Keep in mind not all varieties will rebloom, but many will appreciate the gesture and give it their best shot.
Speaking of keeping your sedum in the spotlight, let’s check out some hands-on tips straight from the experts. This video shows how to gracefully give your perennials, including sedum, a good snip-snip:
Can You Deadhead Sedum in the Fall?
Wrap up your garden’s grand finale by deadheading in the fall, and you’ll set the stage for a stellar performance next season. Picture it as your sedum’s final bow before the curtain of winter falls. But leave some seed heads if you want to provide a winter feast for local birds or if you simply love the rustic look of frost-kissed blooms—artisanal ice sculptures, garden edition!
Any Tips on How to Deadhead Sedum the Right Way?
It’s simple really—think of it as giving your plants a much-needed haircut. Use clean, sharp shears, and cut back to a leaf where new growth can take off. Wear gloves if you like clean hands, and maybe throw on some tunes, because why not make it a garden party? Just remember to be gentle; sedum stems can be brittle, and we’re going for a trim, not a buzz cut.
Bottom line?
Should you deadhead sedum? Well, it’s really your call. If you fancy a garden that wows well into the growing season and potentially invites more blooms, then, by all means, grab those shears. If you prefer a laissez-faire approach, let your sedum live a bit on the wild side—Nature’s got a plan too, after all.


