When to Repot Crassula: Timing is Everything for Healthy Growth
Welcome, green thumbs and succulent enthusiasts! As fellow plant parents, we understand that nurturing a Crassula is more than just a hobby; it’s a delicate dance of care and intuition. Whether you’re marveling at the plump leaves or basking in the simplicity of its elegance, you know there comes a time when your beloved plant needs a little more room to continue its journey. Yes, it’s repotting time, and the success of this transition is all about timing.
Imagine your crassula as a thriving city dweller whose apartment has become too snug. Its roots, like ambitions, are reaching out for more space to grow, to explore—craving a change of scenery that only a new pot can provide. Repotting is not just a refresh; it’s an upgrade to the living quarters of your plant’s urban jungle! But how do you identify the perfect moment to make the move?
It’s simple: observe. A Crassula begging for a change will showcase tell-tale signs—roots sneaking out from the bottom of the pot, slower growth, or a top-heavy sway that screams, “I need more stability!” Listen to these subtle hints, for they are the secret whispers guiding you to ideal repotting timing.
While we delve deeper into the ‘whens’ and ‘hows’ of repotting, why not brush up on your overall crassula savvy? Check out our guide for ensuring your leafy pal lives its best life. After all, knowledge is power—and your Crassula’s ticket to thriving under your thoughtful care. Let’s equip ourselves with the know-how to guarantee our potted friends not only survive but gloriously flourish!
Introduction
An overview of the importance of repotting crassula plants can’t be understated. It’s a pivotal stage in your plant’s life that directly impacts its growth and health. By introducing the main keyword here, we align with your quest for garden perfection, ensuring we address your search for insight with precision and care.
Intrigued? Stay tuned as we transplant our wisdom into your gardening playbook, ensuring your Crassula doesn’t just grow—it thrives.
Understanding Crassula’s Growth Habits
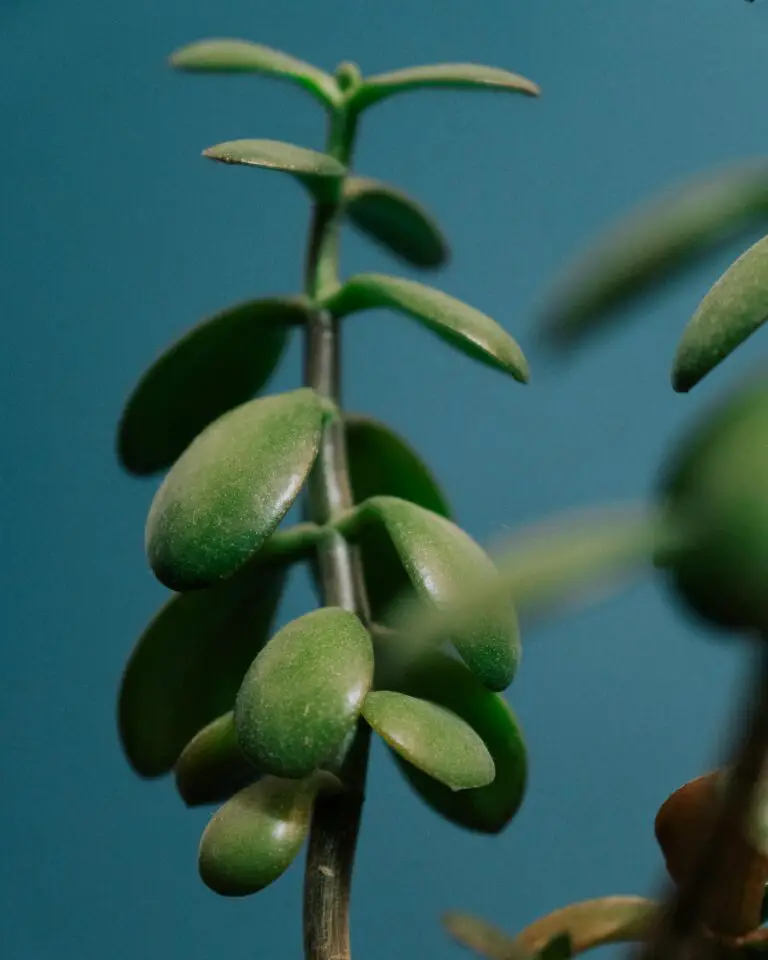
Crassulas, with their charming and robust structure, follow a rhythmic growth pattern that whispers to the keen observer when it’s time to offer a new home – a bigger pot. Yet, pinning down that perfect timing can often feel as mysterious as the plants themselves.
Imagine this: a Crassula perched on your windowsill, its fleshy leaves bathing in the dappled sunlight. You’ve noticed a pattern – a slow but steadfast march towards plumpness, the leaves reaching out as if lunging for a stretch. Like a well-versed artist, your plant signals its growth with subtle hints. But it’s not just about the visual cues; think of it as an intuitive dance, where the plant and pot engage in a two-step routine until the music, or rather the space, runs out.
A Crassula might take a slow waltz, with years between needing new pots, but then, like a sudden crescendo, you’ll notice roots peeking out of the drainage holes or circling the surface like an intricate mandala. This is the Crassula’s subtle invitation for more space to thrive. And it’s not just about tightness of space. A slower growth in height or new leaves may signal it’s time to consider repotting, a perfect opportunity to refresh the nutrient-dense soil that these succulents so love.
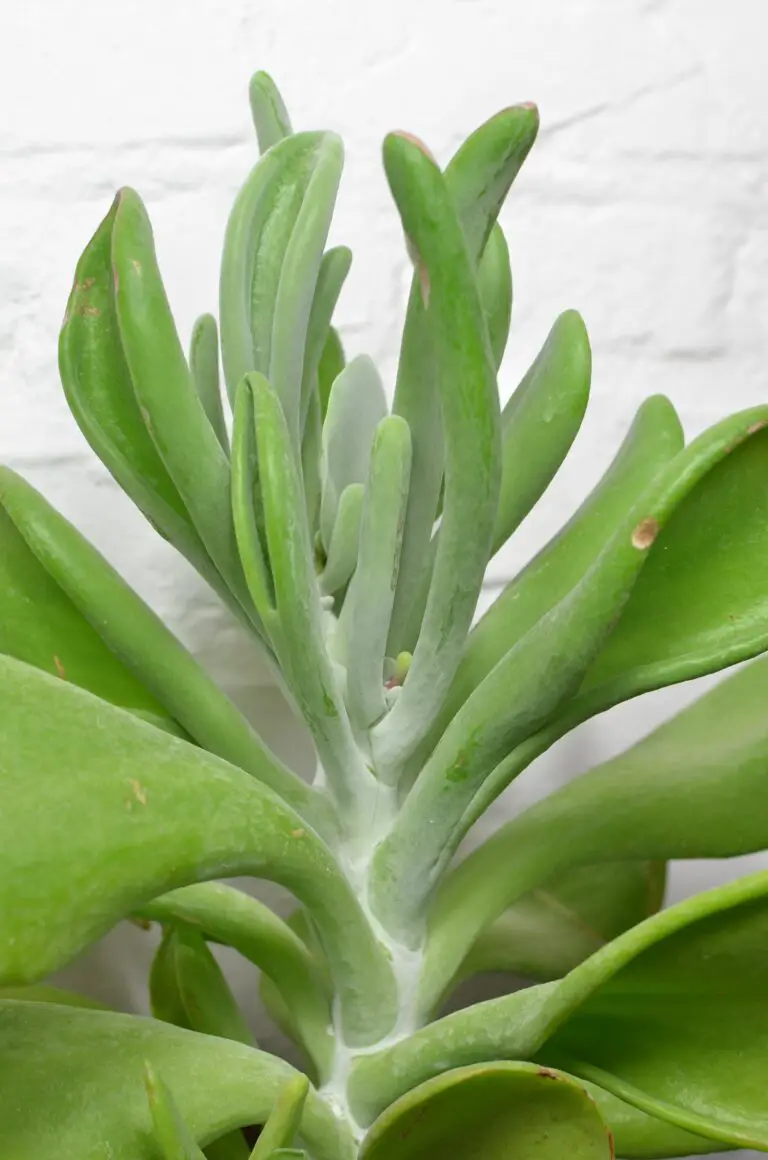
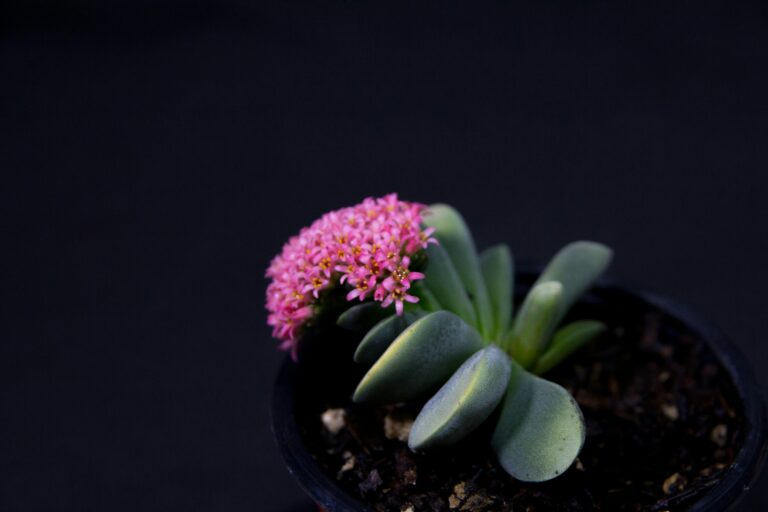
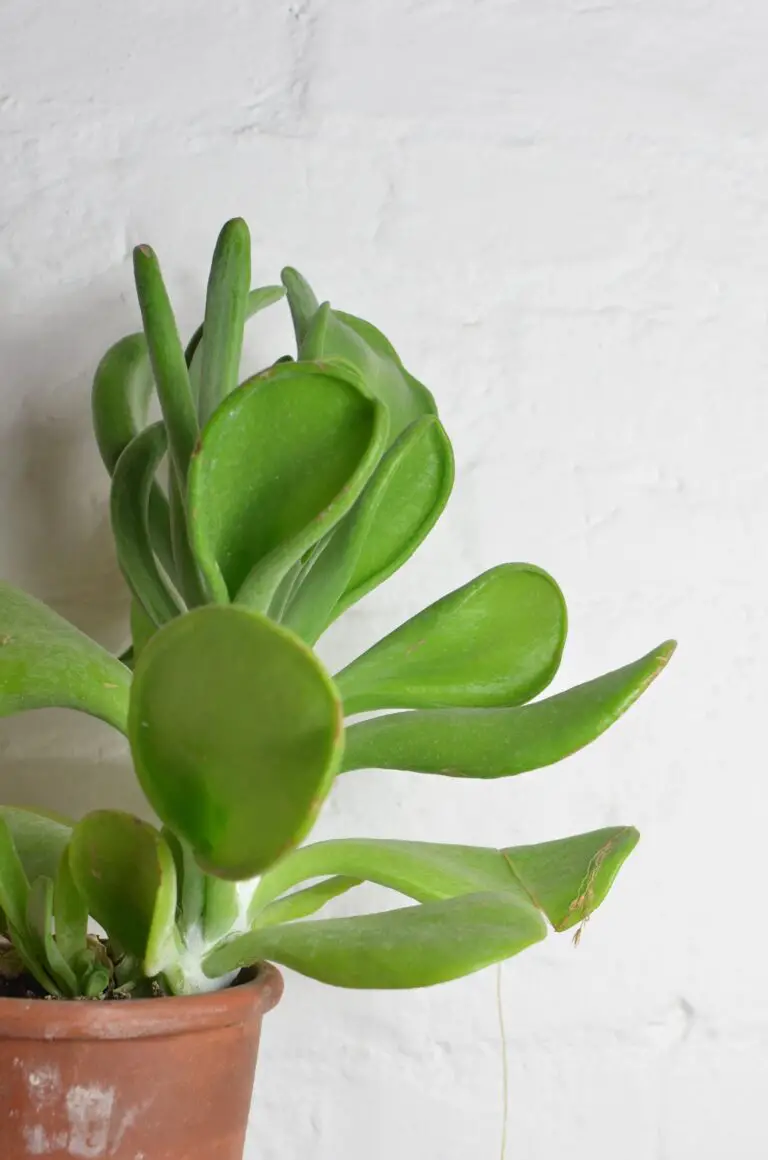
Real-life echoes with these indicators – a Crassula ‘Jade’ outgrowing its pot in the cozy corner of a bookshop, its stout trunk now vaguely reminiscent of an ancient miniature tree, or the ‘Silver Dollar’ variety that one morning surprises you with its vastness, a clear nudge that it has grander ambitions beyond the restrictions of its current ceramic confines.
Timing is indeed everything, and understanding the growth habits of your Crassula will ensure that your response is on cue for healthy development. Observing your plant, tuning into its needs, and providing the right space at the right time is pivotal. This timing paves the way for a robust and vibrant Crassula – one that, with your attentive care, continues to grace your living space with its timeless beauty.
Decoding the Best Time for Repotting
Let’s unravel the mystery behind the optimal repotting season for your tenacious Crassula. It’s not just about picking any day in the calendar with a green thumb vibe; it’s about finding that sweet spot in the year where your plant whispers, “Let’s do this!” But when is that exactly? Well, my botanical buddies, timing is everything. You want to repot during a period of active growth, which, for Crassula, is typically in the spring or early summer. Think of it like tuning your car before a road trip – it’s all about prepping for the journey ahead.
Now, spring doesn’t just shower us with flowers; it brings with it longer days and warmer soils, kindling a growth spurt in your Crassula plant. It’s emerging from its winter rest and is primed to tackle the world. Imagine repotting it then – you’re giving it a new lease on life with more space to stretch its roots. However, you want to dodge the scorching summer highs because intense heat can stress your green friend. It’s like moving to a new home in the middle of a heatwave – uncomfortable for everyone involved.
To minimize the drama, ensure that the ambient temperature is just right – not too hot, not too cold, and Goldilocks would approve. Provide indirect sunlight, like the kind that filters through a breezy curtain, and maintain a gentle watering schedule to help your Crassula ease into its new abode. You wouldn’t run a marathon without a good stretch, and neither should your Crassula leap into growth without the right conditions.
Let’s not forget that transition is an art, and should you need more detailed guidance to master your Crassula’s care routines, dive into the wisdom shared in our ultimate guide on Crassula muscosa.
To visualize the perfect repotting technique, check out this handy dandy video that encapsulates tips for a thriving Jade Plant:
Remember, taking the time to decode these cues from your Crassula will assure that its transition to a roomier pot is as smooth as a gardener’s glove. The goal is to minimize stress and maximize growth, setting the stage for a showstopping succulent that continues to dazzle year after year.
Choosing the Right Pot and Soil Mix
Hey there, green thumbs! Let’s talk about setting up your crassula for success, starting with its new home—a sturdy pot. Now, you don’t want to settle for just any holder; picking the right one is like house hunting, except for your plant. A well-draining, breathable pot is what you’re looking for—think terra cotta or clay—they’re like the cozy cottages of the plant world. These materials are perfect because they allow air and water to move through them, preventing water-logged roots and giving your crassula the airy environment it adores.
Moving onto the soil, imagine you’re mixing up a special cake. The recipe for crassula’s happy growth is a well-draining soil mix. Now, I’m not talking about your regular garden soil; that’s too heavy, like a fruitcake that sits in your stomach. We’re mixing up a fluffy chiffon cake here—light, airy, and just perfect. So, grab a commercial cactus mix or create your own with some potting soil, sand, and perlite. It’s like the perfect mattress for your crassula; draining quickly so it never has to sleep in a wet bed.
Peek into the world of a friend of mine, who’s a savvy plant enthusiast. She swears by the ‘Goldilocks’ method—not too big, not too small when choosing the pot size. Her crassulas thrive because they have space to grow without drowning in soil. And, when she mixes her soil, she feels like a gourmet chef, carefully balancing the ingredients for perfect drainage and root support. That’s the kind of dedication your crassula yearns for!
Remember, when to repot crassula is all about timing and the right conditions. So, don’t skimp on that pot and soil mix. Your crassula’s health depends on it, and when you get it right, it’s like watching your favorite feel-good movie—everything just falls into place.
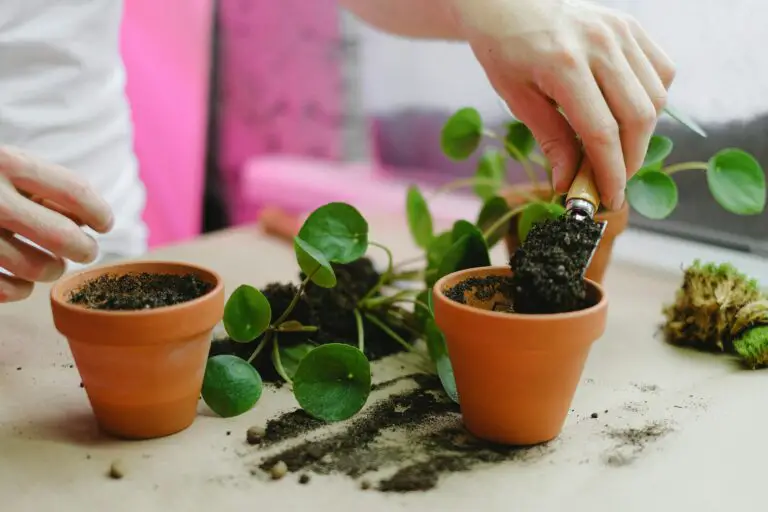
Step-by-Step Guide to Repotting Crassula
Imagine this: Your Crassula has been growing steadily, its jade-colored leaves flourishing under your care. But suddenly, you notice the roots are peeking out from the bottom of the pot, a sure sign it’s time to upgrade its home. Fear not! Repotting your green companion is a straightforward task when you know the right steps. Let’s roll up our sleeves and dive into the repotting process, ensuring your Crassula continues to thrive with vigor.
Choosing the Right Pot and Soil
First things first, select a new pot that’s slightly larger than the current one, preferably with drainage holes, because Crassulas despise wet feet. Complement the new pot with a well-draining soil mix specifically formulated for succulents and cacti; this will help mimic their natural arid environments and prevent root rot.
Preparing for the Move
Before we evict the plant from its current pot, water it a day or two in advance. This softens the soil, making the extraction less traumatic for the roots. Remember, a gentle touch is key—you’re a plant parent performing a delicate dance, not a bulldozer at a construction site.
Time to Transplant
Carefully tilt the pot and coax the Crassula out, supporting its base and leaves. Gently shake off any loose soil and untangle the roots if they’ve become a congested freeway of twists and turns. Snip away any roots that are dead or resemble overcooked spaghetti—your plant won’t need those where it’s going.
The Perfect Placement
Now, position the plant in its new pot, filling the extra space with your succulent soil mix. Conjure the image of tucking a child into bed as you gently press the soil around the roots for even support. Leave a little space at the top to prevent watering mishaps, allowing just the right amount of moisture to reach the roots without spilling over.
Aftercare Is Key
After the repotting dance, your Crassula may experience the equivalent of ‘moving day fatigue.’ Don’t be overly eager with the watering can. Allow the plant to acclimate to its new surroundings for about a week before returning to its regular watering routine. A little bit of stress is normal, but with the proper care, it’ll bounce back with enthusiasm, ready to continue its botanical journey in its new abode.
Monitoring Growth
Keep an eye on your repotted Crassula as it settles in. Like sending a child off to college, it marks a new chapter of growth and prosperity. With your guiding hand and these essential steps, you’ll be an ace at repotting when the time comes again, ensuring your plant family remains robust and joyful.
Post-Repotting Care for Your Crassula
Alright, green thumbs, your crassula has just cozied into its new abode, and it’s time to impart some wisdom on nurturing your newly repotted succulent champion. Let’s dive in – no green jacket required!
The First Sip: Watering Woes Be Gone
Watering is kind of like making espresso, my friends: too little and it’s meh, too much and you’re swimming in bitter sips. Strike a balance. After repotting, let your crassula settle for about a week before you bring on the H2O. When the soil’s dry an inch deep, offer a modest drink, ensuring stellar drainage to fend off root rot worthy of a B-horror movie.
Basking in the Limelight: Sun Sun Sun Here It Comes
Cue The Beatles, ’cause your crassula longs to bask in the sunlight’s warm embrace. But hey, ease into it. Transition your succulent buddy to its sun-kissed spot gradually. Too much sun too soon, and it might wince at the spotlight like an off-Broadway actor on opening night. Think indirect light initially, then let your plant acclimate to more direct rays over a few weeks.
Curious about juggling the fine art of crassula care and avoiding common pitfalls? Check out this insightful article from our succulent library for more tips and tricks.
Home, Sweet Home: Acclimatization Is Key
Remember your last move? Boxes everywhere, that weird feeling of new walls around you? Your crassula feels it, too. Acclimatization is about patience. It’s not only about the spot it calls home but also the pot it dreams in. Choose a container that beams with pride, just the right size, and watch as your crassula flourishes, claiming its throne in terra-cotta or porcelain.
Feeling like a repotting reality show binged, yet? Stay tuned as we turn the spotlight on this dramatic revival. And if you’ve got a minute, hit play on this video for a visual dose of crassula care charisma.
Common Mistakes to Avoid When Repotting
Repotting your cherished Crassula can feel like a nerve-wracking high-stakes game of “Operation” – one wrong move and you might think it’s game over for your green friend. Before you dive into the repotting process, equip yourself with the know-how to dodge common pitfalls that have snared many a well-intentioned plant parent.
Overlooking the Pot Size
Imagine donning a pair of shoes two sizes too small and then being asked to run a marathon. Uncomfortable, right? That’s how your Crassula feels in a pot that hasn’t been properly sized up. Choose a new pot that’s just one size larger than the current one. Going too big can lead to excess soil moisture, which is like a red carpet invitation for root rot, and that’s an after-party no one wants to attend.
Succumbing to the Wrong Soil Seduction
It’s easy to fall for that exotic-looking, premium soil blend, promising miracles for your plants. But for Crassula, the mantra is ‘less is more.’ A well-draining soil mix tailored for succulents keeps the roots happy and dry, not drowning in soil better suited for a tropical rainforest plant. Stick to the basics and watch your Crassula thrive.
Ignoring Timing and Signs
The Crassula plant doesn’t come with a “Time to Repot Me!” alarm, so you need to look out for the subtle hints. Is the growth stunted, or are the roots peeking out like nosy neighbors? These are your cues to take action. Also, timing is crucial: spring or early summer offers a growth spurt ensuring a smooth transition. However, repotting during dormancy in winter can leave your plant stressed, stunting its potential.
Forgetting the Aftercare
Just like you wouldn’t sprint immediately after major surgery, your Crassula shouldn’t be tossed back into its usual routine post-repotting. Give it some time to acclimatize. Hold off on the fertilizer and go easy on the watering. Overzealous care can do more harm than good, turning your act of kindness into a regrowth obstacle.
Neglecting the Root Health Check
Repotting is the perfect time for a root health exam. But often, we’re so focused on getting the job done that we overlook this vital step. Unravel tangled roots, trim away any brown or mushy offenders, and give your Crassula the clean bill of health it deserves before settling it into its new home. This is preventative care at its best – no apple a day needed!
A final pro-tip: always ensure the pot has drainage holes, unless you fancy creating a mini-sauna for your plant’s roots. For more detailed guidance on repotting your Crassula, consider this informative article that walks you through the steps to secure a happy and healthy future for your succulent companion.
When Not to Repot: Recognizing Periods of Dormancy
Understanding the natural rhythms of your Crassula is pivotal to ensure its continued health, particularly when it comes to repotting. A Crassula, just like many succulents, enters a phase of dormancy, typically during extreme seasons like the hot, dry summer or the cold winter. During these periods, the plant conserves energy and redirects its efforts from growth to survival. Repotting during dormancy is equivalent to waking a hibernating bear—it’s not just unnecessary; it’s a recipe for stress!
Imagine this: While in the comfort of its pot, your Crassula has slowed its metabolic rate to a crawl, preserving moisture and nutrients in preparation for better growth conditions. Introducing the shock of a new environment during this time can cause the roots to go into distress, potentially leading to a weakened state or even root rot if they cannot recover properly post-transplant.
Just like you wouldn’t embark on a marathon without the proper training, you shouldn’t repot a Crassula that isn’t in active growth. Winter months, especially, can be a tricky time; the plant’s leaves might tell tales of dormancy with slower growth and a more subdued color. Let it rest. The signs of active growth—bright, perky leaves and new sprouts—will signal the safest time to make your move.
So, when the sun hangs high and the air sizzles, or when the frost patterns on your window hint at a world in slumber, that’s your cue. Steer clear of the potting soil, and save any ambitions of repotting for more agreeable conditions. Your Crassula will thank you with vibrant health when the season turns.
Frequently Asked Questions
Have you ever found yourself wondering “Is it time to give my Crassula a new home?” You’re not alone! Repotting your Crassula can seem daunting, but knowing when and how can be the difference between a thriving plant and a wilting one. So let’s dig into some common questions gardeners have about repotting these succulent beauties.
What’s the Best Season to Repot Crassula?
Imagine your Crassula as a bear. Just like a bear prepares for winter, your Crassula gets ready for its dormant period. And just like you wouldn’t wake a hibernating bear, it’s best not to repot during this restful phase. Spring, when your plant starts to yawn and stretch out new growth, is the perfect time to repot. This is when Crassula has the energy and eagerness to settle into a new pot and spread its roots.
How Often Should Crassula Be Repotted?
Think of your Crassula’s pot like a pair of shoes. Just as a child outgrows shoes quickly, a young Crassula will outgrow its pot in about a year or two. But as it matures, like a full-grown adult, it prefers a roomy fit and can stay in the same pot for a bit longer, typically around three years. Keep an eye on the roots; if they start peeking out of the pot’s drainage holes, it’s time for a new one.
Signs That Your Crassula Needs Repotting
It’s not always about the calendar when it comes to repotting Crassula. Look out for signs like slowed growth, roots circling the surface or poking out of the drainage holes, or if the soil dries out too quickly after watering. It’s like when your plant is crying out for a little more legroom!
Choosing the Right Soil and Pot
Selecting the right soil and pot is like picking the right kind of ground for planting – it makes all the difference. For Crassula, a well-draining succulent mix and a pot with ample drainage holes that’s just one size bigger will mimic their natural habitat and promote healthy growth.
And here’s a visual nugget of inspiration!
Remember, repotting is a chance for renewal and growth. So be gentle but confident, and give your Crassula the fresh start it deserves!