Introduction
Welcome to a green thumb’s guide to Sedum success! Shrugging off the one-size-fits-all approach to plant care, trimming your Sedum isn’t just a random snip here and a casual cut there. It’s an art form, a science, and a little love story between you and your garden all at once. Let’s dive into why those strategic trims can turn your Sedum from simply surviving into absolutely thriving—and have it looking catwalk-ready in no time!
Imagine a Sedum plant, standing tall in the full glory of bloom—that’s your end goal. The path there? A savvy trimming ritual that not only boosts the plant’s aesthetics but channels its energy into vigorous growth. Here’s a snapshot of what we’re talking about: It’s a crisp autumn day, and you’ve got your shears in hand. With a knowledgeable eye, you remove the spent flowers and shape your Sedum, paving the way for next season’s show-stopping performance.
But hold the garden shears! Trimming isn’t a willy-nilly affair. There’s a sweet spot, a precise moment that allows your Sedum to capitalize on the haircut. Wait too long, and it’s like missing your cue in a dance; snip too early, and you might throw off the plant’s groove. Finding that just-right timing? That’s your ticket to a garden that buzzes with beauty.
Now, you might be thinking, “Sure, this all sounds great, but what does it actually mean for my garden?” Glad you asked, dear reader. Let’s take a case in point: The Stonecrop. This variety seduces us with its rugged charm and resilience. Yet, even the toughest of Sedums can benefit from a nip and tuck. Like a chef perfects a recipe over time, trimming is how you refine and perfect your approach to growing sedums successfully.
Let’s not forget, part of the trimming magic is practicality. More than a cosmetic lift, it keeps your Sedums neat and manageable, lessening the chance they’ll encroach upon their plant neighbors like overzealous party guests. Need more than our word? Explore this detailed guide on Sedum plant care, and you’ll find an encyclopedia of tips, tricks, and Sedum wisdom.
Meanwhile, for your ever-growing gardening curiosity, we’ve uncovered a trove of resources that can help you raise your Sedum game—don’t miss out on this insightful read about Sedum Planting Secrets. It’s like finding a secret garden, except this one’s no secret—it’s shareable, clickable, and waiting to elevate your green sanctuary.
In this lively foray into the world of Sedum snipping, we’re not here to sell you scissors. We’re here to guide your hand as you give your Sedum the best seasonal hairstyle it’s ever had. And the best part? You’ll have that green thumb perk of stopping admirers in their tracks—expect a chorus of oohs and ahhs next bloom season!
Understanding Sedum
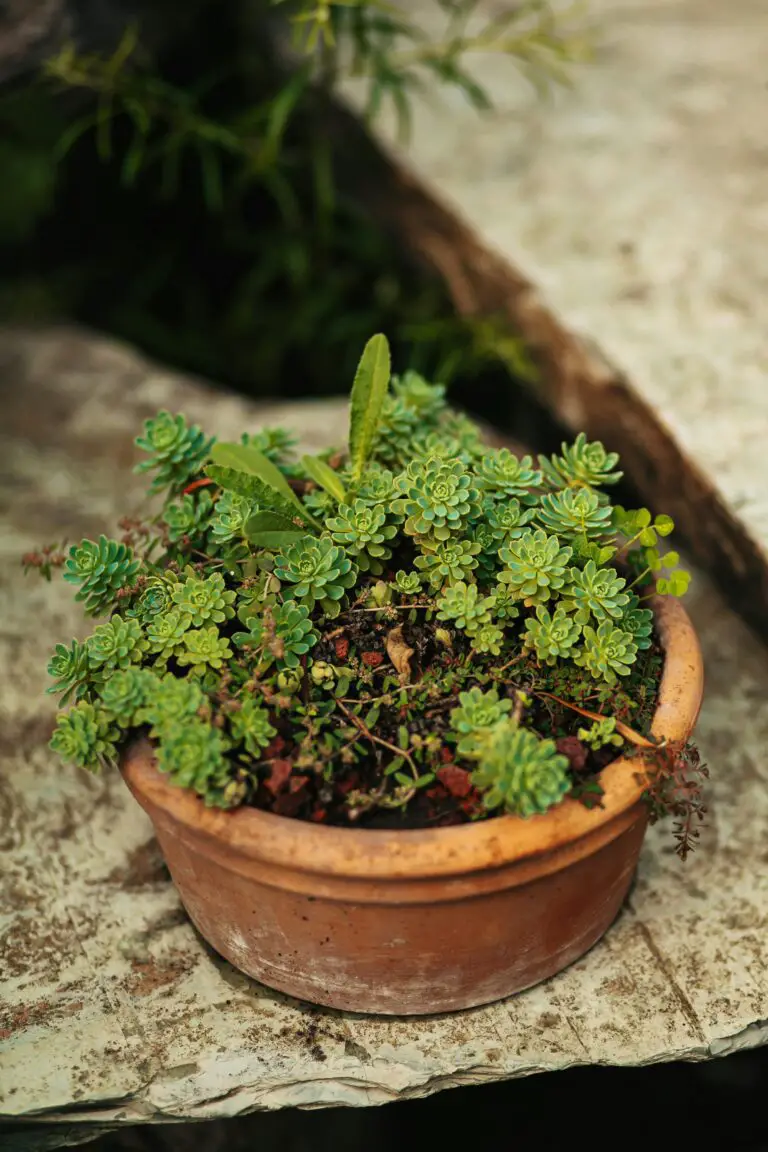
Imagine a plant so versatile and robust that it thrives with minimal fuss, yet splashes the garden with vibrant colors from early summer into fall. That’s the world of sedum for you – a real-life ‘easy button’ for garden enthusiasts. Sedum varieties are a dynamic ensemble of succulents that bring an array of textures, colors, and shapes to any garden space. Capable of withstanding drought and neglect, these hardy beauties are perfect for both the novice and the seasoned green thumb.
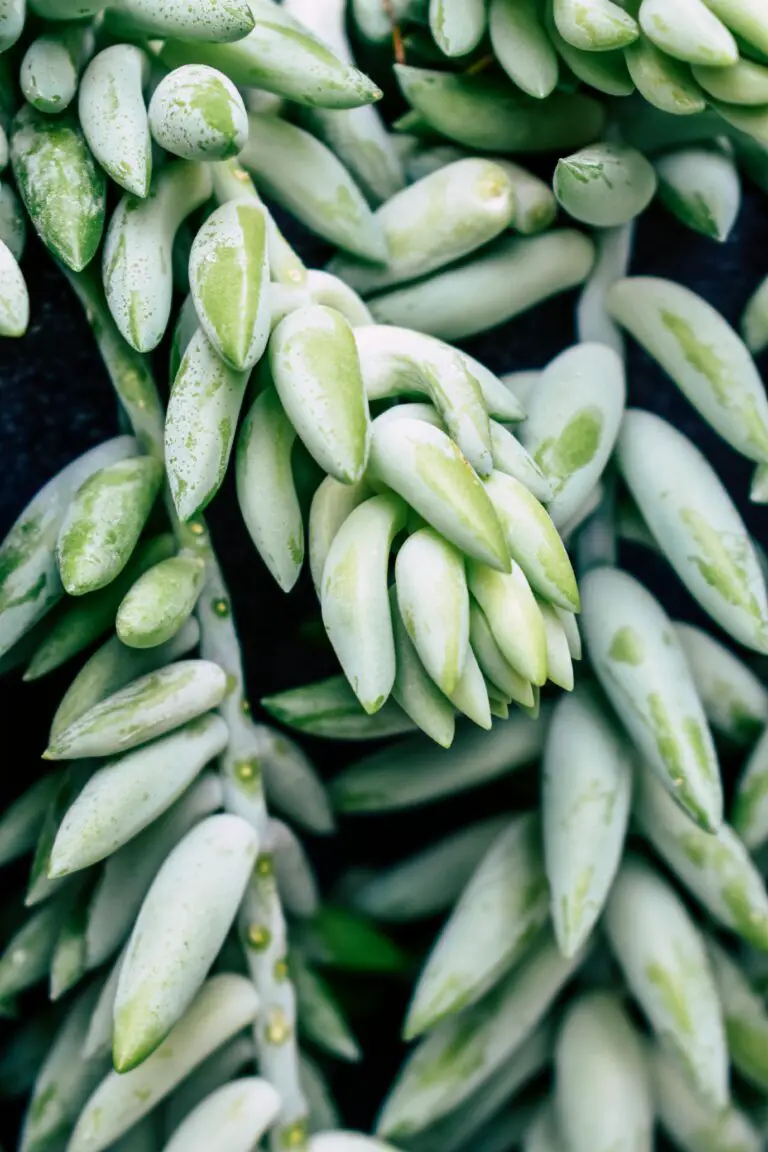
Let’s dig into the diversity of sedum. You have your ground-hugging creepers like ‘Dragon’s Blood,’ which carpets the soil with ruby-red leaves, and then there are the upright sedums such as ‘Autumn Joy’ that stand tall with broccoli-like blooms. The variety doesn’t stop there; imagine ‘Cape Blanco’ with its ghostly white rosettes or ‘Coral Carpet,’ which bursts into a pinkish hue under the sun – it’s like a living kaleidoscope!
Now, have you ever seen a sedum revival in action? Picture this: it’s mid-spring, the snow finally surrenders, and there they are, the sedum plants, peeking out like little green survivors in an otherwise barren landscape. What’s even better is that come summer, your garden becomes a pollinator’s paradise. Bees, butterflies, you name it – they’re all drawn to sedum’s blooms like a magnet. These plants aren’t just survivors; they’re garden heroes!
Why is sedum such a popular choice for gardening? It’s not just their easy-going nature. They bring a touch of wildness to the garden, adding texture and variety that oftentimes comes with a story. Just the other day, a neighbor showed off her ‘Spurium Tricolor’ that she affectionately nicknamed ‘Tutti Frutti’ because of its colorful foliage that’s a treat for the eyes.
For more gardening insights, you might want to check out growing tips and varieties of sedum, a surefire way to add some hardy charm to your outdoor space.
If you’re itching to see these succulents in action, take a look at this video:
So, when can sedum be cut back? That’s an excellent question! And the answer is as diverse as the sedum species themselves. Some prefer a light trim in the spring to encourage lush foliage, while others can be cut back in the fall to make way for new growth. A little bit of know-how goes a long way in keeping these succulent sensations looking their best year-round!
In the grand play of the seasons, sedum takes center stage with its hardiness and beauty. So whether you’re a garden novice looking for an easy win or an experienced hand seeking a reliable showstopper, sedum is the green companion you’ve been searching for.
Optimal Timing for Sedum Pruning
If you’ve ever wondered about the perfect time to give your sedum plants a little haircut, then you’re in the right place! Think of sedum pruning like scheduling a spa day for your green companions—it rejuvenates them and ensures they keep blooming beautifully. There’s a simple rule of thumb to keep in mind: the best seasons for nudging sedum into its best self are typically after it has finished strutting its stuff with flowers or during its dormant phase.
Imagine you’re sipping on a warm cup of tea, gazing out to your garden with a sense of pride as your sedum plants show off their vibrant colors. But then, as all living things do, they conclude their performance and the flowers start to fade. This marks the ideal moment to start pruning. Allowing your sedum to rest from the efforts of flowering, a gentle trim not only cleans up the spent blossoms but also encourages a sturdier and more resilient plant structure for the upcoming season.
You might also consider the sedum’s dormancy period ripe for pruning. Winter’s crisp air and shorter days signal your sedum to tuck in for a long nap. This dormancy period when the plants are not actively growing is a great opportunity to prune without causing unnecessary stress to your plants. It’s a bit like fixing the roof while the sun is shining—you’re getting ahead of potential problems and ensuring a robust comeback when the growing season kicks off again.
Now, for a real-world pruning party, imagine someone who knows all too well the struggle of untamed sedum growth. Jacqueline, a green-thumbed enthusiast from the breezy coastlines, thought her sedum were getting too leggy and unruly. Post-flower-pruning transformed her garden into a tidier sanctuary, and during dormancy, she nipped away at the old growth. The result? Come Spring, Jacqueline’s sedum collection wasn’t just alive; it was thriving and ready to paint her garden with another year’s masterpiece.
To illustrate, let’s roll up our sleeves and dive into this handy guide that can transform you into a sedum-pruning savant. And if you’re a visual learner, check out this enlightening video that walks you through the steps to a perfect prune.
Remember, a plant’s needs are often like ours—appropriate care at the right time can make all the difference. So, whether you’re a seasoned gardener or a novice with a newfound love for succulents, timing your sedum cuts with the finesse of a horticultural maestro can lead to a display that will make both you and your plants proud.
How to Cut Back Sedum
Ever wondered how to give your sedum that perfectly manicured look? Let’s dive into the nitty-gritty of sedum pruning with some step-by-step instructions. Think of sedum like a haircut; it needs a trim now and then to look its best and for a burst of new growth. So, grab your garden gloves, and let’s get started!

First things first, timing is everything. Begin in early spring when you spot new growth emerging. This is your sedum’s way of giving you the green light to prune. Imagine cutting back an overgrown sedum, akin to sculpting a masterpiece from a block of marble, each snip revealing the plant’s potential for lush, healthy growth.
Step 1: Assess and Prepare
Survey your sedum’s condition. Look for any dead or damaged stems – these are your first targets. Make sure you have your tools at the ready. Clean, sharp pruners make for clean cuts that heal quickly, reducing any risk of infection.
Step 2: Make the First Cut
Identify a point on the stem just above a healthy leaf or bud. This is where you’ll make your cut. A clean, angled cut ensures that any water will run off the cut surface, keeping it dry and helping prevent any fungal maladies.
Step 3: Shape and Style
After removing all the unwanted bits, it’s time to style your sedum. Like a savvy hairdresser knows what hairstyle suits their client best, you’ll want to shape your sedum for optimal bloom and growth. Tall varieties benefit from a ‘pinching back’ technique in late spring to encourage bushiness and enhance the plant’s structure.
Step 4: Cleanup and Compost
Last but not least, cleanup is crucial. Not only is it courteous to leave your garden tidy, but removing plant debris reduces the chances of pests and diseases. Plus, those cuttings can make excellent compost material or even propagate new plants!
Don’t hesitate to visit Gardening Know How for more savvy sedum pruning tips. It’s a treasure trove of information to keep your succulents stellar!
Remember, with the right technique and timing, your sedum will be the envy of the neighborhood. Here’s to a season of gorgeous growth and show-stopping blooms!
The Benefits of Pruning Sedum
Imagine a serene garden, where each plant thrives, showcasing a kaleidoscope of colors. This vision is achievable with love and, importantly, the strategic snip of a gardener’s shears. Sedum, a resilient succulent favorite, is no exception to this rule of thumb. Regular trimming of sedum not only ensures a visually appealing garden but also bolsters the health and vibrancy of these hardy plants.
Why make pruning sedum a part of your garden routine? Let’s explore the tangible perks this simple task brings to your green haven. One of the most critical advantages is disease prevention. Overgrown sedum can create a dense canopy that traps moisture, inviting a host of fungal and pest problems. By cutting back overgrowth and allowing air to circulate more freely around the plants, you significantly reduce these risks, fostering a resilient garden bed.
Moreover, the aesthetically pleasing structure of a neatly trimmed sedum is not the only allure of the practice. Enhanced blooming is a delightful consequence, rewarding the vigilant gardener with more prolific and vibrant flowers. When sedum is left to its own devices, it can become leggy and produce fewer blooms. Strategic pruning directs the plant’s energy into fewer stems, encouraging a bounty of blooms and a display that can become the talk of the neighborhood.
Consider the real-life example of a novice gardener who first overlooked the importance of pruning. They watched as their sedum grew wildly, losing shape and producing sparse flowers. Upon learning about the benefits of trimming, they adopted a routine, cutting back the sedum at the end of winter or early spring. The transformation in their garden was remarkable—healthier plants with bountiful blossoms that delighted butterflies and neighborhood onlookers alike!
Embrace the snip and clip philosophy in your garden maintenance for sedum that not only survives but thrives. By making pruning a priority, you’re ensuring that your sedum doesn’t just live—you’re helping it to perform its very best, year after year.
Common Mistakes to Avoid in Sedum Pruning
Pruning your Sedum plants might appear to be a no-brainer, but even the greenest thumbs can make small errors that have big impacts. Let’s dig into the common slip-ups that could turn your Sedum from fab to drab, and how you can steer clear of them.
Clipping At The Wrong Time: A Gardener’s Snafu
Imagine clipping away on a crisp autumn day only to find your Sedum plant struggling in spring. Timing is everything, and pruning too late or too early in the season can hinder its full blooming potential. For best results, when can sedum be cut back? Clip back your Sedum after flowering is finished, typically in late fall. This timing will help to encourage robust growth when the growing season rolls around again.
Overzealous Cuts: A Tad Too Much of Tough Love
We’ve all been there, channeling inner Edward Scissorhands, and before you know it — oops! — you’ve given your Sedum a scalping. To keep your plants healthy and happy, avoid the temptation to over-prune. Aim for a moderate trim, removing just the dead or overgrown stems. This way, you’ll maintain the plant’s natural shape and promote new, healthy growth.
Dirty Deeds: Neglecting Tool Hygiene
Your pruning shear might just be the culprit if your Sedum isn’t doing so well. Dirty tools can introduce diseases, turning a routine trim into a horticultural horror story. Before you snip, make sure your shears are squeaky clean and sterilized with alcohol. Remember, clean cuts make for happy plants!
Putting Sedum Under The Unnecessary Stress Test
We pamper our Sedum with love and care, but incorrect pruning practices can cause undue stress. Avoid tearing or pulling at the stems, which can damage your Sedum’s base and affect its ability to draw up water and nutrients. Choose sharp tools and make precise, deliberate cuts to keep your sedum stress-free and thriving.
Watch this practical video which walks you through some of these pruning pitfalls and demonstrates the right techniques to ensure your Sedum looks stellar year-round!
Now that you’re aware of these all-too-common mistakes, pruning your sedum should be a breeze. Just remember; it’s not just about “when can sedum be cut back”, but also “how”. With a little know-how and a careful hand, your Sedum can be the lush, blooming star of your garden it’s meant to be!
Caring for Sedum Post-Pruning
Just trimmed your sedum and wondering what’s next? Think of your freshly cut sedum as a diligent student post-exams; it’s a time for recovery, care, and preparation for the next growth spurt. Let’s talk about the essential care tips that will have your sedum thriving again in no time!

First off, watering—this is like the hearty meal after a day of hard work. Your sedum’s roots are desperate for a drink to help them heal and generate new growth. Imagine giving your garden a sip of water, akin to toasting to its future success. However, be mindful not to overwater; your goal is to provide support, not create a swampy mess!
Next up is mulching. Consider mulch the cozy blanket for your sedum, offering protection and comfort. Just as one would snuggle under a warm blanket on a chilly evening, mulch keeps your sedum snug by retaining moisture and warding off weeds. It’s all about creating the perfect environment for those new shoots to pop up unencumbered.
Lastly, we talk fertilization, akin to equipping your plants with the armor and tools they need to face the world again. By feeding your sedum the necessary nutrients, you’re essentially cheering them on as they prep for their grand showcase of vibrant blooms. Timely fertilization is like giving an athlete the right diet before a race—it’s all about the timing and balance!
Remember, the care you provide after pruning is crucial. It sets the stage for your sedum’s future health and beauty. Be that attentive gardener who knows just what their green companions need to flourish, and you’ll be rewarded with a garden spectacle that’s nothing short of extraordinary. So, nurture your sedum with the same dedication as you would tend to a cherished friendship—it’s an investment that pays off with every season.
Sedum Propagation Through Cuttings
Did you know that the very act of trimming back your sedum can actually give rise to new life? That’s the magic of propagation, a simple yet fascinating process where the cutback pieces of sedum become the birthplace of new plants. Let’s explore the “how-to” of turning your pruning efforts into a nursery of new growth, bursting with potential.
Picture this: it’s a crisp, sunny morning, and you’ve just finished cutting back your sedum. Instead of tossing those lush cuttings aside, envision them as future stars in your garden. The first step is selecting sturdy, healthy stems, about 3 to 5 inches long. Just like preparing a choice cut of vegetables for your favorite dish, precision matters here. A clean cut just below a leaf node ensures an excellent start for your future sedum saplings.

Once you’ve gathered your “sedum starters”, it’s time for them to take a soothing dip—not in water, but in rooting hormone powder. Think of it as a nurturing spa treatment that encourages robust root development. Then, pop them into a pot filled with a mix that drains faster than gossip spreads. This special soil-free medium, often a mix of peat and perlite, will be the sanctuary where these cuttings sprout their roots.
Now, patience becomes your gardening companion. While it might be tempting to keep checking for roots as if hitting the refresh button on your email, these cuttings thrive with a bit of neglect. Simply ensure they’re in a warm place with indirect light—like a gentle morning sun filtering through a curtain—and keep the soil moist but never soggy.
Before long, those once discarded pieces of sedum will start to show signs of life. It’s similar to seeing a character develop in a binge-worthy series; little roots will emerge, followed by fresh, green shoots, transforming your cuttings into individual plants ready to take their place in the garden spotlight.
So, remember, after cutting back your sedum, you’re not just tidying your garden. You’re setting the stage for propagation, where every snip can turn into a new beginning. Imagine that—the trimmings from today could be the sedum showcase in your garden tomorrow.
Frequently Asked Questions
So you’ve got some sedum in your garden, and you’re wondering just when you can give those lush leaves a trim without turning your plant into a botanic boo-boo. Let’s dive into some of the most pressing questions that have gardeners buzzing like bees around blossoms.
What’s the best time to cut back sedum?
Picture this: you’ve enjoyed a year of your sedum’s verdant vibe, and now autumn’s crisp breath is whispering through your garden; that’s your cue. After the first frost, but before the garden becomes a winter wonderland, that’s the sweet spot for snipping back. Trust me, your sedum will thank you with a burst of growth when spring suns start to sing.
Can I cut my sedum back in spring or summer?
You sure can, but it’s like cutting into a perfectly risen soufflé too early – timing is crucial. In spring, hold off until you see some new growth poking through the soil. That way, you’re just giving it a little off the top to encourage bushiness. Got tall, leggy stems tilting in the summer breeze? Go ahead and give them a light trim; think of it as a summer haircut, keeping your sedum cool and collected.
Will cutting back sedum promote better blooming?
Snip away with the right timing, and it’s like hitting the bloom jackpot. When you trim sedum in late fall or early spring, you’re setting the stage for a showstopping performance of flowers that’ll have the neighborhood turning green with envy. Just like pruning roses to get those big, bold roses, trimming sedum can encourage more prolific and vibrant blossoms.
Are there different types of sedum that require unique trimming?
Just like people, sedum comes in all shapes and sizes. Not all sedum should be snipped the same way. For instance, the Stonecrop variety, with its ground-hugging growth, just needs a light tidy-up. In contrast, the showy Autumn Joy can handle and indeed needs, a more thorough end-of-season clipping to keep it in tip-top shape. Knowing your sedum type is key.
Any tips for the first-timer sedum trimmer?
First, don’t stress – sedum is tougher than it looks. Get yourself a clean, sharp pair of pruners because clean cuts heal faster. Then, take a deep breath, and cut back no more than a third of the plant’s height. Oh, and here’s a thing—cutting back your sedum can also help it stay put, instead of flopping over like a tired gymnast after a long routine.
Remember, it’s not just about hacking away at the foliage; it’s about strategic snips for the long-term health and aesthetics of your plant.

With these tips, you’re well on your way to becoming a sedum aficionado. May your garden be a lush, leafy haven of perfectly pruned sedum!