Introduction to Sedum and Container Gardening
The sedum plant, with its delightful diversity and easy-to-grow nature, has emerged as a versatile contender in the vast world of horticulture. Its simplicity meets elegance in the burgeoning trend of container gardening, where gardeners’ creativity ascends beyond the confines of traditional soil beds. Imagine a rooftop terrace in the city, brimming with potted sedum, or the quaint charm of succulent clusters gracing a sunny kitchen window. Sedum’s adaptability is just one reason why it has gained admiration among both novice plant lovers and seasoned botanists alike.
But why plant sedum in pots, you might wonder? Consider the urban gardener, whose patch of green is a balcony rather than a backyard. Here, sedum thrives, bringing a splash of greenery to concrete vistas. Or picture someone seeking to tailor their plantscape with precision, which is exactly what containers offer—complete control over soil type, moisture, and nutrients. It’s not just about convenience, though; the aesthetic appeal of potted sedum is undeniable, granting the gardener the ability to craft a living mosaic of textures and hues.
Join us on a visual journey through succulent care, where we discover the secrets to a lush indoor sedum showcase. You’ll find that the lushness of a healthy sedum plant transcends the boundary of space—whether nestled in a cozy studio apartment or basking in the expansive sunlight of a rural veranda.
Peer into a garden enthusiast’s urban balcony and what you might find is an oasis of potted wonders, with sedum taking center stage. This is where the charm of container gardening unfurls, the joy of nurturing life in a compact sphere. Adding to the mix is the pleasure of personalizing your space; every container, a brushstroke on the canvas of your green haven.
So, as we divulge the secrets of flourishing sedum in pots, let’s embrace the notion that sometimes, the most enchanting gardens are those that reside in the pottery of our making. It’s an invitation to explore the possibilities, to cultivate beauty in the nooks of our dwellings—a testament to sedum’s splendid adaptability and container gardening’s endless potential.
Choosing the Right Sedum Species for Pots
Embarking on the succulent journey with sedum means getting to know a versatile cast of characters. These plucky plants are not a one-size-fits-all; oh no, they’re as varied as the containers we pot them in! So, let’s delve into the fascinating world of sedum species, picking out the stars of the show that will make your container garden a verdant victory.
Size certainly matters when it comes to container dwelling sedums. Petite varieties like ‘Sedum dasyphyllum’ or ‘Sedum hispanicum’ are just the ticket for smaller pots, gracefully spilling over the edges like botanical waterfalls. However, for a sizeable statement piece, you might opt for ‘Sedum spectabile’ or ‘Sedum telephium’ with their robust growth and cheerful flower heads that stand tall and command attention.
Growth habit is another factor to finesse. If a low-profile, textural tapestry is what you yearn for, the creeping wonders of ‘Sedum reflexum’ will do a splendid job, cuddling up to the confines of their pot like a cozy botanical blanket. For vertical verve, the upright ‘Sedum morganianum’, with its cascade of plump, green beads, can provide a dramatic draping effect that is sure to turn heads.
When it comes to climate adaptability, sedums are like the chameleons of the plant kingdom. They’ve got staying power in both baking heat and nippy cold. The stonecrop series, for instance, is famously frost-proof, while the ‘Cape Blanco’ variety woos with leaves that seem to shimmer in the sun, impervious to the scorching rays. It’s all about finding the perfect climate companion for your green-fingered adventures.
Imagine your pot sedum thriving on the balcony, laughing in the face of the urban concrete, or maybe nestled on your desk, a green gem against the tech sprawl. Picture these drought-dodgers being content with occasional sips of water, making them forgiving friends for the forgetful among us. To keep these potted wonders happy, familiarize yourself with their needs by exploring more on cultivating these spectacular succulents.
Remember, sedums in pots are not just plants; they’re a statement, a living art piece that brings joy with every new leaf and blossom. So go on, find your perfect sedum variety, and let the container magic begin!
Selecting the Ideal Container for Your Sedum
So you’ve decided to grow sedum in pots – fantastic choice! The key to lush container succulents lies not just in the care but also in the very foundation they call home: the pot. Picking the perfect pot for your sedum is like choosing a home for yourself; it needs to be comfortable, functional, and a little stylish too. Let’s dig into the details of finding that ideal abode for your sedum.
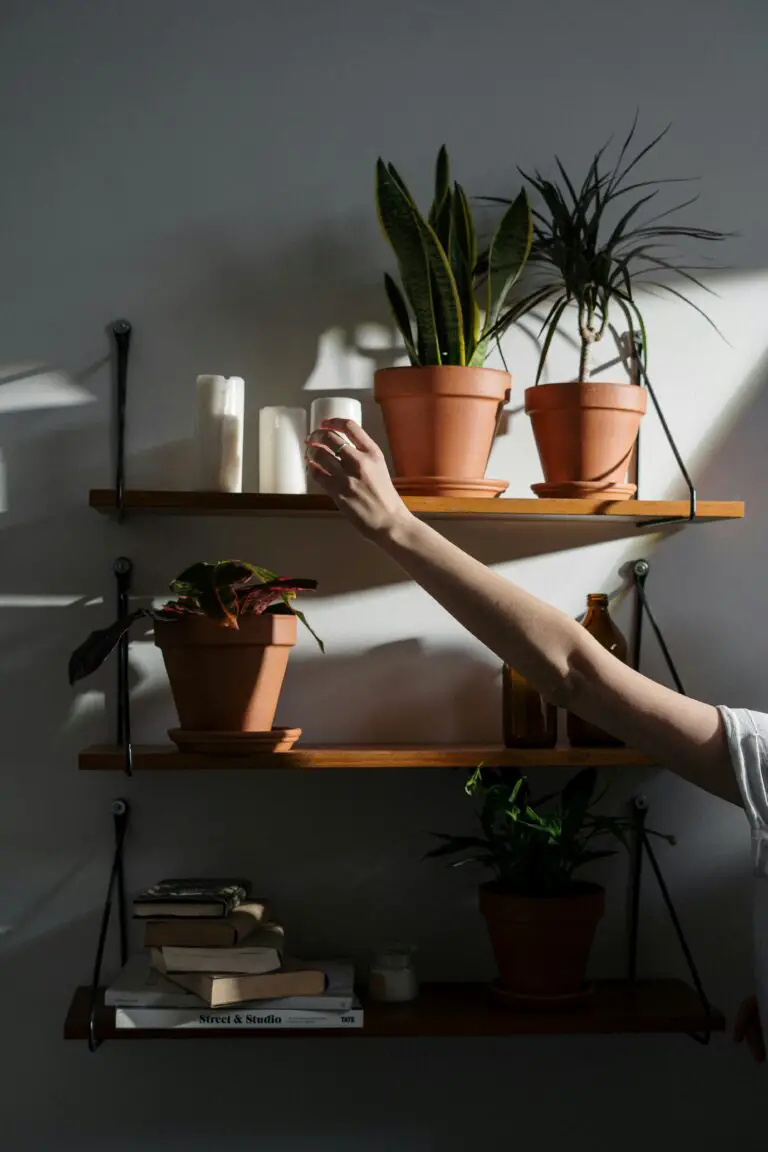
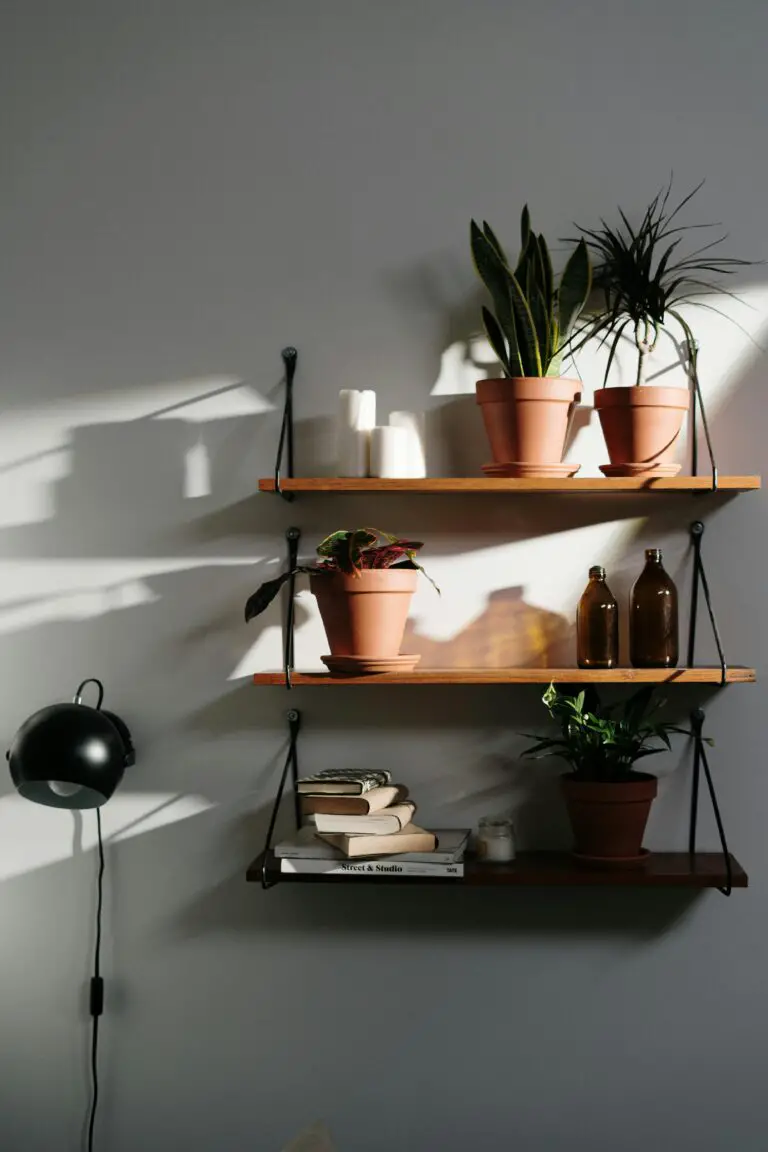
First off, think about the pot’s material because it matters a lot. While clay pots are the traditional go-to for their breathability and drainage, they can be heavy and prone to cracking in freezing weather. Plastic pots, on the other hand, are lighter and less likely to break but can retain more moisture, which isn’t ideal for all sedum varieties. Then there’s wood, which can be a charming, rustic option as long as it’s rot-resistant. Metal containers can offer a modern vibe but watch out – they can heat up quickly in direct sunlight, potentially stressing your succulents.
Drainage is the next crucial consideration. Your sedum’s roots despise being waterlogged, so ensure your chosen pot has adequate drainage holes. If you fall in love with a pot without them, get ready to pull out the drill – your sedum will thank you. And just like us, sedum needs some space to grow, but not too much; a pot that’s too large can hold excess moisture and lead to root rot. A cozy fit encourages healthy growth, so choose a pot size proportionate to your specific sedum species.
You might ask, “What size and shape are we talking about?” Picture this: a low and wide planter for those sprawling sedum varieties or perhaps a deeper pot for the taller, upright types. And remember, as sedum matures, it might need a new container – just like hermit crabs need bigger shells over time. So, you might want to think ahead and have that next-size-up pot ready to go.
Looking for more gardening wisdom? Discover our tried-and-true tips for cultivating a variety of sedum plants that will add a burst of life to your garden. Whether nestled in a container or sprawling across your outdoor space, sedum’s resilience and charm make it a joy to grow for gardeners at any level.
Choosing the right pot might feel daunting, but it’s an exciting part of the gardening journey. With the perfect container in hand, your sedum is all set for success. Happy planting!
Potting Mix and Soil Requirements for Potted Sedum
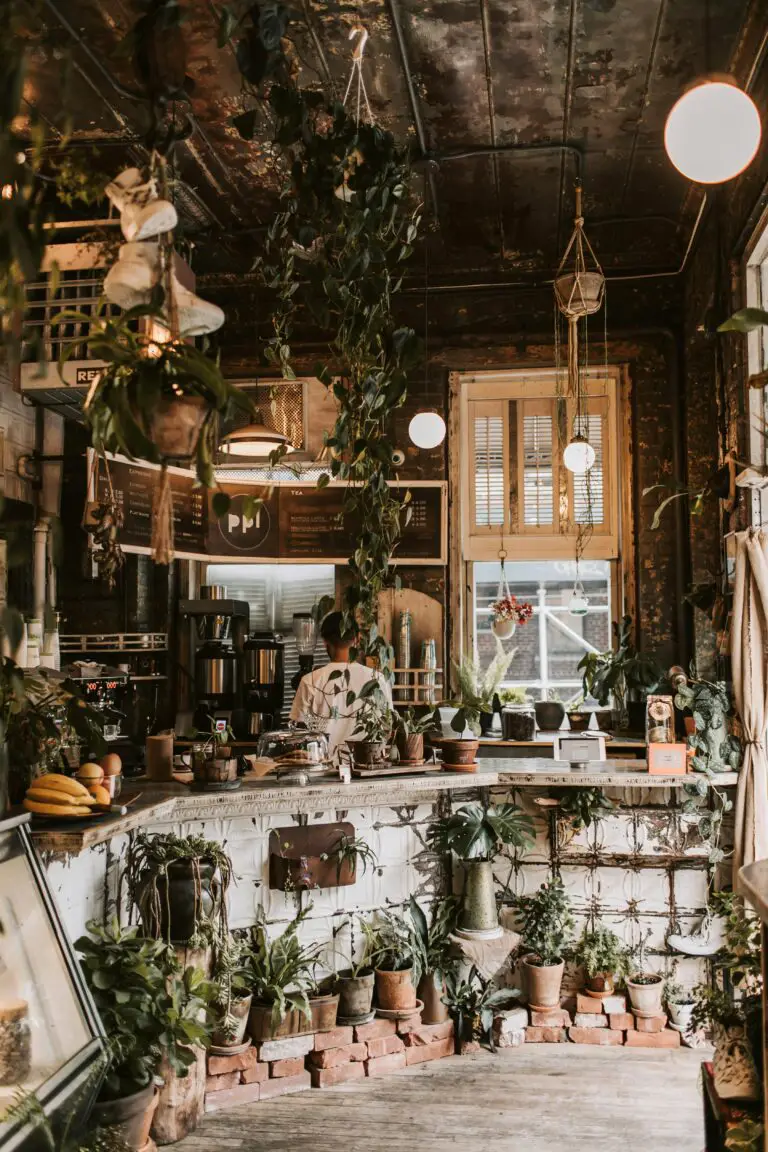
If you’re eyeing that fetching little sedum and wondering if it’ll be just as charming in a pot atop your rustic bistro table, the answer is: Absolutely! Potted sedum not only brings instant green appeal to any space but think about the endless mix-and-match options with quirky pots! However, the secret sauce for those succulent vibes is all in the groundwork—the potting mix and soil.
First things first, sedum is pretty laid-back, but it does have a non-negotiable: well-draining soil. Nobody wants root rot to rain on their succulent parade, right? Imagine dressing up for a fun day out but being stuck in wet socks—that’s how sedum feels in soggy soil. So, how do you keep it dry and dandy? Go for a potting mix that’s part aerobics instructor, part Zen master—a mix that supports breathability and calm. Typically, a concoction of peat moss, perlite, and coarse sand does the trick.
Now, about that pH level—a tad on the acidic side to neutral is where sedum plants groove best, between 6.0 and 7.0. You don’t need a chemistry set to measure it, just a simple soil test kit from your local garden haven. And if your results shout ‘adjustment needed!’, fret not. Amending your soil’s pH might seem like you need a PhD, but it’s simpler than brewing your morning coffee. Limestone or wood ash can raise it, while sulfur or aluminum sulfate can lower it.
Finally, let’s jazz things up with amendments! Think about when you need that extra pep in your step—sedum savors similar boosts. An occasional sprinkle of compost or a controlled-release fertilizer can be like a spa day for your green buddy, ensuring it’s not just surviving but thriving. Now, doesn’t that sound like a potted promenade worth pursuing?
Mastering the Art of Watering Sedum in Containers
If sedum were a student, it would definitely be the one that thrives with minimal supervision. Sedum, a resilient and vibrant succulent, adapts beautifully to the snug confines of a pot. But unlock the secret to its lushness, and you’ve aced Container Gardening 101. Welcome to the masterclass on watering your potted sedum—the right way!
Let’s start with the easy-to-remember rule of thumb: be moderate. Overwatering sedum is like giving sweets to a toddler, too much and things can go south quickly. Those fleshy leaves can turn a telltale yellow, warning you to ease up on the enthusiasm. Just imagine tediously crafting a papier-mâché project, only to leave it out in the rain. Soggy, right? That’s your sedum under too much water.
Spotting the Signs: Overwatering vs. Underwatering
Akin to a baker knowing the precise moment when the bread crust turns perfectly golden, gauging the watering needs of your sedum in pots is all about timing and observation. Drenched sedum will feel mushy—its previously sturdy leaves now fragile and overly pliable. Conversely, underwatered sedum sends a clear SOS with wrinkled, thirsty leaves gasping for some H2O hydration.
Your mission, should you choose to accept, involves mastering this delicate balance. As the sun-drenched days roll on, keep a watchful eye. Scrutinize the topsoil—a dry, Upper Crust indicates thirst, while a damp Lower Layer begs for restraint. Remember, it’s not just about frequency, but also about quantity. Drench those roots—let them drink their fill—and then hold off until the next dry spell.
So, are you set to transform your sedum from merely surviving to majestically thriving? Embrace the art of observation, consider the unique requirements of your container-bound charge, and water wisely. With these skills, you’ll not just grow sedum in pots; you’ll cultivate a mini Eden of lush, enviable greenery!
Sedum Sunlight and Temperature Needs When Grown in Pots
Ever wondered if your sedum can soak up the sun from the comfort of its cozy pot? Absolutely! But like us on a beach day, they have their sunbathing preferences. These robust succulents yearn for a good dose of natural light. Ideally, they bask in about six hours of sunlight, but not just any light—the gentle morning rays are their cup of tea. Too intense afternoon sun? They might say, ‘Thanks, but no thanks!’—especially when potted, as it can turn their leaf spa into a sizzle-fest.
Here’s where pots play a masterstroke: mobility. Your portable green haven allows you to shuffle sedum around, chasing the perfect sunlight spot. Beware though, an abrupt move from shadow to full sun can leave them sunburnt—yes, plants burn too! So, introduce them gradually to the sun-kissed life to avoid leaf-tan lines.
Finding The Temperature Sweet-Spot
Temperature is another melody in the sedum symphony. These plants are versatile, thriving from the coolness of 40°F nights up to warm 90°F days. But the plot thickens when in pots. Portable pots can overheat or cool down quicker than the Rock’s muscles in a snowstorm. Your mission? Keep tabs on the temps.
You’ll want to shield your sedum from frosty farewells—no one likes a frozen salad. Equally, ensure their roots aren’t cooking during a heatwave. Think of pots as sedum’s personal thermostats, and you’re the savvy operator. Adding a layer of mulch is like throwing a protective blanket over them on a chilly night, or providing a parasol on a baking day. It’s about striking that balance, so they don’t swing from a shivering leaf to a sun-stunned one.
What’s that? A real-life example? Imagine you’re sipping your morning espresso, and you’ve just moved your potted sedum buddy into that golden morning light. But by lunchtime, as you’re tossing a salad, you notice the sun’s ramped up. You whisk your green friend to a dappled shade spot, a simple siesta away from the harsh rays. By doing so, you’ve become a top-notch temperature DJ, mixing the beats to keep the sedum vibe alive and kicking.
Fertilizing and Feeding Your Potted Sedum
Let’s face it, your potted sedum is more than just a plant; it’s a miniature ecosystem in a container, and like any self-respecting ecosystem, it needs a proper diet to flourish. Fertilizing sedum in pots isn’t rocket science, but there’s an art to it that can be mastered with a little know-how, so let’s dig into the details!
Imagine your sedum is like a seasoned world traveler in the plant kingdom. It doesn’t need a five-star meal, but it wouldn’t say no to a nutritious snack every now and then. Opt for a balanced, water-soluble fertilizer that plays well with succulents, akin to offering a gourmet tapas plate that meets all the necessary food groups.
Now, we don’t want to turn our little green friends into couch potatoes, do we? So, frequency is key. During the growing season, typically spring and summer, your sedum is in its prime, reaching for the sun and expanding its succulent horizon. That’s when you’ll want to fertilize about once a month, akin to treating it to a monthly brunch.
As autumn wanders in and winter starts to whisper, your potted sedum will slow down, conserving its energy. This is the cue to ease up on the feeding frenzy. During these cooler, quieter months, feel free to skip the fertilization altogether. After all, even the most intrepid explorers need a little downtime.
Remember, each sedum has its personality; some may show signs they’re craving more nutrition, while others are content with the status quo. Keep an eye on their growth and vigor, and they’ll tell you if they need that extra boost or not.
In essence, treat your potted sedum like a cherished friend whose culinary needs you’re intuitively in tune with, and it will reward you with lush, vibrant growth that’s nothing short of Instagram-worthy!
Winter Care: Strategies for Overwintering Potted Sedum
As the days grow shorter and temperatures begin to drop, it’s time to think about how to safeguard your potted sedum from the cold’s embrace. These resilient succulents can bring a burst of color to your winter garden, but only if you treat them right during their dormancy. Let’s dig into some tried-and-true tips to ensure your sedum emerges from the chill as vibrant as ever.
Move to a Milder Microclimate
First, consider where your potted sedum will be spending the winter months. If you have a sheltered patio or a frost-resistant spot against your home, these microclimates can offer several degrees of warmth compared to the open garden. Think of it as the plant version of snuggling under a warm blanket on a cold night!
Insulate for an Extra Layer of Comfort
Get crafty with insulation! Wrapping your pots in burlap or bubble wrap is akin to layering your sedum in a cozy winter jacket. It’s a simple way to help prevent frosts from nipping at their roots. And don’t forget to tuck them in with a layer of mulch on top for good measure – it’ll keep their feet warm and protected.
Relocation: A Winter Retreat Indoors?
When the weatherman predicts particularly harsh conditions, it may be time to bring your sedum indoors for a brief winter retreat. A sunny spot by a window can serve as the perfect staycation, providing just enough light to keep them content until they can once again bask outdoors. Just remember to introduce them gradually to indoor temperatures to prevent shock – no one likes an abrupt change from poolside to fireside.
Watering Woes: Less is More
One of the secret ingredients to successful overwintering is adjusting your watering routine. Because your sedum will be dozing off for the winter, it’ll need less water than during the growing season. Let the soil dry out completely before giving them a modest drink. Overzealous watering could lead to root rot, which is as unpleasant for your sedum as soggy socks would be for you!
Snip and Tuck: Pruning Back
A bit of pruning goes a long way. If your sedum is looking a tad shaggy, give it a gentle trim. Snipping back overgrown stems encourages a tidier growth pattern and reduces the risk of disease. Plus, it gives your plant a neat, polished look that even the Joneses will envy.
To truly get into the winter spirit and ensure your sedum’s survival, sometimes visual guidance can be a huge help. Here’s a helpful video that offers insights into caring for Lemon Coral Sedum – a variety that also requires special attention during the colder months:
Remember, a little effort during the winter can yield a lush, thriving sedum when spring arrives. So, get those pots prepped and your sedum snug as a bug in a rug, and you’ll be on your way to a delightful container display come warmer days!
Propagation and Repotting of Container-Grown Sedum
Are you looking to multiply your sedum collection or give your pot-bound friends a new home? Propagating and repotting sedum in containers is a breeze with these straightforward steps. Let’s dive in and unlock the secret to a burgeoning garden of these hardy succulents!
Propagating Sedum in Pots
First up, propagation – it’s like making a photocopy of your favorite plant. And with sedum, it’s almost that easy. To start, choose a healthy mother plant and snip off a few plump leaves or stem cuttings. Next, let them callous over for a couple of days – think of it as giving them time to ‘toughen up’ for their big leap. Once they’re ready, pop them onto well-draining soil in a small pot, mist them lightly, and place them in a bright spot without direct sunlight. It’s like setting them up on a blind date with destiny. In a few weeks, you’ll notice tiny roots reaching out, and soon enough, pint-sized sedum plants will emerge, ready to conquer their little container world.
Repotting for Continued Growth
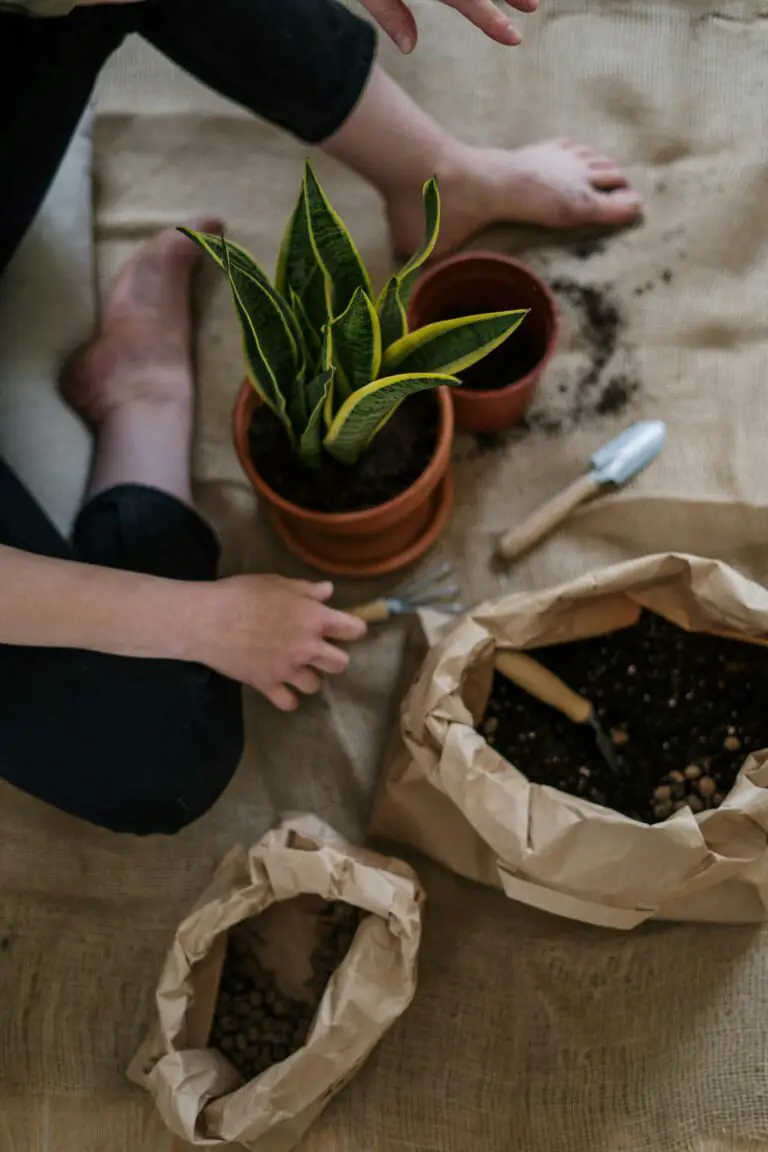
When it comes to repotting, timing is everything. Keep a keen eye on your sedum – if they’re looking cramped or the soil seems exhausted, it’s time for an upgrade. Break out a pot that’s one size larger than the current one, ensuring it has ample drainage holes to prevent soggy soil syndrome. Gently tease your sedum out of its old quarters, whisper words of encouragement, and settle it into its new spacious abode with fresh potting mix specifically designed for succulents. Water sparingly to kickstart the rooting process and place it in a spot with dappled sunlight to avoid any post-move trauma. As your sedum acclimates and begins to flourish, you’ll be rewarded with a lush display that’s as resilient as it is enchanting.
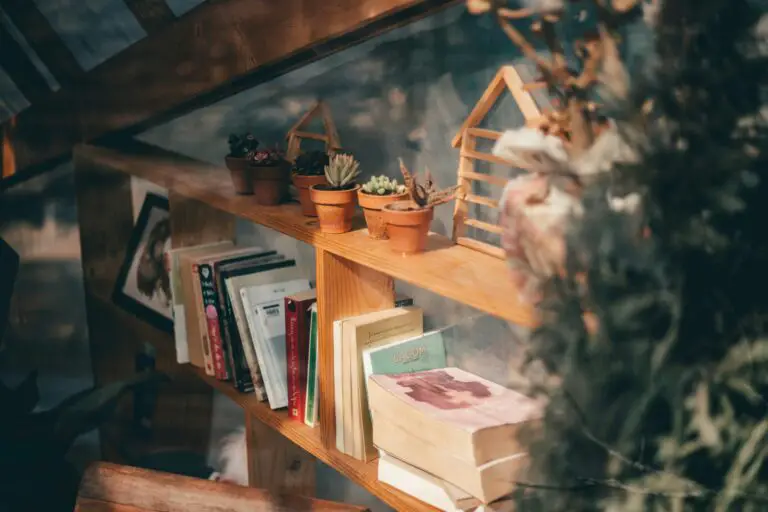
With a little patience and the right techniques, propagating and repotting sedum in pots can transform your urban space into a verdant paradise. Whether nestled on bookshelves or basking on balconies, these potted warriors are proof that big garden dreams can thrive in small containers. So roll up your sleeves, get your hands a little dirty, and watch as each tiny cutting and repotted plant grows into a testament to your green thumb prowess.
Troubleshooting Common Issues with Sedum in Pots
Will sedum grow in pots? Absolutely, but even these hardy succulents can stumble upon some roadblocks. Imagine this: you’ve chosen the perfect pot, your sedum is happily basking in the sun, but suddenly you notice it’s not looking as perky as usual. It’s time for some plant detective work to ensure your sedum thrives!
Combatting Pests: Invaders in Your Sedum Sanctuary
First up, pests. They’re like the uninvited guests at a garden party. Sedums can fall victim to aphids, mealybugs, and other tiny critters looking for a succulent feast. A tell-tale sign is discolored leaves or a sticky residue. The solution? Employ natural predators like ladybugs, or give your sedum a spa day with a gentle insecticidal soap bath. Remember, it’s better to invite the good bugs to take out the bad ones!
Keeping Diseases at Bay: A Healthy Sedum is a Happy Sedum
Next, we need to talk about diseases. Root rot, fungal infestations—they can sneak up on you like a shadow in the night. If your sedum’s leaves are looking wilted or you see moldy spots cropping up, it’s a red flag. To nip these issues in the bud, ensure your pot has proper drainage, don’t overwater, and maintain a good air circulation. Think of it as creating a breathable living space for your sedum’s roots.
Environmental Stressors: When Sedum Needs a Little TLC
Last but not least, environmental stressors. Too much sun can cause sunburn, while too little can lead to leggy, stretched-out plants. And let’s not forget temperature swings, which can send your sedum into shock faster than a plot twist in a thriller movie. The fix is simple: find that Goldilocks spot—just the right amount of light and a steady, sedum-friendly temperature. Adjust your sedum’s location seasonally, and you’re on track for a healthy plant.
Remember, growing sedum in pots is a journey, not a destination. Keep a watchful eye on these common issues, and you’ll become a sedum-saving superhero in no time. For a visual guide to helping your succulents succeed, check out this video:
Frequently Asked Questions
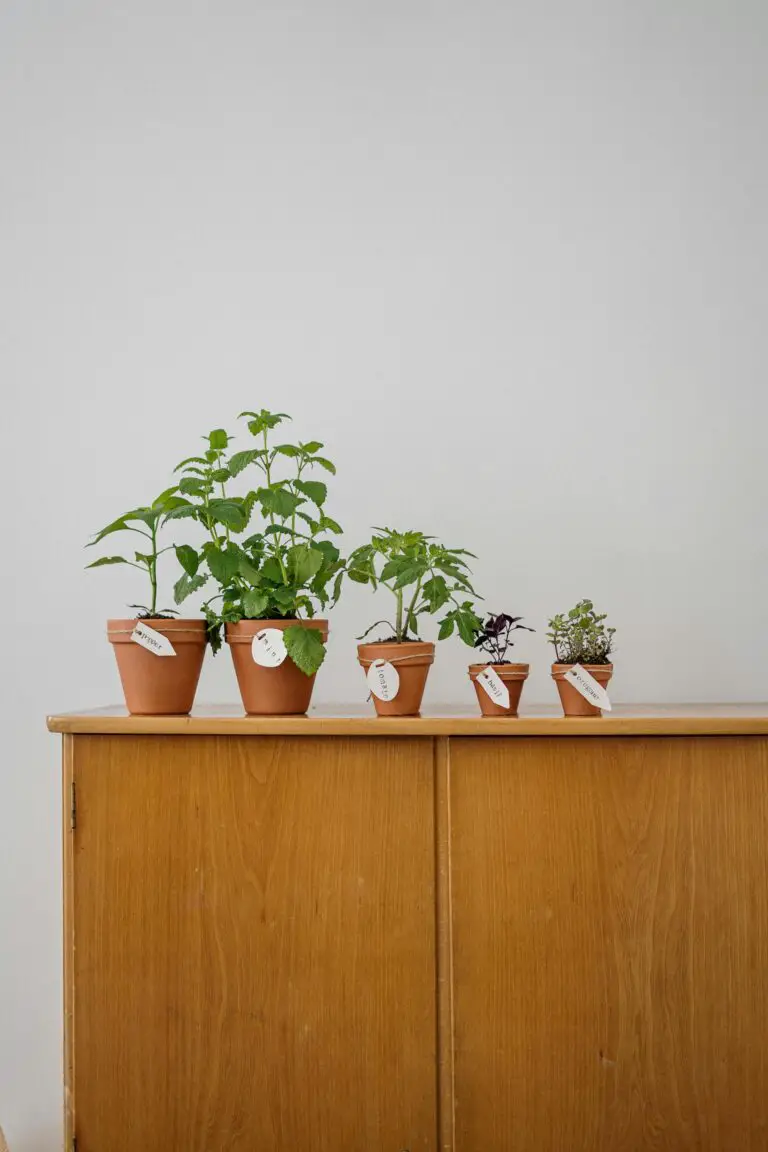
Ever wondered if the hardy sedum can live happily in the confined space of a pot? Let’s dig into the dirt of common questions and see what sprouts!
Can Sedum Survive in the Confines of a Pot?
Quite simply, yes! Sedum plants, known for their robust nature, are as adaptable as they come. They quite enjoy basking in the sun atop your patio table or nestling among other containers on your balcony. With a good drainage system in their pots, these succulents can thrive just about anywhere, making them ideal for urban gardeners with limited space.
What Type of Pot is Best for Sedum?
When it comes to picking the perfect pot for your sedum, think “drainage”! A terra cotta pot with a hole at the bottom will surely keep sedum’s feet dry—just how they like it. Remember, wet and soggy is a sedum’s nemesis, so avoid non-porous materials that retain moisture like plastic or glazed ceramics.
How Much Sunlight Does Potted Sedum Need?
Sunlight is sedum’s best friend. These plucky plants crave the bright, full sun, so place your potted friends where they can soak up at least 6 hours of those golden rays each day. A spot by a south-facing window or a sunny nook in your garden would be their personal patch of paradise.
What Soil Mixture Works Best?
Imagine sedum plants’ roots delighting in a light and airy mix, with the soil just loose enough to allow them to breathe and spread out. A mix of potting soil, sand, and perlite will do just the trick, mimicking the sandy, well-drained conditions they adore in their natural rocky habitats.
How Often Should I Water My Potted Sedum?
One of the charming traits of sedum is their drought tolerance. To keep that lush look in your containers, water them sparingly. Think of a desert downpour — an occasional soak and then nothing for a while. When the soil is dry a couple of inches down, it’s time to water these hardy troopers.
Can I Leave My Sedum Outdoors During Winter?
Sedum is as tough as old boots and can withstand colder climates, but they’re not invincible. If you’re dealing with freezing temperatures, consider sheltering your potted sedum by bringing them indoors or protecting them with a frost cloth. With a little TLC, they’ll weather the winter and spring back to life once the frost thaws.
Keep these pointers in mind, and watch as your sedum plants turn your potted paradise into a vibrant oasis. With their easy-going nature, you’ll soon find that these succulents become your trusty sidekicks in the world of container gardening.


