Root rot is the most common life-threatening problem for Kalanchoe in indoor cultivation. The genus includes species ranging from near-aquatic to near-desert in their natural water requirements, but the most commonly grown species — Kalanchoe blossfeldiana, K. tomentosa, K. luciae, and K. thyrsiflora — all share a fundamental need for roots to alternate between wet and dry. Soil that stays wet for more than 10–14 days deprives roots of oxygen, enabling the fungal and oomycete pathogens that cause rot.
The critical distinction from underwatering is that root rot is self-reinforcing: as more roots die, the plant loses its ability to absorb water, the remaining substrate stays wet longer (no active uptake to dry it), and the remaining roots degrade faster. The intervention window is the time before rot crosses from roots into the stem base. Part of the Complete Kalanchoe Guide.
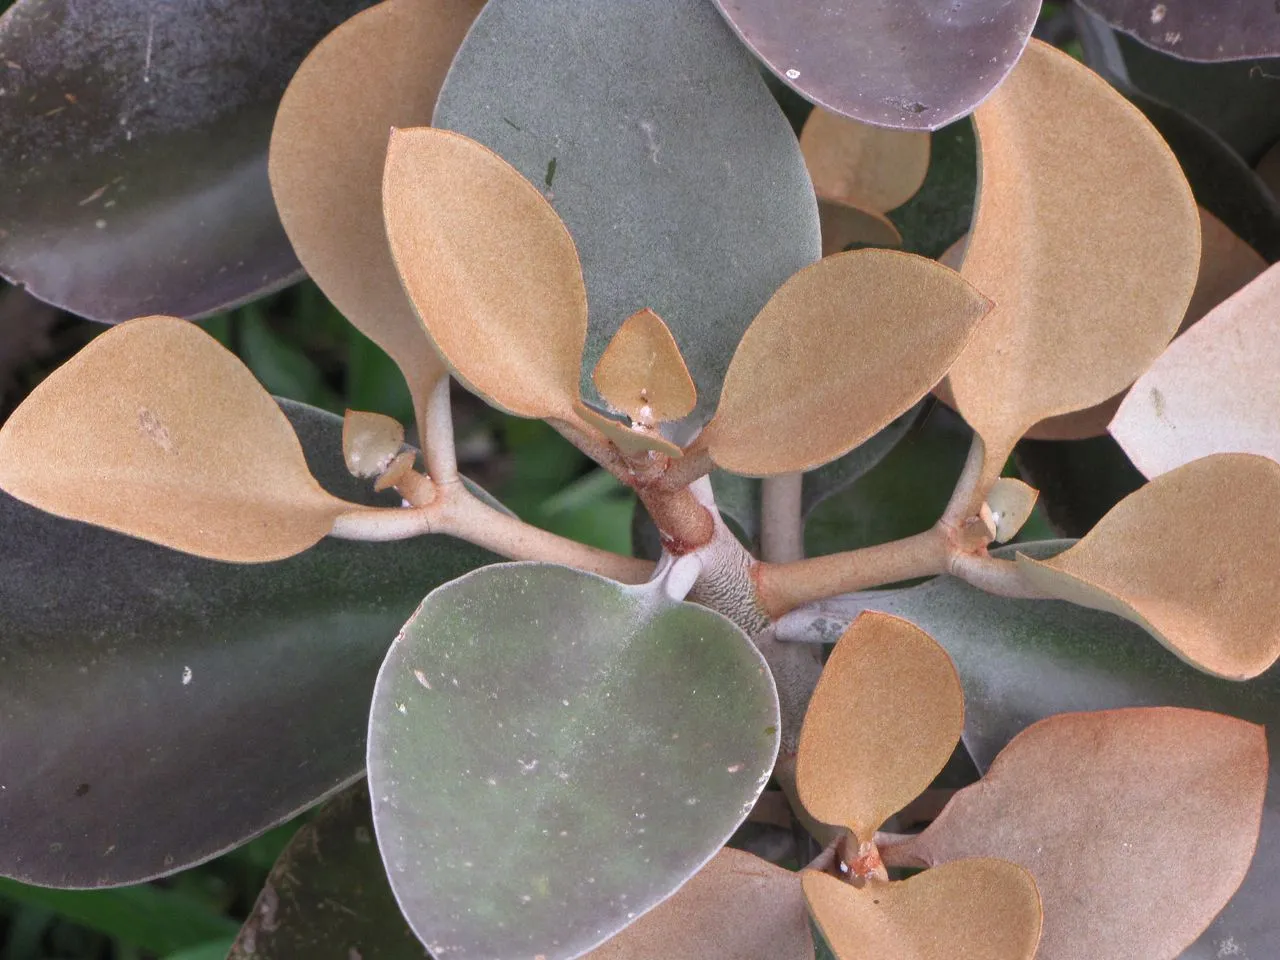
Waterlogged, oxygen-depleted substrate
Root rot begins when the root zone stays saturated long enough to displace the oxygen that roots need for respiration. In well-drained mineral substrate, even a thorough watering dries to a safe moisture level within 24–72 hours at typical indoor temperatures. In peat-heavy mixes, oversized pots, plastic pots without drainage, or any position with cool temperatures and low light, the same watering can keep the root zone saturated for 2–4 weeks.
At that point, fine root hairs die first, then secondary roots, then primary roots. Opportunistic pathogens — Pythium, Phytophthora, Fusarium — colonise the damaged tissue, secreting enzymes that dissolve cell walls and accelerate the decay. The process is initially invisible above the soil line. The first above-ground symptoms — slightly soft lower leaves, a faint sourness from the pot — appear only after the root system is already significantly compromised.
Oversized pots and poor drainage
The pot-to-root-ball ratio has a direct effect on root rot risk. A small kalanchoe root ball in a large pot leaves a ring of substrate surrounding the roots that the plant cannot dry through uptake. That outer substrate stays wet between waterings while the inner zone near the roots dries normally. Over time the outer zone provides a continuously moist environment for pathogen growth.
A pot only 2–4 cm wider than the root ball, with a drainage hole, in a fast-drying mineral mix, is the correct combination. Decorative pots without drainage holes are a root-rot accelerator — excess water has nowhere to go. If a plant must sit in a decorative cachepot, always lift it to water, drain it fully for 20–30 minutes over a sink or in a saucer, then return it to the cachepot dry.
Cool temperatures and winter watering
Most kalanchoe root rot in indoor cultivation occurs in autumn and winter. Days shorten, light intensity drops, rooms cool near windows overnight, and the plant's metabolic rate slows. A watering interval that safely dried the substrate in 7 days during summer may take 21 days in December. If the watering schedule is not adjusted, the substrate remains wet far longer than roots can tolerate.
Below 10 °C, root respiration becomes severely limited and roots are less able to resist pathogen attack. A wet, cold root zone at 8–10 °C is the highest-risk combination for root rot in kalanchoe. In winter, water only after checking that the substrate is genuinely dry — lift the pot to assess weight, or use a moisture meter to check the bottom third of the pot. Never water on a schedule in winter; always water on demand.
Diagnosing root rot: what to look for
Above the soil
The first visible symptoms are non-specific: lower leaves soften, yellow, or turn translucent. The plant may look thirsty — leaves dehydrating — despite the soil being wet. This is the diagnostic paradox of root rot: the plant looks like it needs water, because it is not getting any through its non-functioning roots, but adding water worsens the condition.
A sour or fermented smell from the soil surface is more specific. Darkening or softness at the stem base — the point where the stem meets the substrate — indicates that rot has moved from roots into the stem.
Root inspection
Unpot the plant gently. If the root ball is heavy and wet, shake off old substrate. Healthy roots are firm, pale tan to white, with a faint earthy smell. Dead roots from rot are black, brown, slimy, hollow, or shed their cortex when pulled. A root system with more than 30% dead roots requires treatment. A root system that is entirely black and the stem base is soft means the plant has progressed to stem rot.
| Finding | Severity | Best action |
|---|---|---|
| A few dead fine roots, stem firm | Mild | Trim, dry, repot |
| Most roots black, stem still firm | Moderate | Cut roots hard, dry longer |
| Soft tissue at stem base | Stem rot | Cut above rot, re-root |
| Stem hollow or completely black | Advanced | Salvage firm cuttings only |
Solutions
Mild to moderate root rot
Remove all old substrate. Cut dead roots with sterile scissors or a clean blade back to firm, healthy tissue. Do not cut into healthy pale roots — remove only the clearly dead tissue. Leave the plant bare-root in a dry, bright-shade position with good airflow for 3–5 days. Pot into fresh, dry mineral mix in a pot sized for the remaining root mass. Do not water for 5–7 days. After that, water lightly and allow to dry fully before watering again.
Stem involvement (stem rot)
Cut above the highest soft or dark tissue on the stem. The cutting should show clean, firm green-to-cream tissue at the cut face with no brown discolouration in the centre. Sterilise the blade between cuts. Allow the cut stem to callus for 3–5 days in dry shade, then insert the base 1–2 cm into dry mineral mix. New roots form in 2–4 weeks in bright indirect light at 18–22 °C.
Aftercare
Expect leaf loss during recovery — a plant with a reduced root system cannot sustain all its current leaves and will shed some. This is normal and stops once new roots establish. Do not fertilise until new growth appears. Keep light bright but not direct; avoid strong summer sun until roots are functional. The root rot diagnosis guide covers the recovery protocol in detail for any succulent genus.
Prevention
Use a fast-draining substrate: at minimum 50% inorganic material (pumice, perlite, or coarse grit). Choose a pot with drainage holes, sized 2–4 cm wider than the root ball. Water thoroughly but infrequently — always wait until the top 3–4 cm of substrate is dry before the next watering. In autumn and winter, reduce watering frequency sharply and check substrate weight rather than watering on a calendar schedule. Never let a kalanchoe sit in standing water, even for 30 minutes.
See also
- Root rot diagnosis — the cross-genus root inspection and recovery guide covering confirmation, cutting, drying, and repotting steps.
- Stem rot diagnosis — what to do when rot moves from roots into the kalanchoe stem.
- Kalanchoe leaves yellow — distinguishing root-rot yellowing from drought, senescence, and low-light yellowing.
Frequently Asked Questions
Can Kalanchoe recover from root rot?
Yes, if rot is limited to roots and the stem base remains firm. Remove all dead roots with a sterile blade, dry bare-root for 3–5 days, and repot into fresh dry mineral mix. Expect leaf loss during recovery, but new growth from firm stem nodes signals successful re-establishment.
What does root rot smell like on Kalanchoe?
A sour, sulphurous, or fermented smell from the pot or from the root ball when exposed. Healthy kalanchoe roots smell faintly earthy. Any distinctly unpleasant smell from the substrate indicates anaerobic bacterial activity and root damage.
How do I tell root rot from underwatering in Kalanchoe?
Check the substrate weight and moisture. A lightweight dry pot with wrinkled, yellowing leaves means underwatering. A heavy wet pot with soft, translucent or mushy yellowing leaves means overwatering and root rot. The leaf texture is the fastest differentiator: flexible and dry means drought; soft, wet, and glassy means rot.
Should I water after repotting a Kalanchoe with root rot?
Wait 5–7 days after repotting. Cut roots need time to callus and begin forming barriers against re-infection. A light watering at the 7-day mark is fine; resume normal dry-down cycles after that.